
help.sitevision.se always refers to the latest version of Sitevision
The Customize Content icon
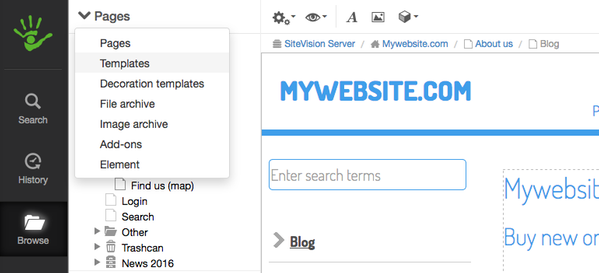
The web is becoming more dynamic, it has to be tailored towards the user. In SiteVision, you can customize content for the visitor. It is based on you knowing things about the visitor, such as which department the user belongs to, whether the visitor is visiting from a local IP etc.
When you customize content, you create different views for different target groups and/or rules. The views are created on the web page under Content. These views are always in a layout or a grid column. You then associate a rule or target group with a view. Depending on what you want to achieve, you can customize in several steps.
To see this icon, you need to have a layout or column where you allow views, or the icon will not appear. If you have created custom content, the different names of the target groups and rules will appear under this icon. Otherwise, only one link, Settings, is displayed.
Views is a new functionality for SiteVision 4 and therefore does not work in classic mode.
To do this, follow these steps
In brief
- Create the content that you want to be customized for a view
- Create a rule or target group that is the technical prerequisite for someone to see the view
- Connect your view with that rule/target group.
Create view (custom content)
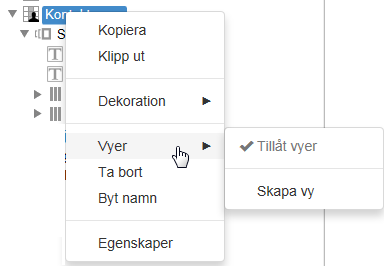
Views are always in layouts or columns. Right-click on a layout/column where you want to create custom content and select “Permit views".

It is not possible to create custom views of layouts/grid rows/columns that contain content areas/template areas.
If the layout/column contained modules, they will be displayed in a default view. If the layout/column was empty, the default view is also empty.
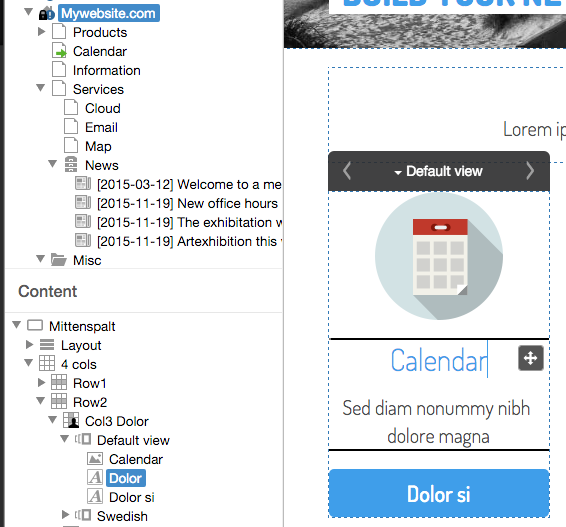
A layout/column that permits views is given an icon. This displays the standard view as well as any other views. The default view is displayed to anyone who is not subject to a rule. All other views also have an icon that symbolize the views.
Right-click the layout/column that allows views and select Create view to add more views.
This function requires you to have "Manage views" permission. You must also have selected "Permit views" on the current layout.
Create a rule or target group
Create a rule or target group to connect them with the views. To do this, click on the Customize content -> Settings icon in the toolbar:
Here you set up Rules and Target groups. Rules consist of one or more criteria to be met in order for a particular view to appear. Target groups can consist of one or more rules.
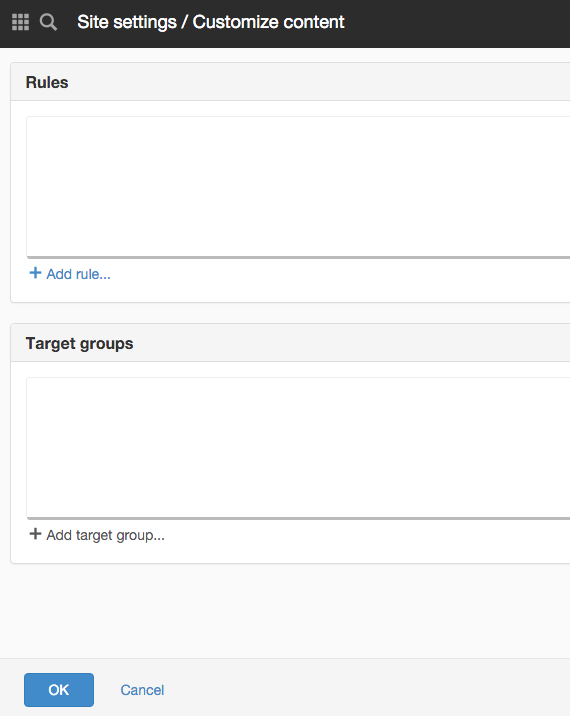
So you do not need to use Target groups if you do not want to.
Connect the view with the rule/target group
Connect the rule/target group with a view by selecting a rule from the menu under Customize content.
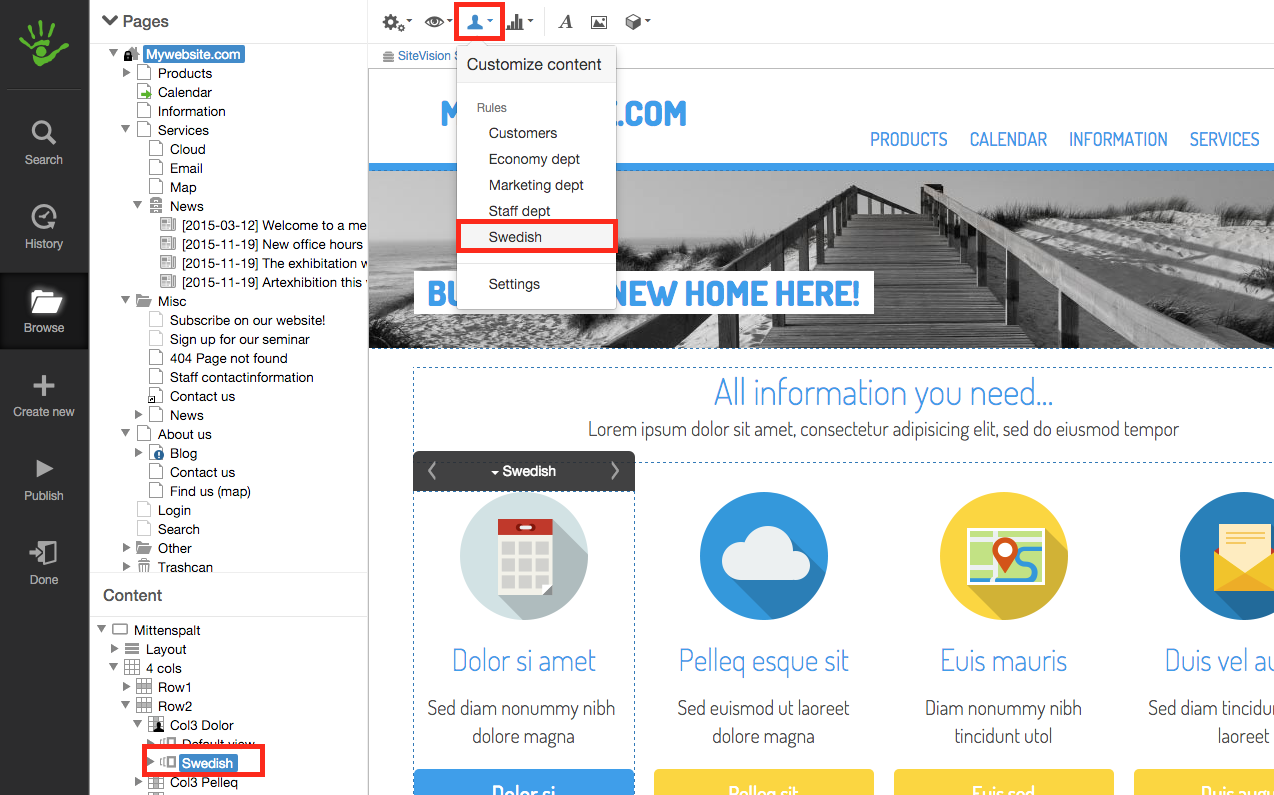
Next, select the views to connect with the rule/target groups.
An information list is displayed, "The page will now be customized for rule: Language."
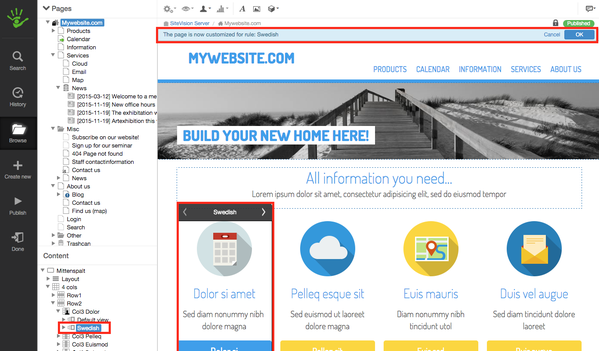
In this view, you can also change the content. The view is the dashed blue area. You can then switch between the views in the editor by clicking the arrows in the black tile.
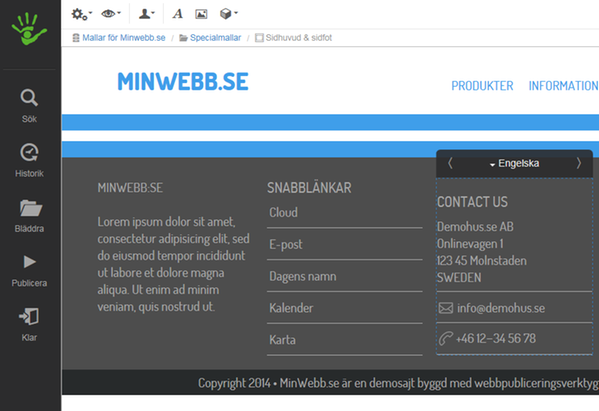
Click the arrows to go to the next view.
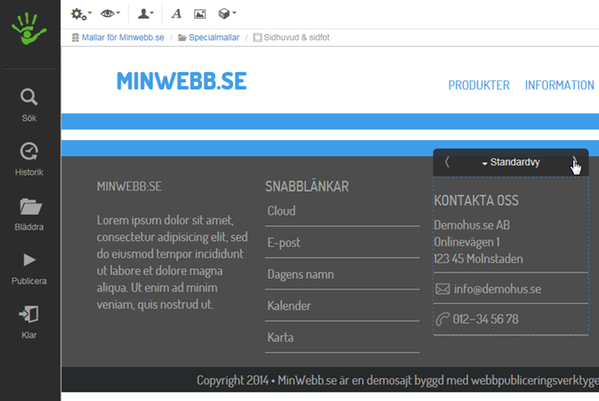
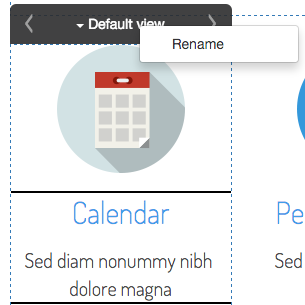
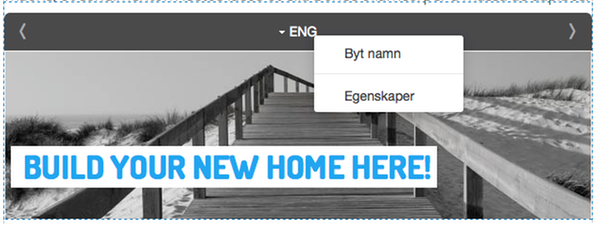
There is also a dropdown menu if you click the arrow next to the view name. There you can change the name of the view or access the properties of the layout/column.
The page published:
 Print page