
help.sitevision.se always refers to the latest version of Sitevision
Cluster
In Administration mode, you will find some of the settings that were previously found under Properties on SiteVision Server. Settings and monitoring have been modernised and improved. Administration mode includes a common event log for system events, logs, settings for clustered environments, webdav, jmx, and you can test the server's write speed.
You can find settings for the cluster by using the address <website address >/admin/cluster. You can view CPU, memory and disk usage per cluster node and manage the cluster; see system events for all cluster nodes; make backups; perform searches in Cassandra; download JMX information and get thread dumps.
%20cluster423.png)
Here you can see all nodes in the SiteVision cluster. The node that you are logged in to is marked with a flag and will be referenced as the local node. Should a node be down or if you cannot access it from the local node for some other reason, it will be marked with a red X. Even if you only have one server, it will appear here.
Information to the left
Replication factor
How many copies of data are available in the cluster. Must match the number of nodes
Max time operation
The difference in MS between the nodes' system clocks. Should be as small as possible (use NTP on the cluster nodes) and never exceed 500 ms
Max numbers of nodes
How many nodes you can have in your cluster. Determined by your license
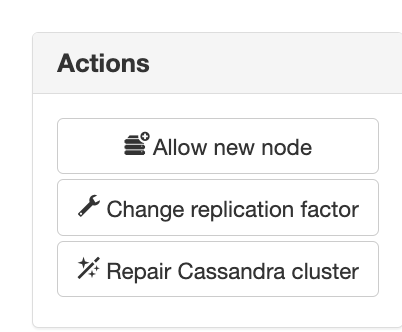
Actions
Allow new node
Allows you to add a new node to the cluster by opening a registration window. You must specify the node's IP address (must match the new node's listen_address). The window is open for 5 minutes.
During the registration process, the replication factor will be one higher than the number of nodes to prepare the cluster for the new node. The following must apply in order for it to be possible to add a new node;
- the license must allow multiple nodes
- existing nodes must be up
- the seed node must be configured for a cluster i.e. listen_address must be a "regular" IP address and not a loopback address
Extract data from node
Retrieves data from a cluster into a new stand-alone node. Like running bootstrap to a new node without being added to the cluster. After this operation, the entire database is replaced with data from backup from the seed node.
You need to specify the IP address, HTTP port (usually 80) as well as the system user and the password for the node you are to retrieve the data from, and the system user and the password for the local node where the data will be replaced.
For this function to work, the following must apply;
- the local node must access the data node by using the IP address and HTTP Port
- the node with data must access the local node on the rpc_address (same as listen_address) and native_transport_port (normally 9042) and port 7011.
- the following system properties must be added to the local node. Node must be restarted after change
- sitevision.cassandra.start_native_transport=true
- sitevision.cassandra.rpc_address=<valid IP - not loopback. Normally, the same as listen_address>
This function can be used to periodically retrieve data from a production cluster to a test instance. Note, however, that the function is relatively "heavy" for the node you are retrieving data from.
Note that this replaces ALL data on the local node — not just a single website. Whole database replaced.
Change replication factor
Here it is possible to set the replication factor for the cluster. SiteVision handles the replication factor automatically and it is only in cases of error that you need to manipulate it manually. Apart from when new nodes are added to the cluster and when nodes are removed from the cluster, the replication factor should always be the same as the number of nodes in the cluster, including nodes that are down.
System events
During an upgrade, this is interesting to get information about what is happening. What scripts are running, when they are done, how many are left. Displayed here are things that are essential when you add new nodes, shut down, lose contact, and run scripts. You also get information when you start a full indexing (may cause the node to be perceived as "slow")
Log for today
Here you can switch between days.
Properties
Mirroring the most important system properties of Sitevision as well as any changes in custom/conf/sitevision.properties. It is possible to change a value by clicking on it in the list. You can also delete a value by clicking the "X on the right" when you have the mouse cursor in the list (not available for all properties). If you want to add a system property, this is done with the X at the top right.
A change of system properties usually requires a reboot to take effect.
Tasks
Here are the background jobs that SiteVision runs, those that were formerly in the schedule manager. For example, search statistics, availability reports, link checks.
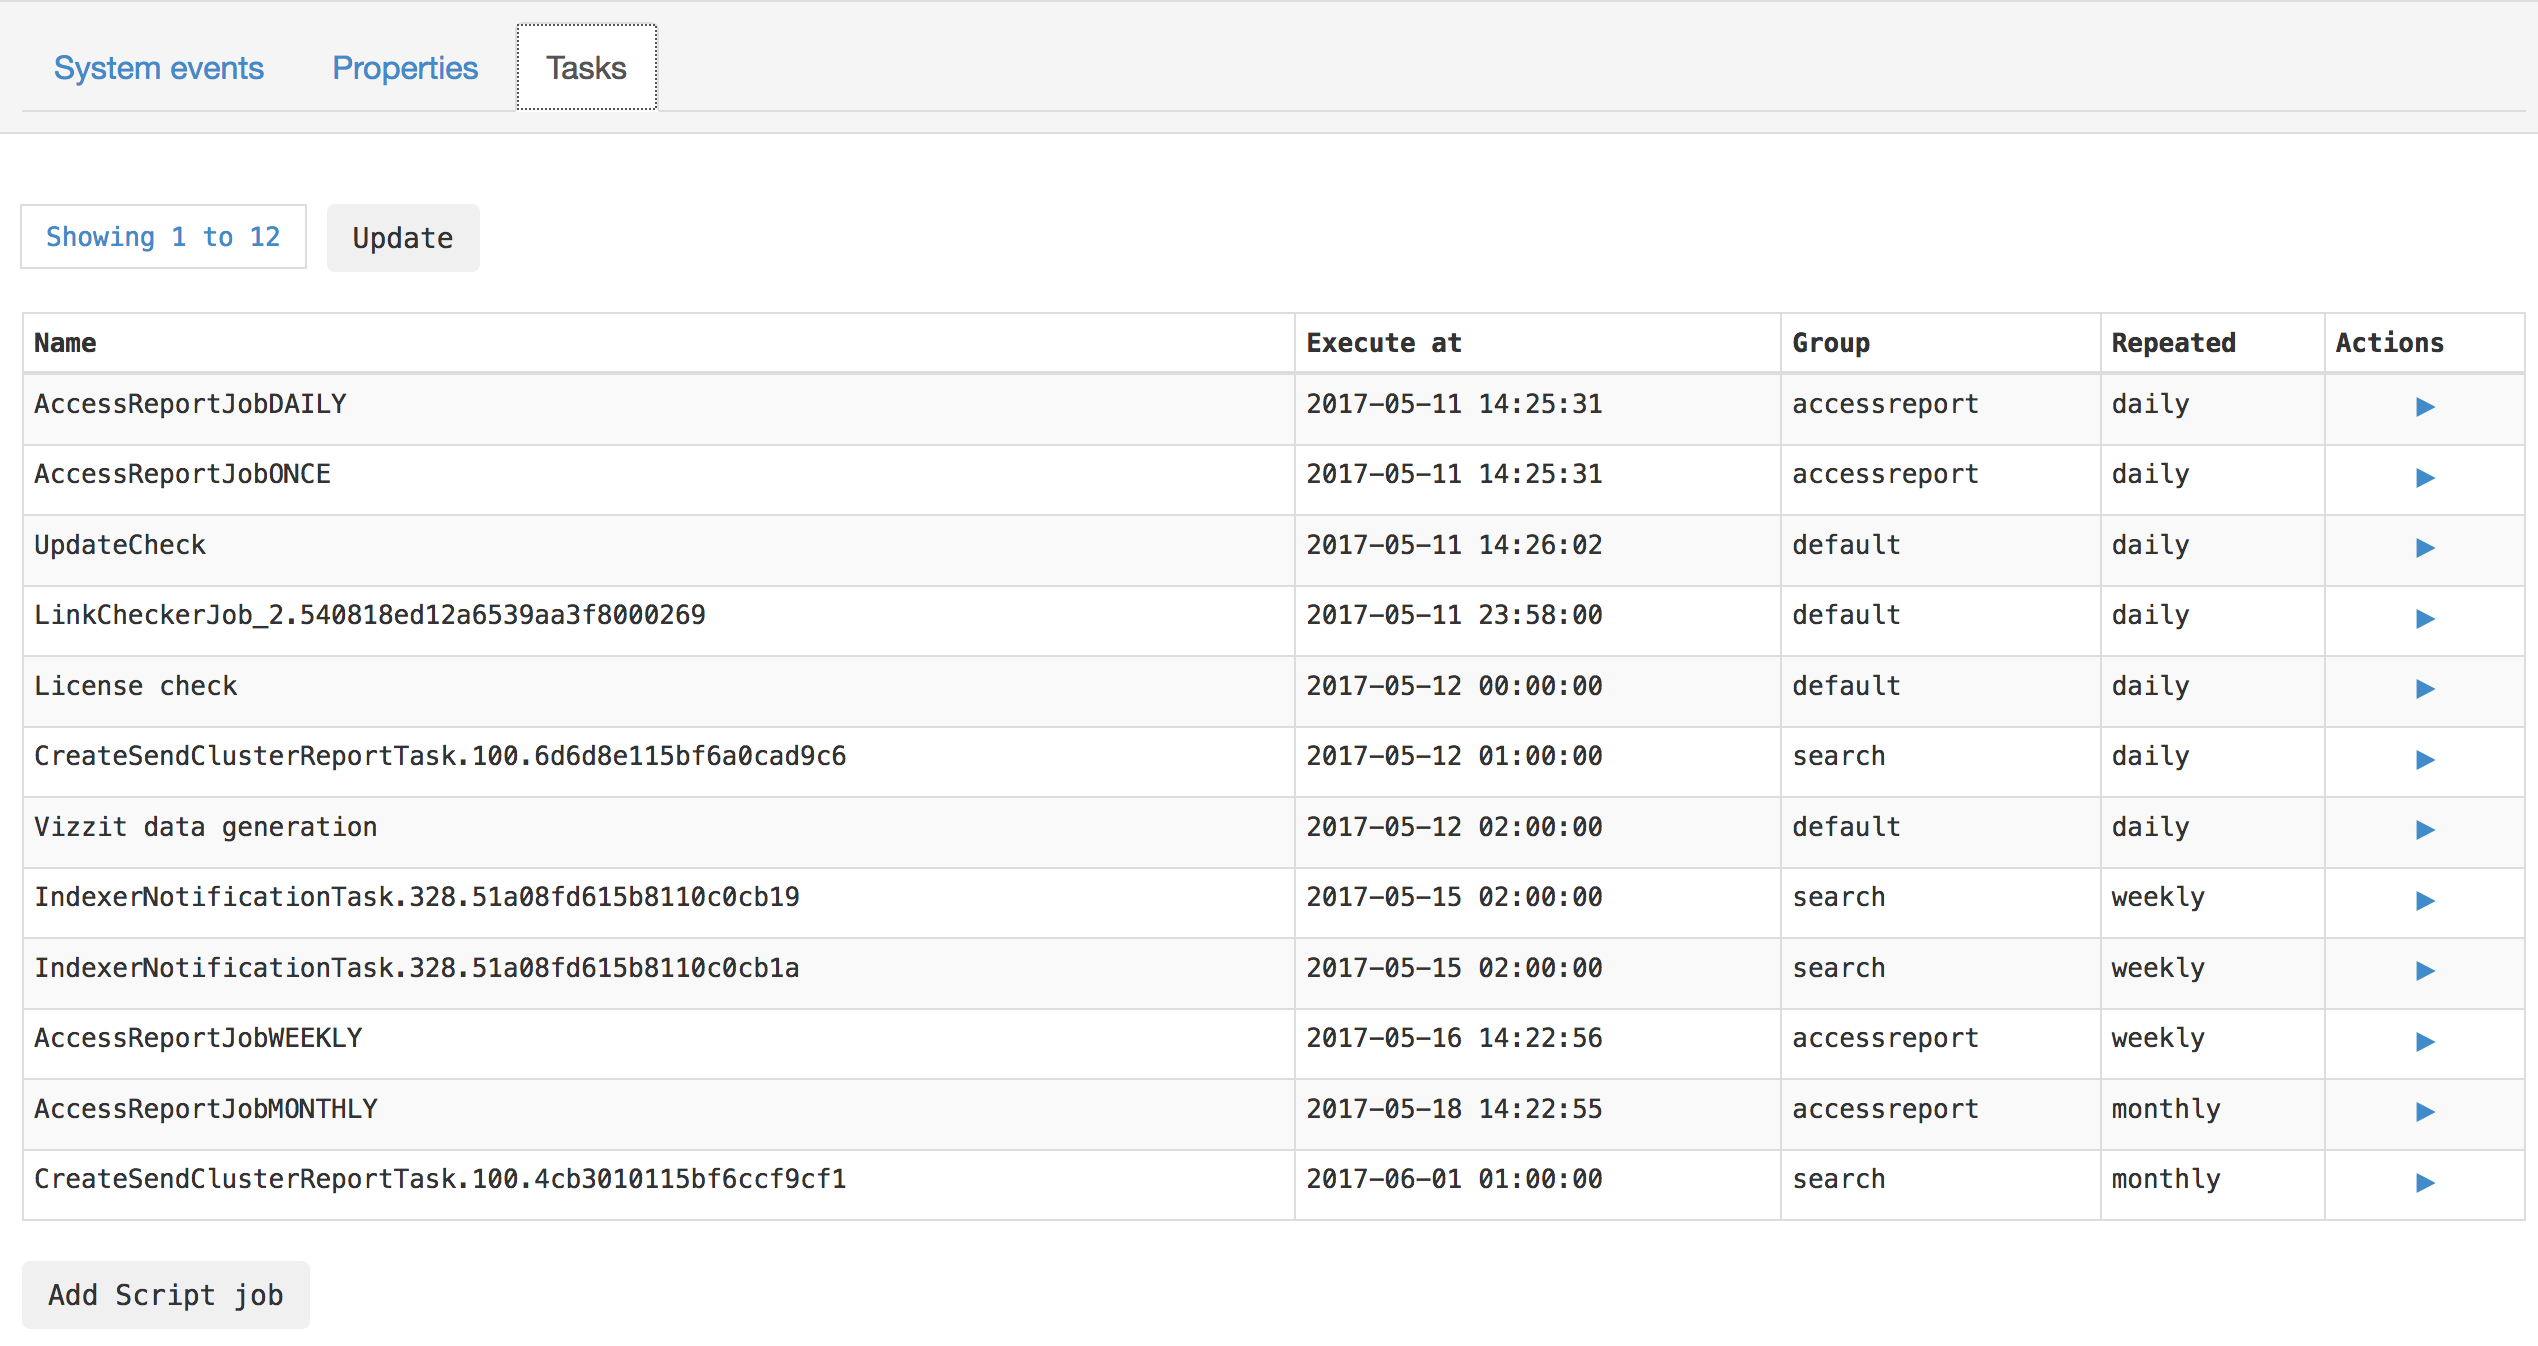
Add script jobs
Here you can also add script jobs to run at certain times. You have access to SiteVision’s Public API and can create various jobs such as clearing news archives.
Script jobs are written in Server-Side JavaScript, just as in a Script module.
SiteVisionUtils is available directly in the context and should not be declared manually.
Use the pre-declared sitevisionUtils variable directly to retrieve other auxiliary classes (Utils) from the API.
Click the Add Script job button to open a new view:
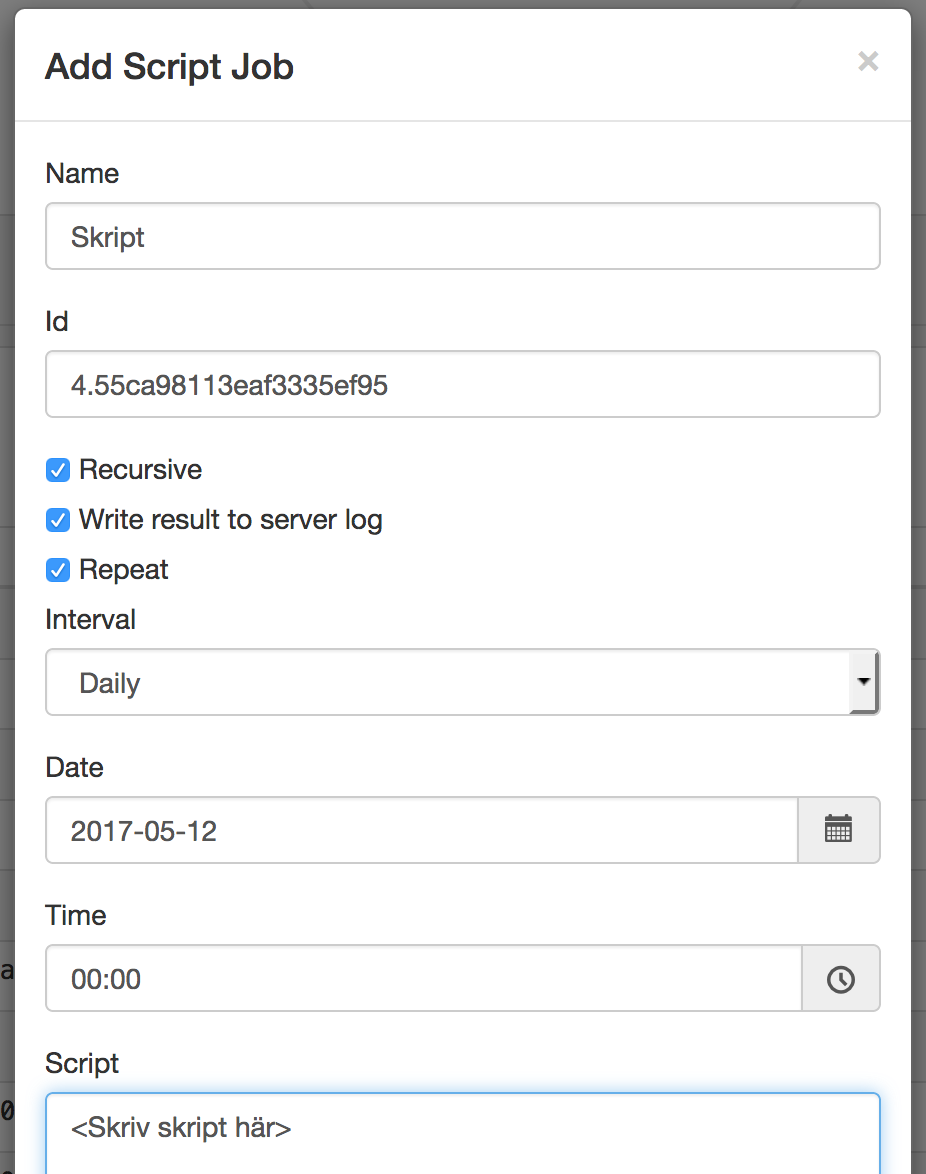
- Name - give the script a name
- ID - Enter the ID number of the website/page/folder/archive from which the script should originate. Note! In order for SiteVision’s public API to be available in the script, an ID must be specified.
- Recursive - Tick this box if the script should apply to all underlying pages. Otherwise, the script only applies to one page.
- Write result to server log - Tick this box to log the results of the script in the server log.
- Repeat - The job can be repeated every 15 minutes/half hour/hour/day/week/month.
- Date - Select when the script job should occur. Click on the calendar icon to display a calendar.
- Time - Select a time for the script job to occur. Click on the clock icon to display different times in a list.
- Script - Here you type the script to run. If you have a clustered environment, the job runs on the node where the script job was added.
Further information for developers (English only)
In the script SiteVision’s public API is available if a start node is selected, see Available elements
You will not access the setting if the site is located in SiteVision Cloud.
You need to log in with the system user to access this feature.
The page published:
 Print page