
help.sitevision.se always refers to the latest version of Sitevision
Virtual groups for SAML
SAML stands for Security Assertion Markup Language and is an XML-based open standard for exchanging authentications and permissions.
SAML is a federated login method that allows you to log in to a website in SiteVision with the account from its own directory service, without having to be directly linked to SiteVision. If a visitor navigates to an address that requires login, they are sent on to the customer's IDP (located in the customer's own environment) where the visitor logs in. When the login is complete, a form with signed information is posted to the site in SiteVision.
Do as follows:
1. Add virtual group
Go to Website settings and click Virtual groups under the Security category. The Virtual Groups dialogue box opens.
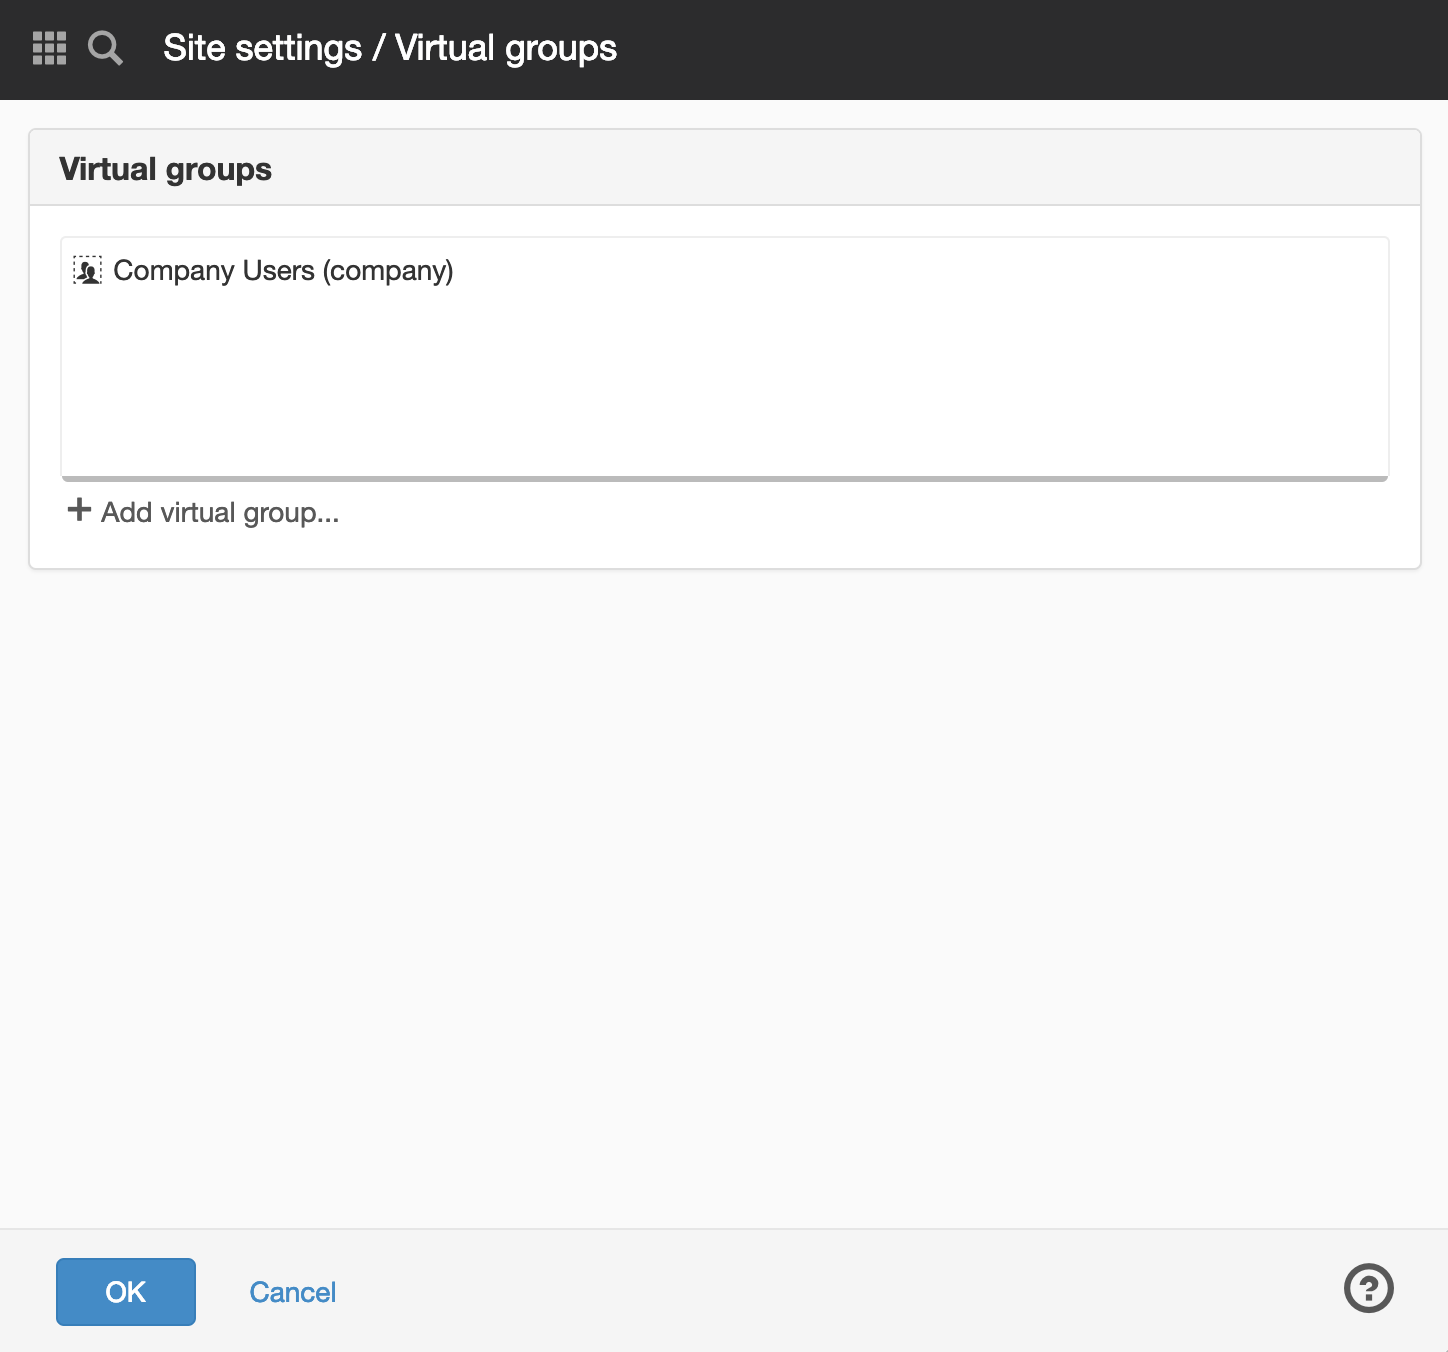
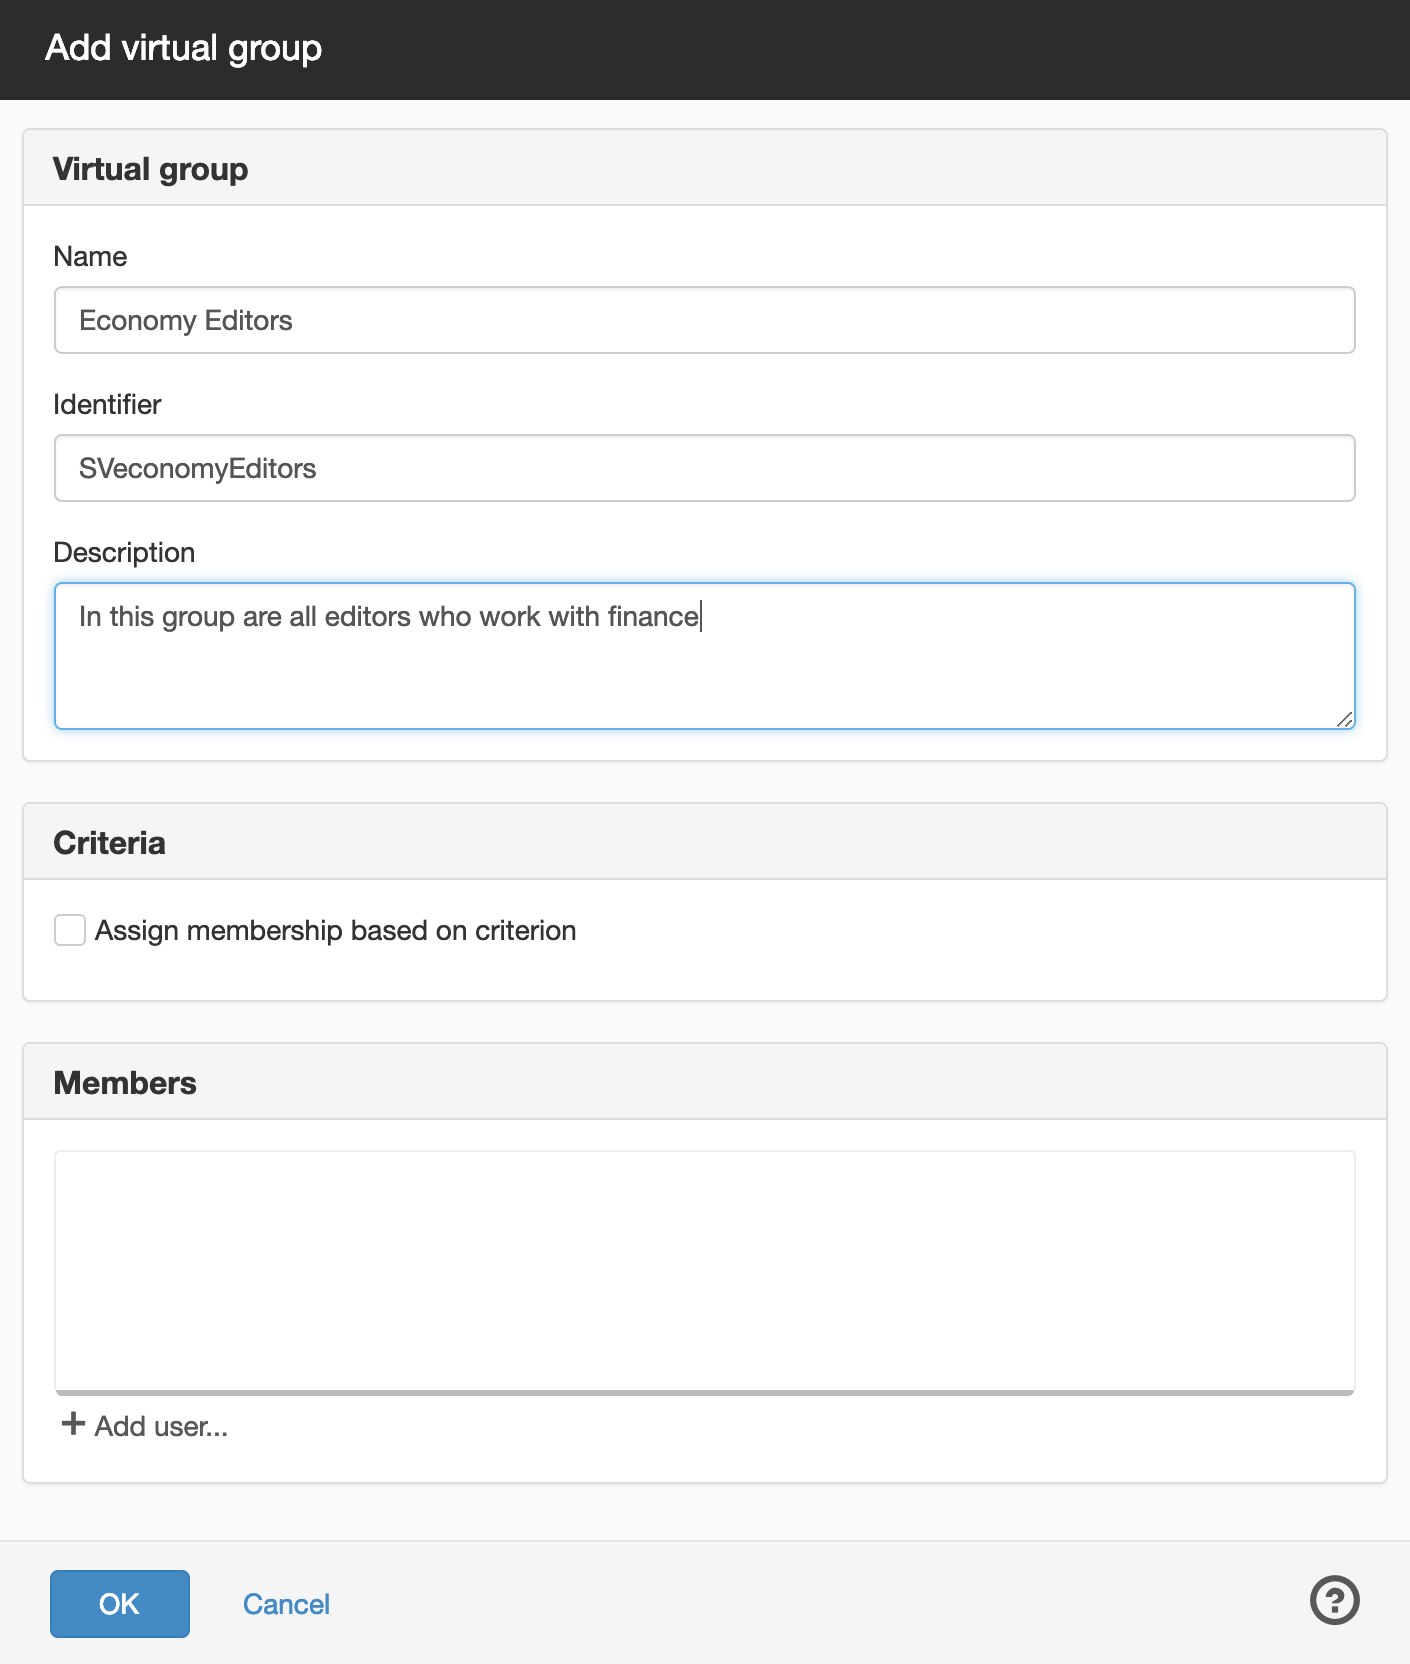
Click on Add Virtual group. The Add Virtual group dialogue box opens.
Fill in Name, Id and a Description if applicable, andCriteria for the virtual group.
Name
Internal work name in SiteVision, which is used for authorisation management.
Id
The value of the group attribute in the external directory service. This can be a name or path, and it must exactly match the information contained in the SAML ticket.
Description
Brief description of the internal documentation in SiteVision. Not mandatory.
Criteria
Here you can add directory criteria, address criteria or attribute criteria for a virtual group. Read more about adding criteria.
You can set up virtual groups in a variety of ways. Here you can see the options you can choose from.
Step 2: Assign permissions
When the Virtual groups are on the website, you can assign permissions to the groups, that is, give them access to the editor and pages that require log in.
Select Properties on the page you want to assign permissions to. Under the Security category, select Permissions. You will now see the Permissions dialogue box.
Click on Add. The Add dialogue box opens.
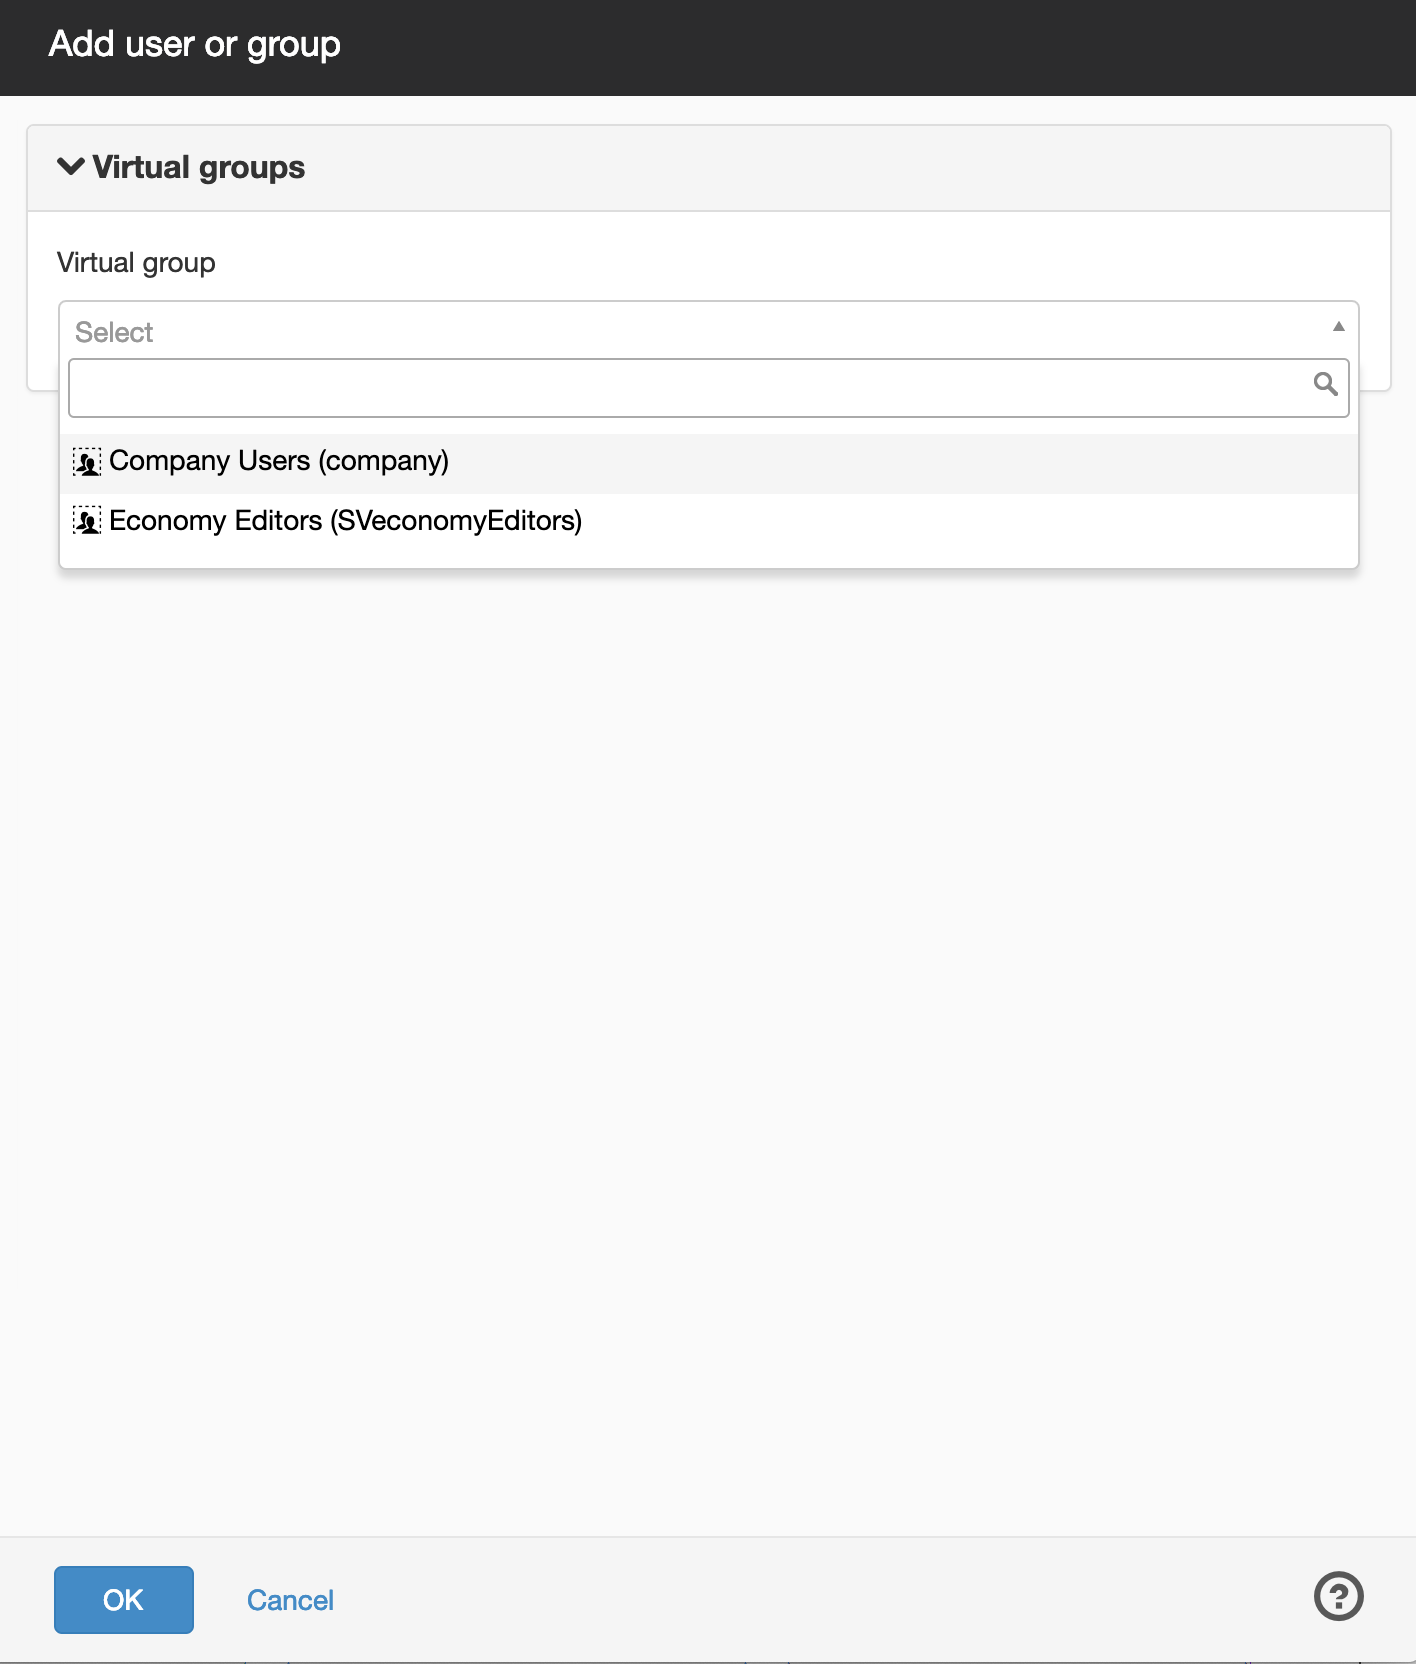
Select Virtual groups from the menu at the top of the dialogue box. Select one of the Virtual groups you created earlier in the list that appears.
Click Ok. You will now return to the Permissions dialogue box.
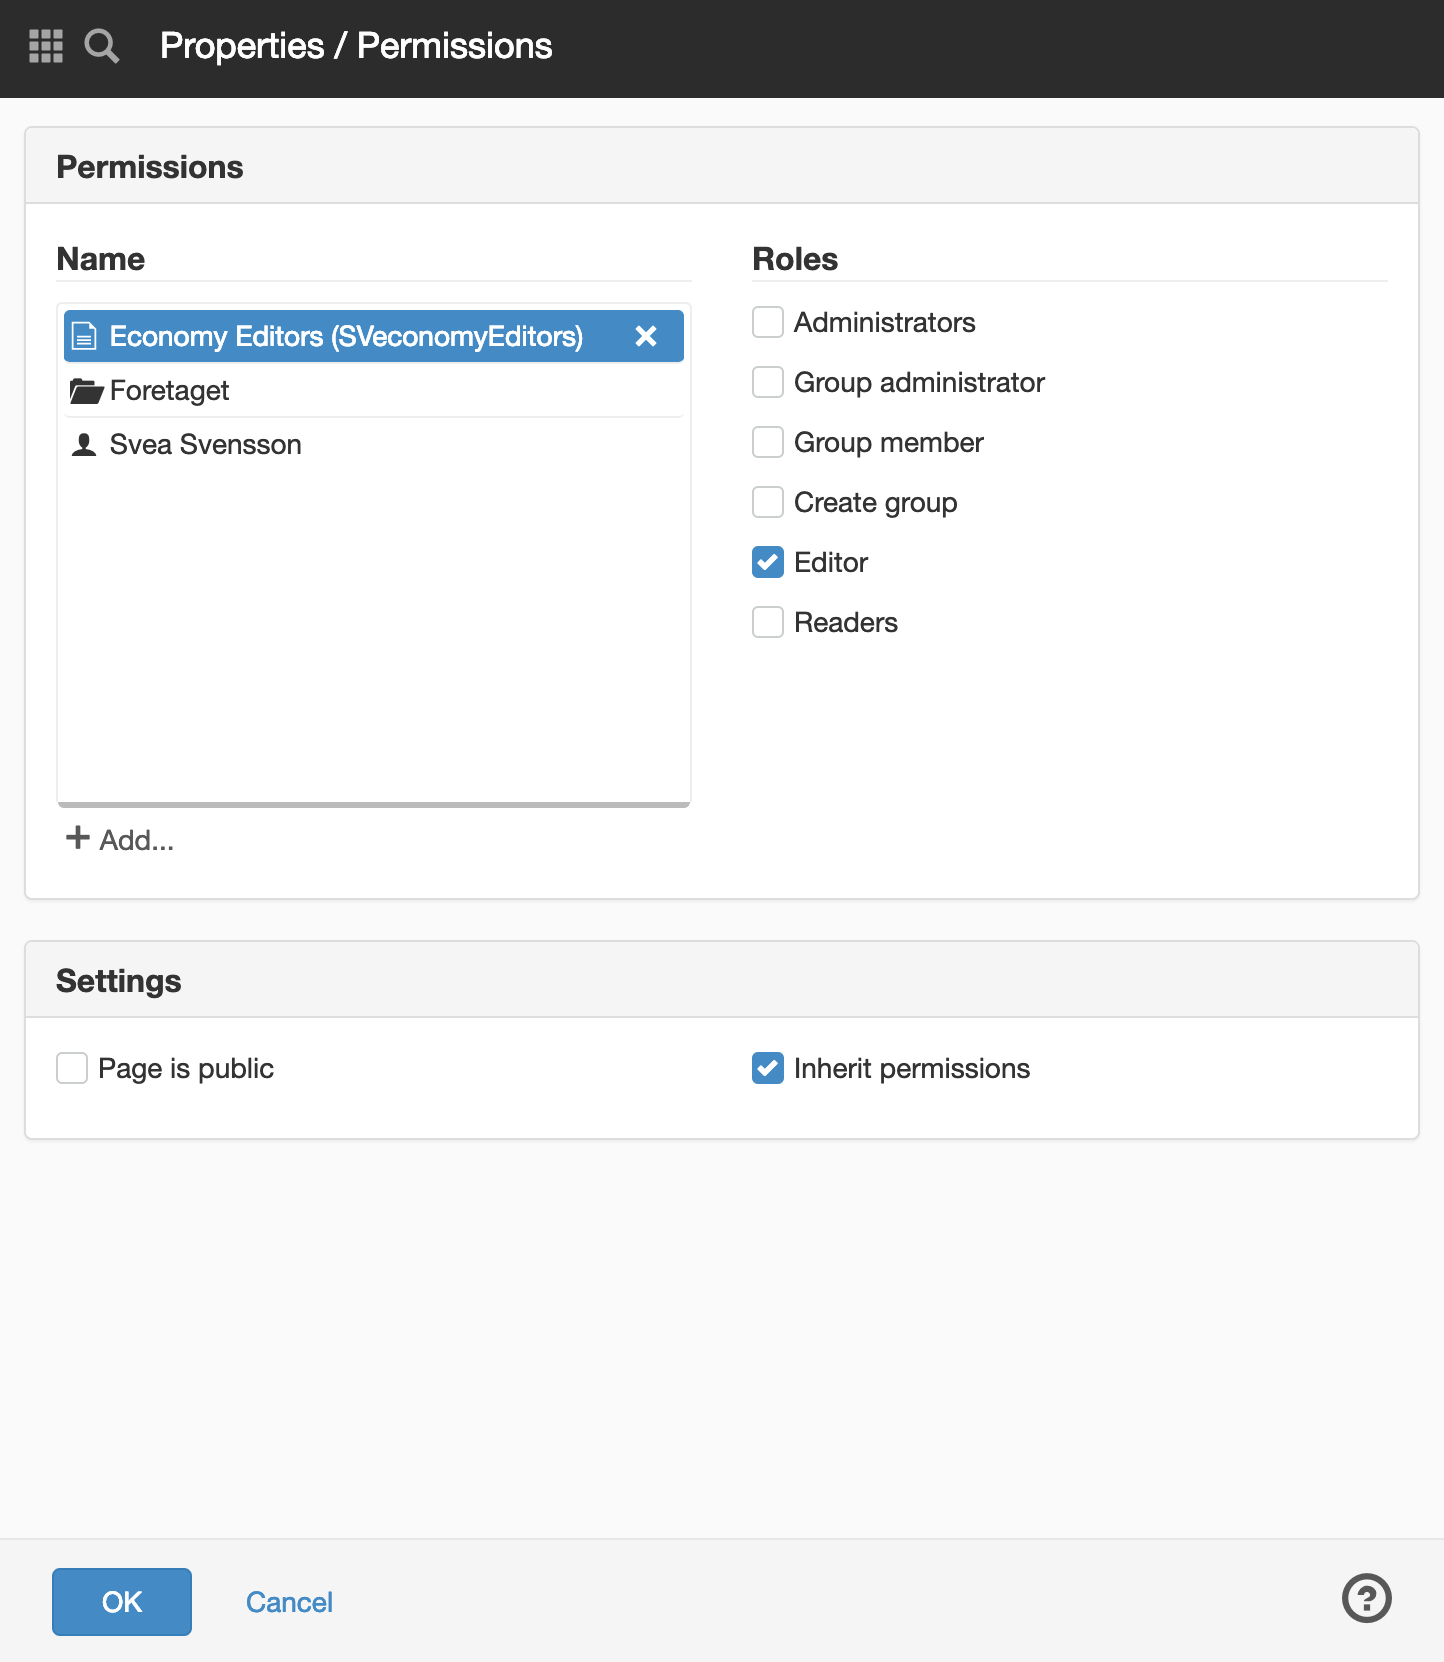
Select the Virtual group you added to the list on the left. Then, tick the role you want to associate the group with.
Click Ok.
The page published:
 Print page