help.sitevision.se always refers to the latest version of Sitevision
Settings

Image
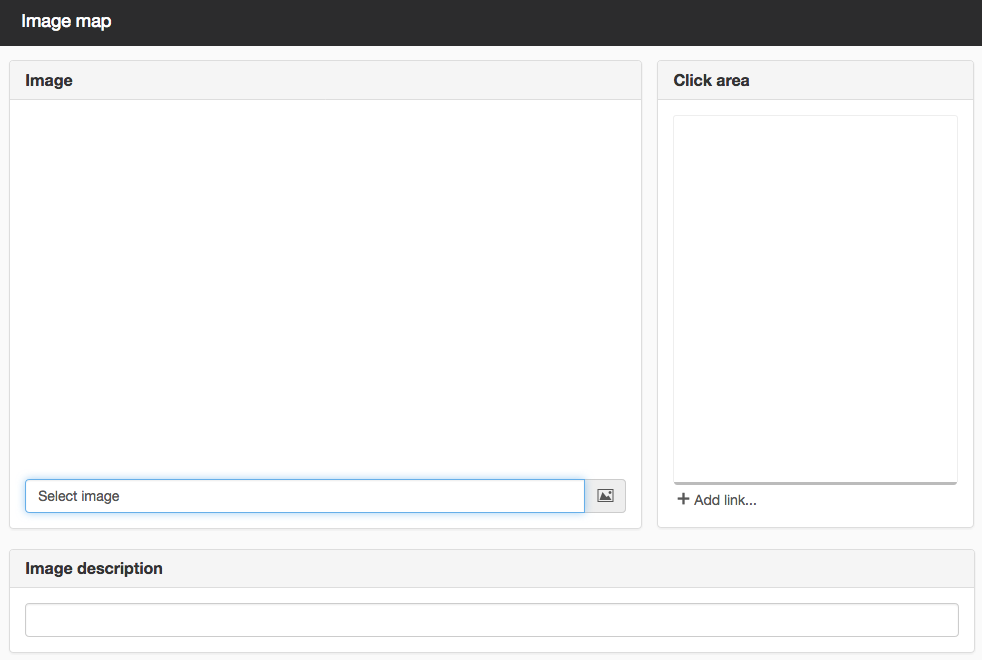
When the settings are opened for Image map, you start by selecting an image to create a link from. To do this, click on Select Image or the image icon.
Click area
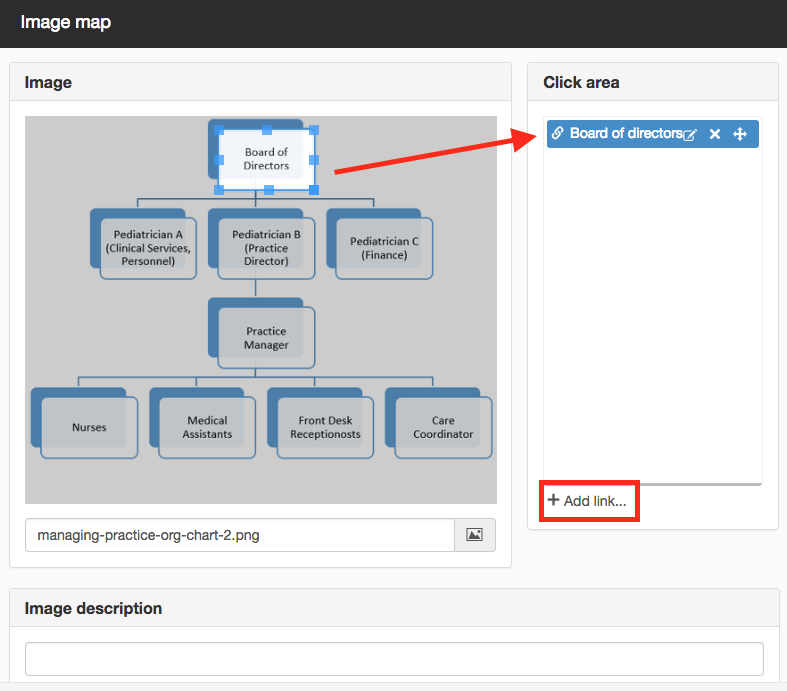
Click the Add link link to select a page that a part of the image should link to. Designate a page and give it a name. Click OK.
A blue rectangle is now displayed that you can move and use to select a part of the image.
Change the size of the rectangle by dragging the corners. Move it to the correct position.

Selected area that links to the Board of directors
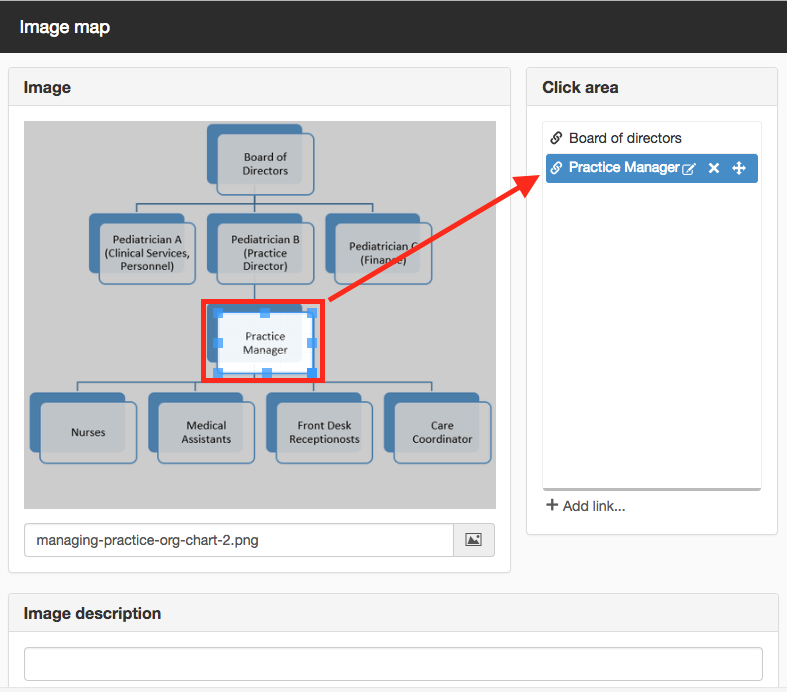
To select an additional part of the image, click Add link under Click areas. A blue rectangle appears again that you can move and use to select a part of the image.

Selected area that links to page about Practice Manager
Repeat for other boxes in the organisation chart.
Change selected area
Under Click areas, select the area you want to change from the list, and then click the Change icon. This opens a view where you can change the name of the link or link target:

Delete selected area
Under Click areas, select the area you want to delete from the list and then click the Delete icon. The selected area is deleted without a check query.
Image description
The entire image used in the Image map can be given an image description text. Note, therefore, that there is only one description text associated with the image.
There is only one alt text but each link has a title. The links name becomes title-links.
The page published:

 Print page