
help.sitevision.se always refers to the latest version of Sitevision
Rightclick on a table/text
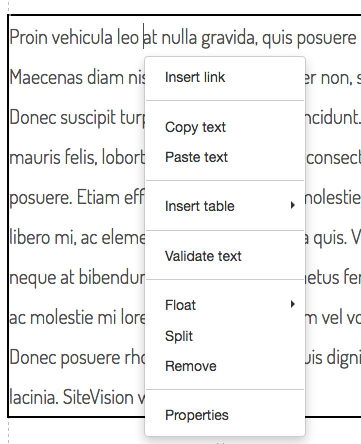
Right click on a text
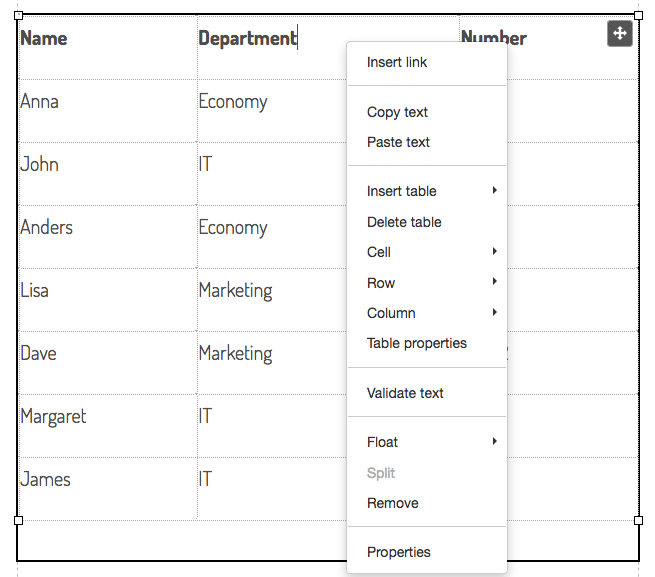
Right click on a table
Insert link
Select this option to insert a link of the selected text.
Copy text
Copied selected text.
Paste text
Pastes the cut or copied text where you have the cursor.
Insert table
To insert a table, right-click on the text where you want to insert a table and select the option "Insert table".
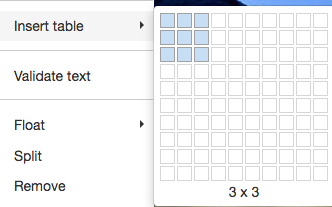
You will then have to choose how many rows and columns you want in your table to begin with. Select as many rows and columns as you want, however, there is a maximum of 10 rows and 10 columns. If you want more rows or columns, you can add them retrospectively (or use the icon in the toolbar to select "Other size").
Delete table
To delete an entire table, right-click on a table and select the option "Delete table".
You will not receive a confirmation question. The table is deleted immediately.
Cell
If you right-click Cell, you have three options:
- Merge cells - select two cells to merge into one cell.
- Separate cells - if you select two merged cells, you can choose to separate them.
- Cell properties - you can only make settings on cell properties if you are not using a table type. If you are using a table type, information about this is displayed when you select this option:
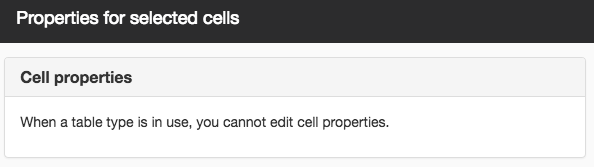
If you have a custom table, you can set vertical alignment and background colors for cells.
Row
Right-clicking the row gives you eight options:
- Insert row before - inserts a row in the table before the selected row
- Insert row after - inserts a row in the table after the selected row
- Delete row - deletes the selected row in the table. No confirmation is displayed, the row disappears immediately.
- Cut row - cut an entire row
- Copy row - copies an entire row
- Paste row before - pastes row before selected row
- Paste row after - pastes row after selected row
- Row height - minimum height of the row. You can set the row height in percent, em, or pixels.
Column
Right-clicking on a column gives you four options:
- Insert column before - inserts a column in the table before the selected column
- Insert column after - inserts a column in the table after the selected column
- Delete column - deletes the selected column in the table. No confirmation is displayed, the column disappears immediately.
- Column width - minimum width of the column. You can set the column width in percent, em, or pixels.
Table properties
Here you can change the table type, select whether rows or columns are heading cells, select a width, and enable/disable caption.
- Table type
- Heading cells
- Width
- Use table description
You can also create a custom table (if you have permissions) and choose to show or hide the table in breakpoints. Read more about Table Properties.
Validate text
Validates the text you have selected.
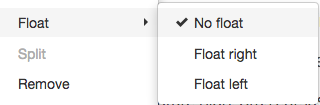
Float
Select this option to flow the text module to the left or right of what is below.
To see the Appearance tab, you must have the "Manage table" permission.
(In order to use the float, it is required that "Manage page layout" is ticked under "Appearance")
Split
Select this option to split the text module at the cursor. This will create a new text module.
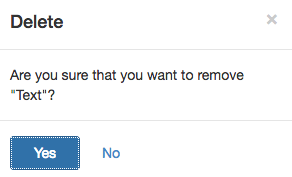
Remove
Delete selected text module A confirmation window will appear:
Properties
This will display all module properties.
The page published:
 Print page