

Getting Started (Technical Requirements)
How do I access the app? And how do I make it available to my employees? To run the app, you need:
- Have the correct license (Sitevision Intranet 2022)
- Download the Rest app from the Sitevision Marketplace (It’s added as an add-on to your intranet and provides data to the mobile app)
- Follow steps 2–6 below
- Download the “Sitevision Intranet” app to your phone from either Google Play or the iOS App Store.
Follow this step-by-step guide to get started.
1. Download the REST app
Go to the Sitevision Marketplace via your intranet. In the Marketplace, search for “intranet app” or “mobile backend.” If you have the correct license for your intranet, you can download the REST app. If you don’t, contact your account manager. You can find contact information on your profile page under “My Pages.”
2. Set up the Rest app
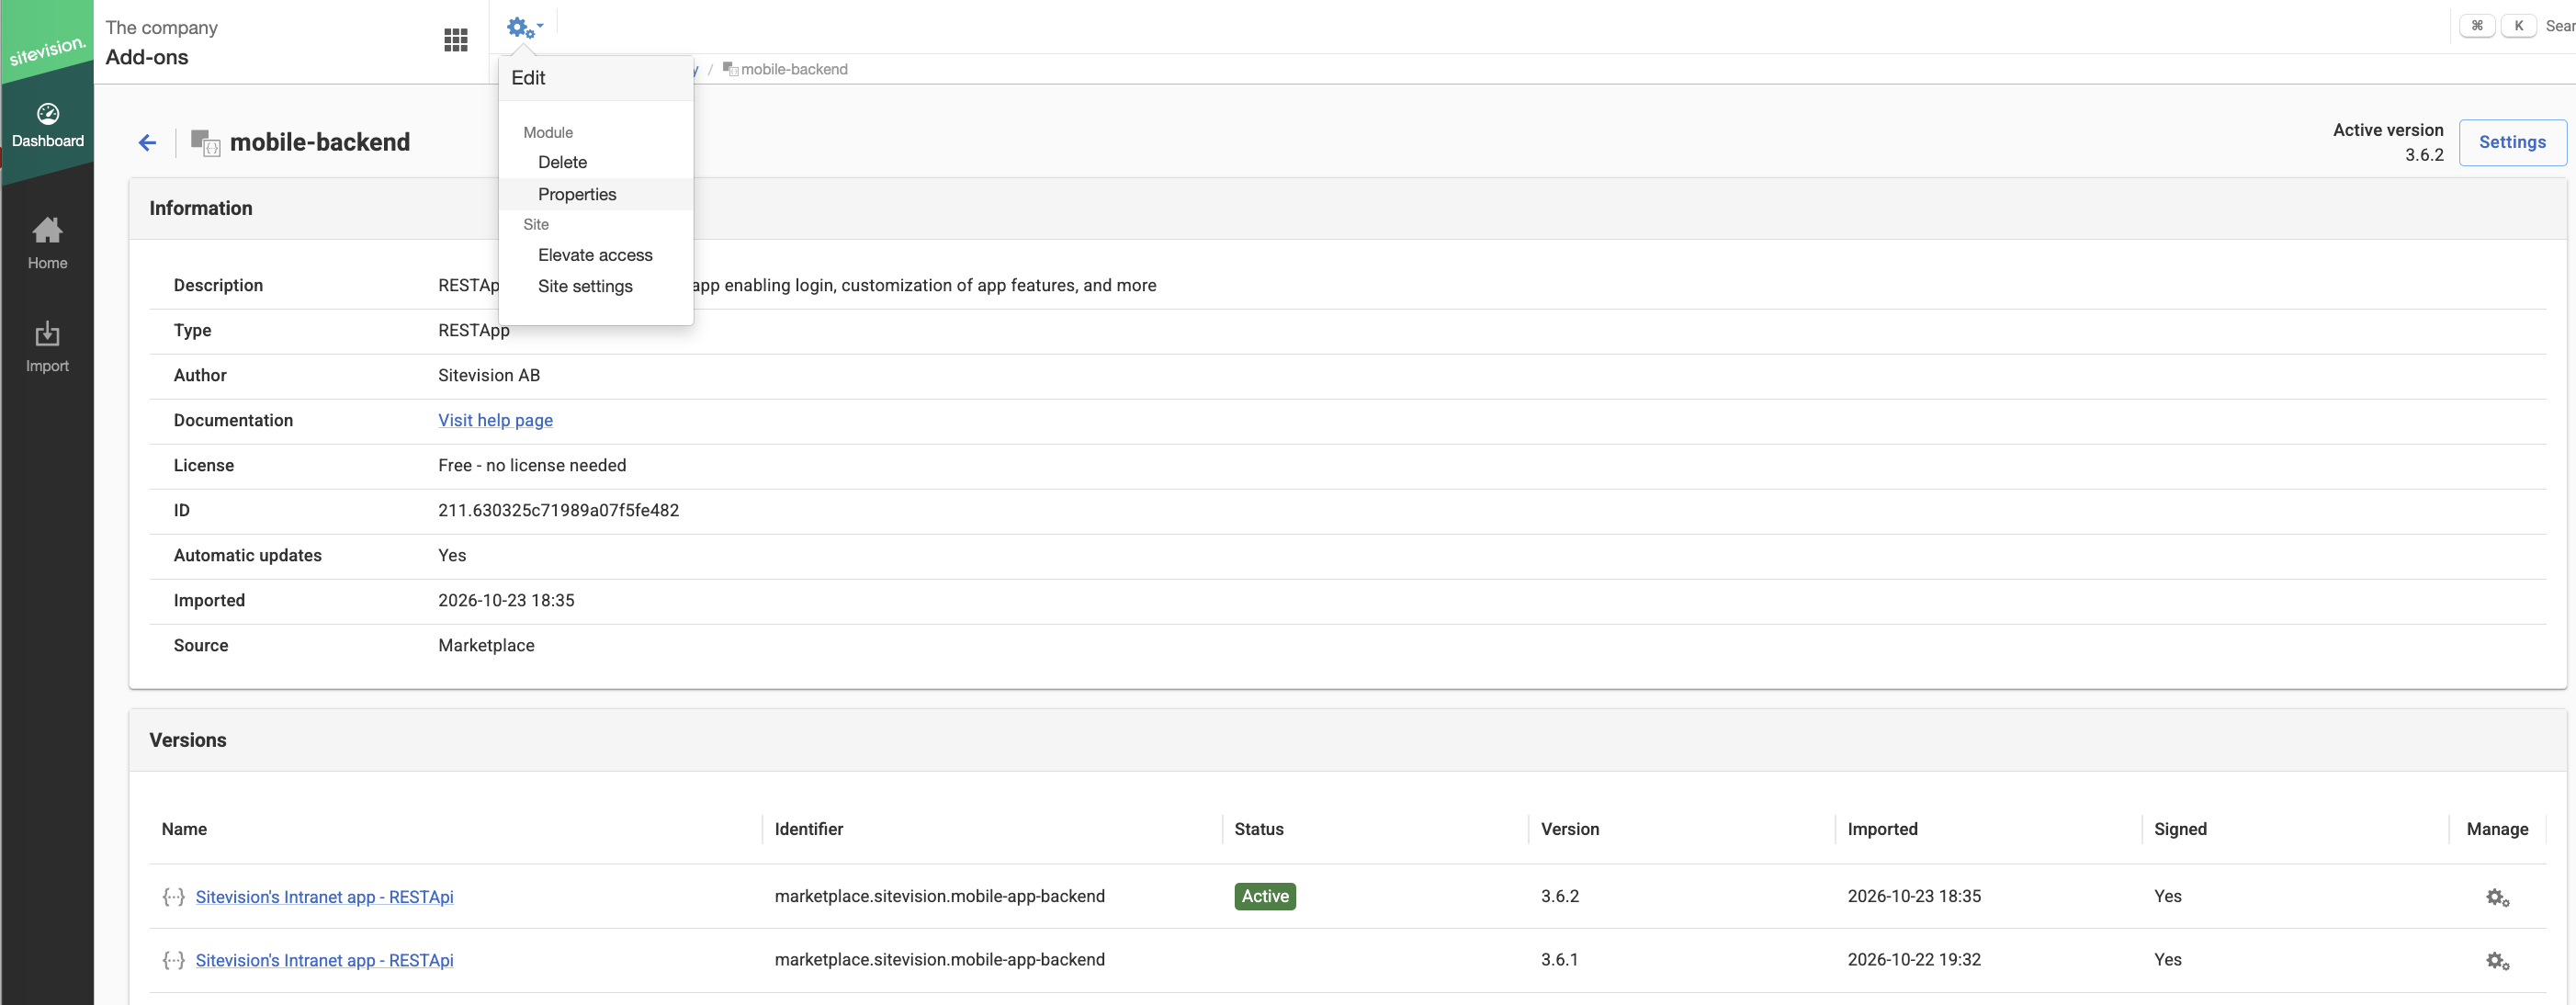
After you’ve downloaded the Rest app, go to the Add-ons view on your intranet. All the add-ons you have on the intranet are listed there. The list now includes the “mobile-backend” add-on—this is the RESTApp where you configure settings. Click on the RESTApp, then click the gear icon in the toolbar and select Properties.
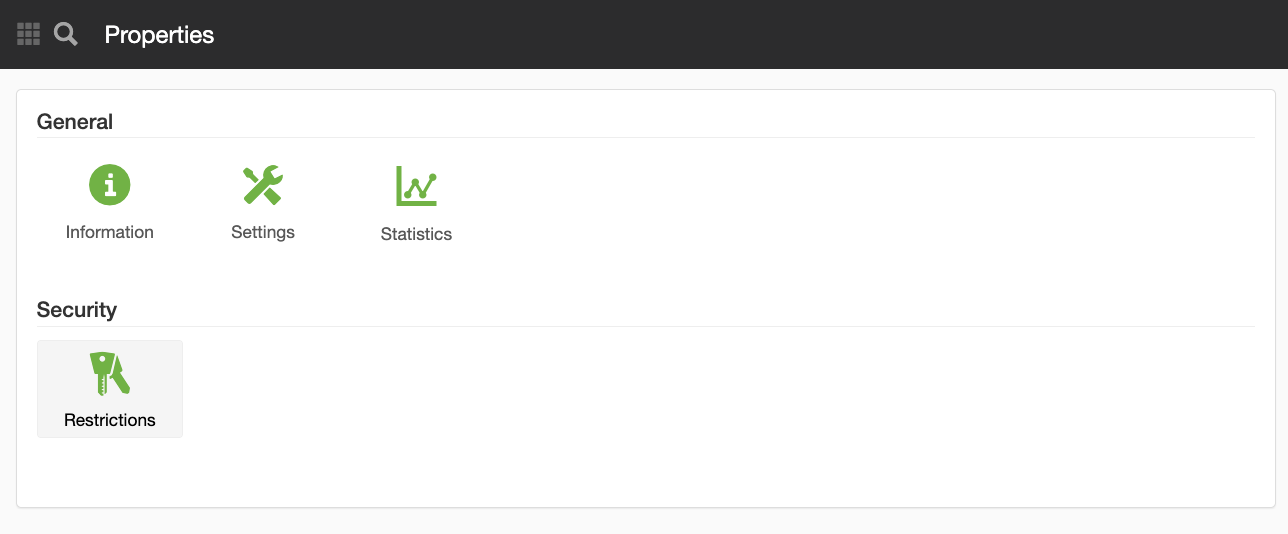
Select the “Restrictions” option
Under the "Restrictions" option, configure it so that "Anonymous" users have the GET HTTP method and "Logged-in users" have the GET, POST, PUT, and DELETE HTTP methods.
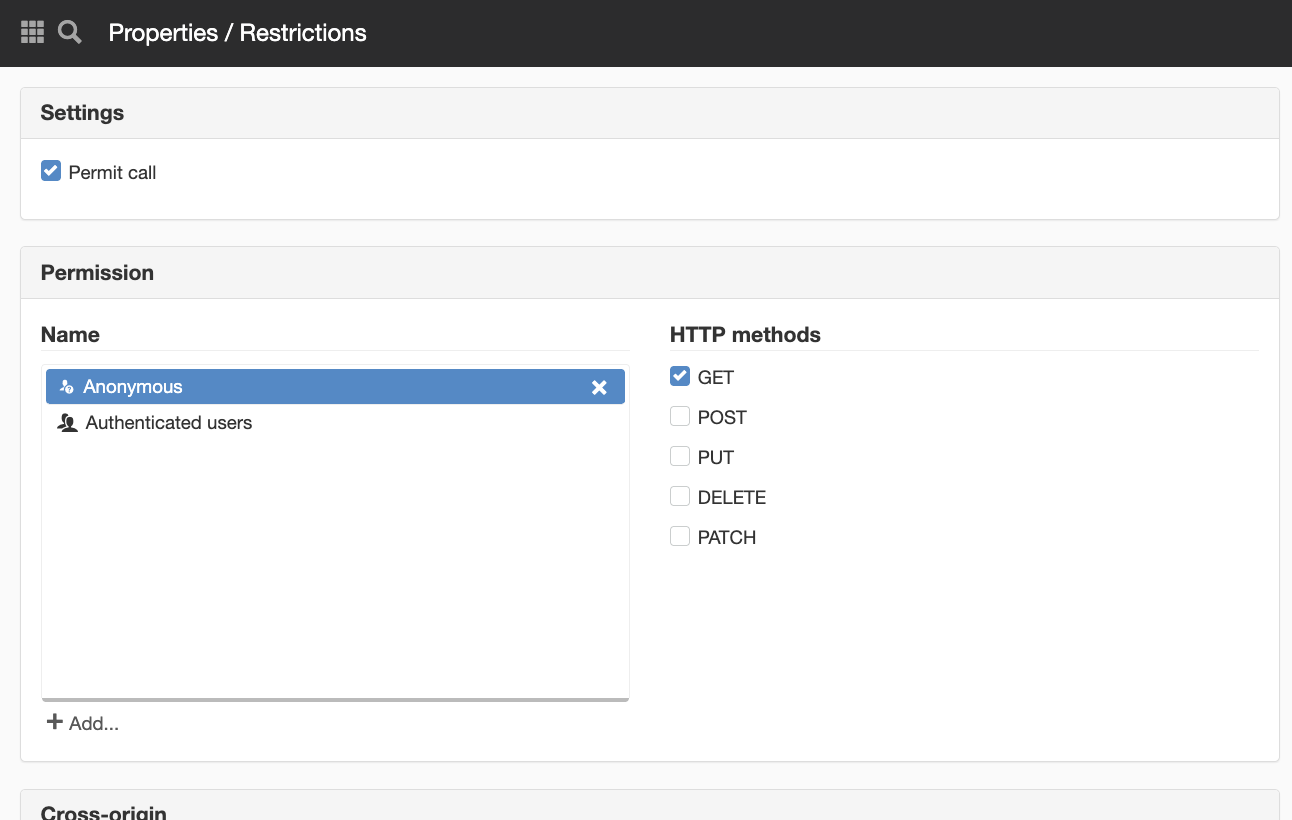
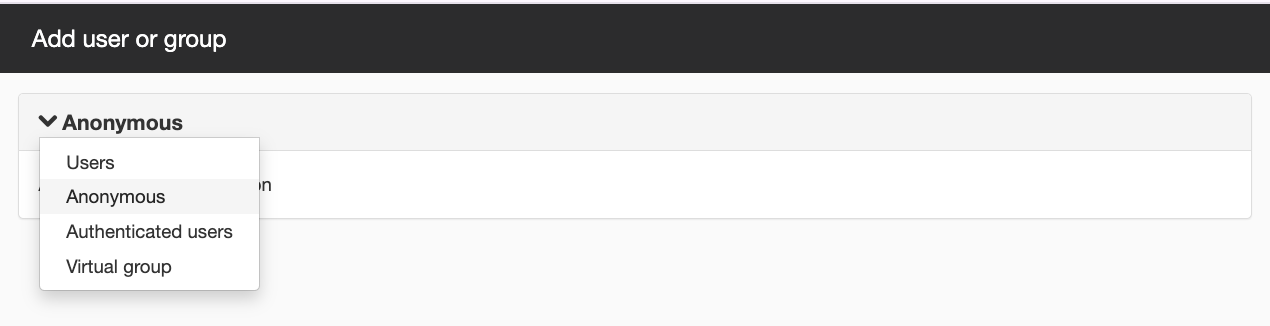
"Anonymous" does not appear in the view immediately; click the "Add" link to select "Anonymous."
Read the page about Sitevision's intranet app—RESTApi—to learn how to configure additional settings in the app
3. Set up login
You’ve now installed the RESTApp. It’s time to set up login. Go to the website settings and scroll down to the oAuth2 Provider panel. Open that panel and enable the feature.
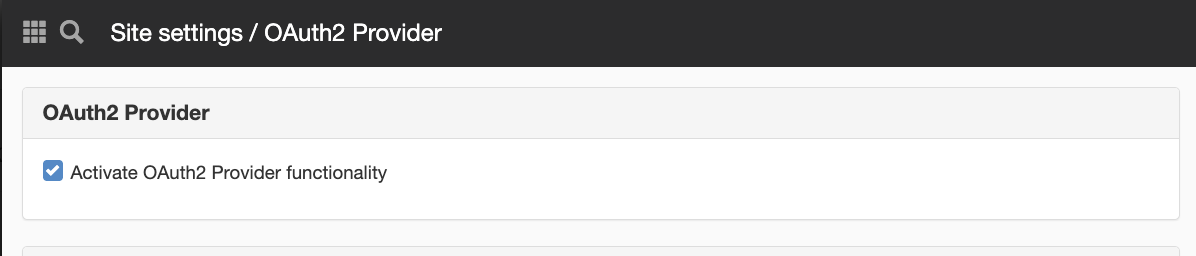
Then click "Add OAuth2 Credentials"
Fill in the information as shown in the image below:
Scopes: ALL
Redirect URIs: sitevision://home
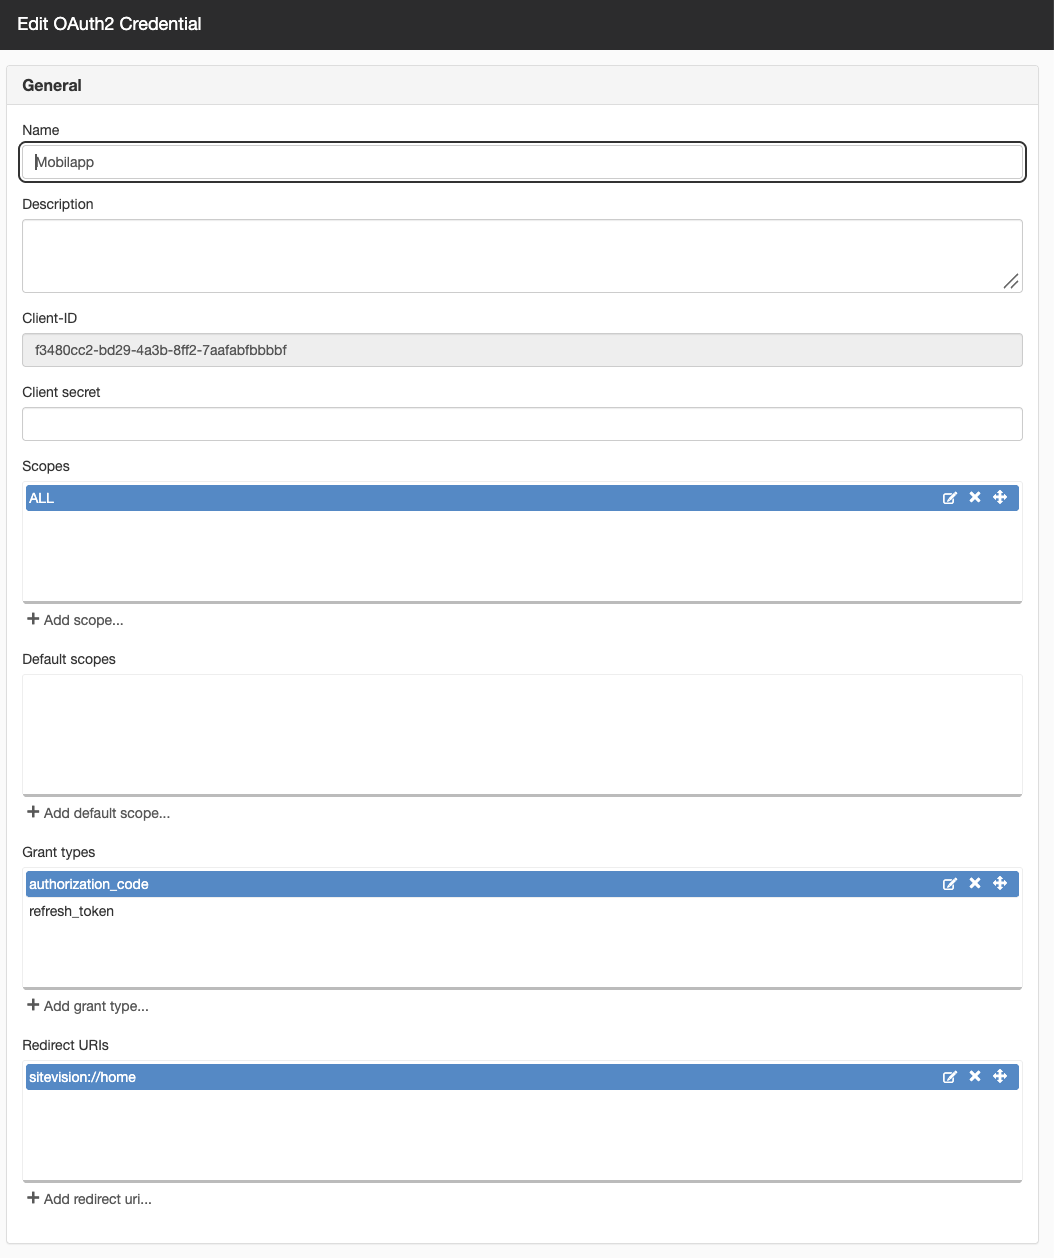
Then click OK again and exit the website settings.
4. Set up the mobile app configuration
You’re almost done. The next step is to set up the mobile app. Go to Website Settings and scroll down to the Mobile App panel. Enable the mobile app and select your newly set up OAuth2 provider as the login method.
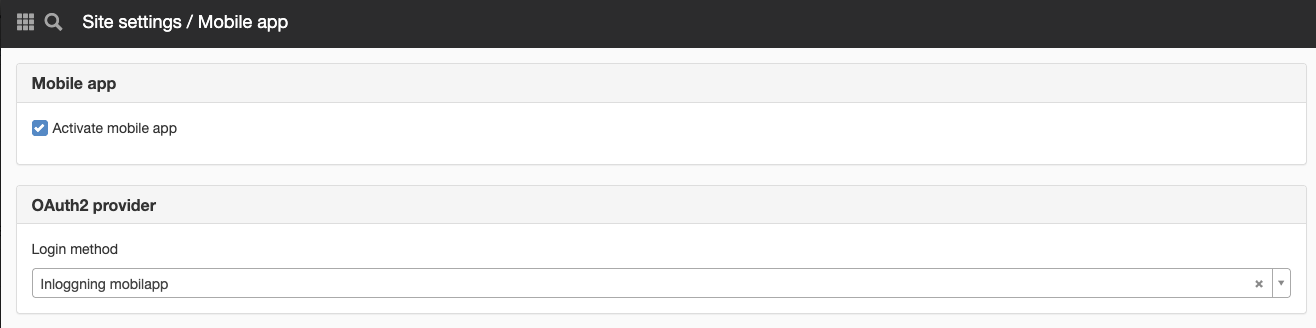
Under the "Mobile App" panel in Site Settings, you can configure additional settings.
News
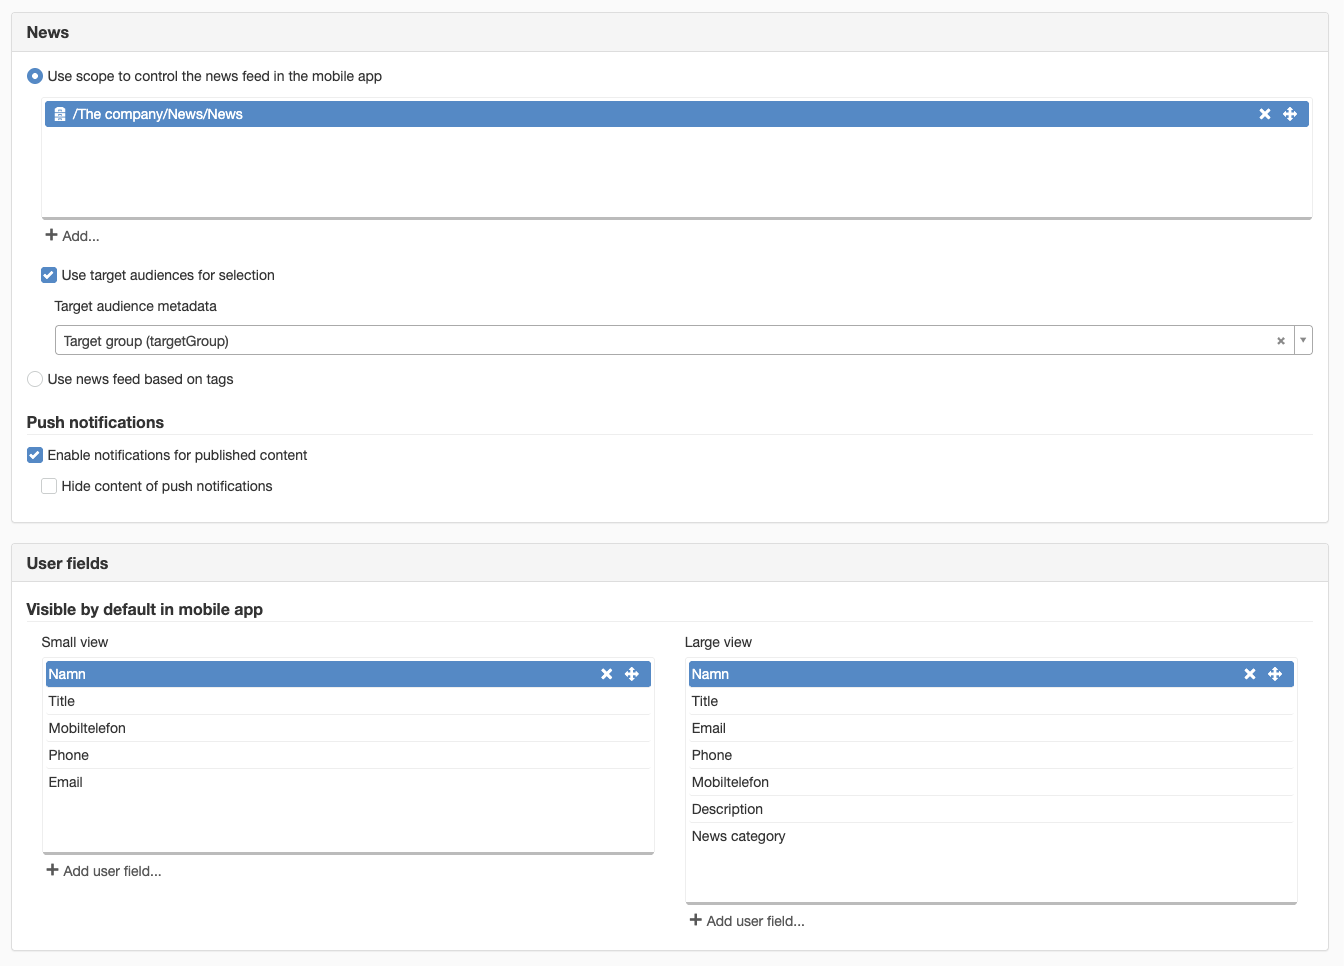
There are several ways to choose which news items to display in the app.
1. Use scope to control the news feed in the mobile app
Here, you can select the archives to be active in the mobile app. Click the Add Archive button to select the archives to be active.
Use news feed based on tags
You can also select the tag groups and tags that will control the news feed in the mobile app. One example might be allowing the user to choose which news items they want to see.
2. Use target audience for selection
Here you can select the audience metadata—single-selection or multi-selection audiences—that are set up on the website for the audiences you want your mobile app to use as the basis for displaying news.
To achieve the most effective personalization, we recommend using tags
Select tag groups
Select a tag group that you have set up. The tag group selected here must be set up as the tag group for the news archive where the news items are located.
Tags
Here, you select the tags that must be assigned to all users. These could include, for example, “company,” “COVID,” “general,” etc.
Tags from user fields
In addition to the required tags in the tag groups, you can also supplement them with tags from user fields. Here, for example, you can select the user fields “Department,” “City,” “Country,” etc.
If the “Örebro” tag you’ve applied to a news item matches the logged-in user’s “Örebro” value in the user field, the user will see that news item in the app.
Additional Ways to Personalize the News Feed
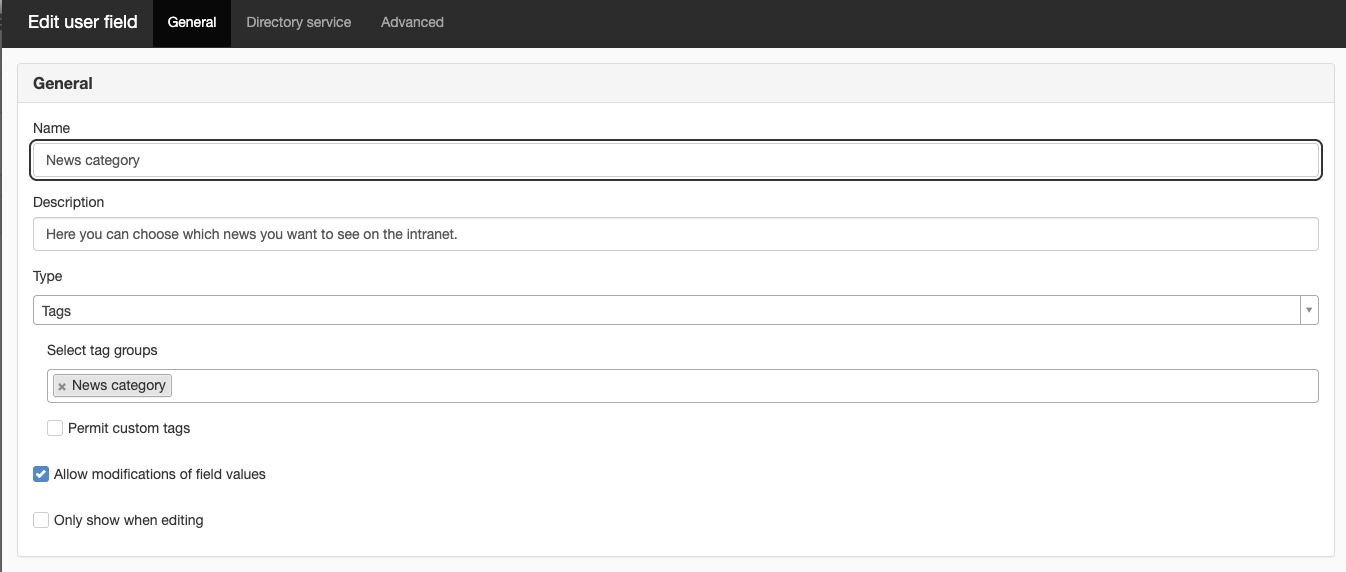
In addition to the options above, there are other ways to let users choose which news items they want to see in their feed. To do this, create a user field under "Site Settings"/"Social Collaboration." The user field should be of the “Tag” type, and there you select a tag group. Add the newly created “User Field” to your users’ profile pages so they can then choose the tags they want to follow.
Enable push notifications to mobile devices
Check this box if you want the option "Send push notifications to mobile users" to appear when you publish a news article.
Hide content in push notifications
Check this box if you do not want content to appear in the push notification.
5. Download the app from Google Play or the App Store
Once you’ve configured all these settings, you’re ready to download the app to your Android External link, opens in new window. or iPhone External link, opens in new window.. After downloading and launching the app, enter the domain you want to connect to. Type in the domain and click “Log In.” A web page will open, and you’ll be prompted to log in with your credentials. These are the exact same credentials you use to log in to the intranet on a computer. Once you’ve logged in, the app will remember your login details, so you won’t need to log in again—you’ll always be logged in.
6. Done!
You’re now logged in and ready to use all the features. Feel free to explore the different sections available in the mobile app.
The page published:
 Print page
help.sitevision.se always refers to the latest version of Sitevision