
help.sitevision.se always refers to the latest version of Sitevision
Configure SAML
SAML stands for Security Assertion Markup Language and is an XML-based open standard for exchanging authentications and permissions.
SAML is a federated login method that allows you to log in to a website in SiteVision with the account from its own directory service, without having to be directly linked to SiteVision. Put simply, a login using SAML consists of three parts, one user, one Identity Provider (IdP), and one or more Service providers (SP).
Configure SAML in SiteVision
Before you start to make settings in SiteVision, it is important that you have working IdP metadata.
Learn more about IdP metadata and what SiteVision expects.
Certificate
With the configuration, SiteVision creates a SHA 256 certificate that is added to a keystore in the root of the file archive. The keystore is password protected with a generated password that is saved in the filter configuration.
To do this, follow these steps
In SiteVision, you can find the SAML settings via the Login Panel under Website Settings.
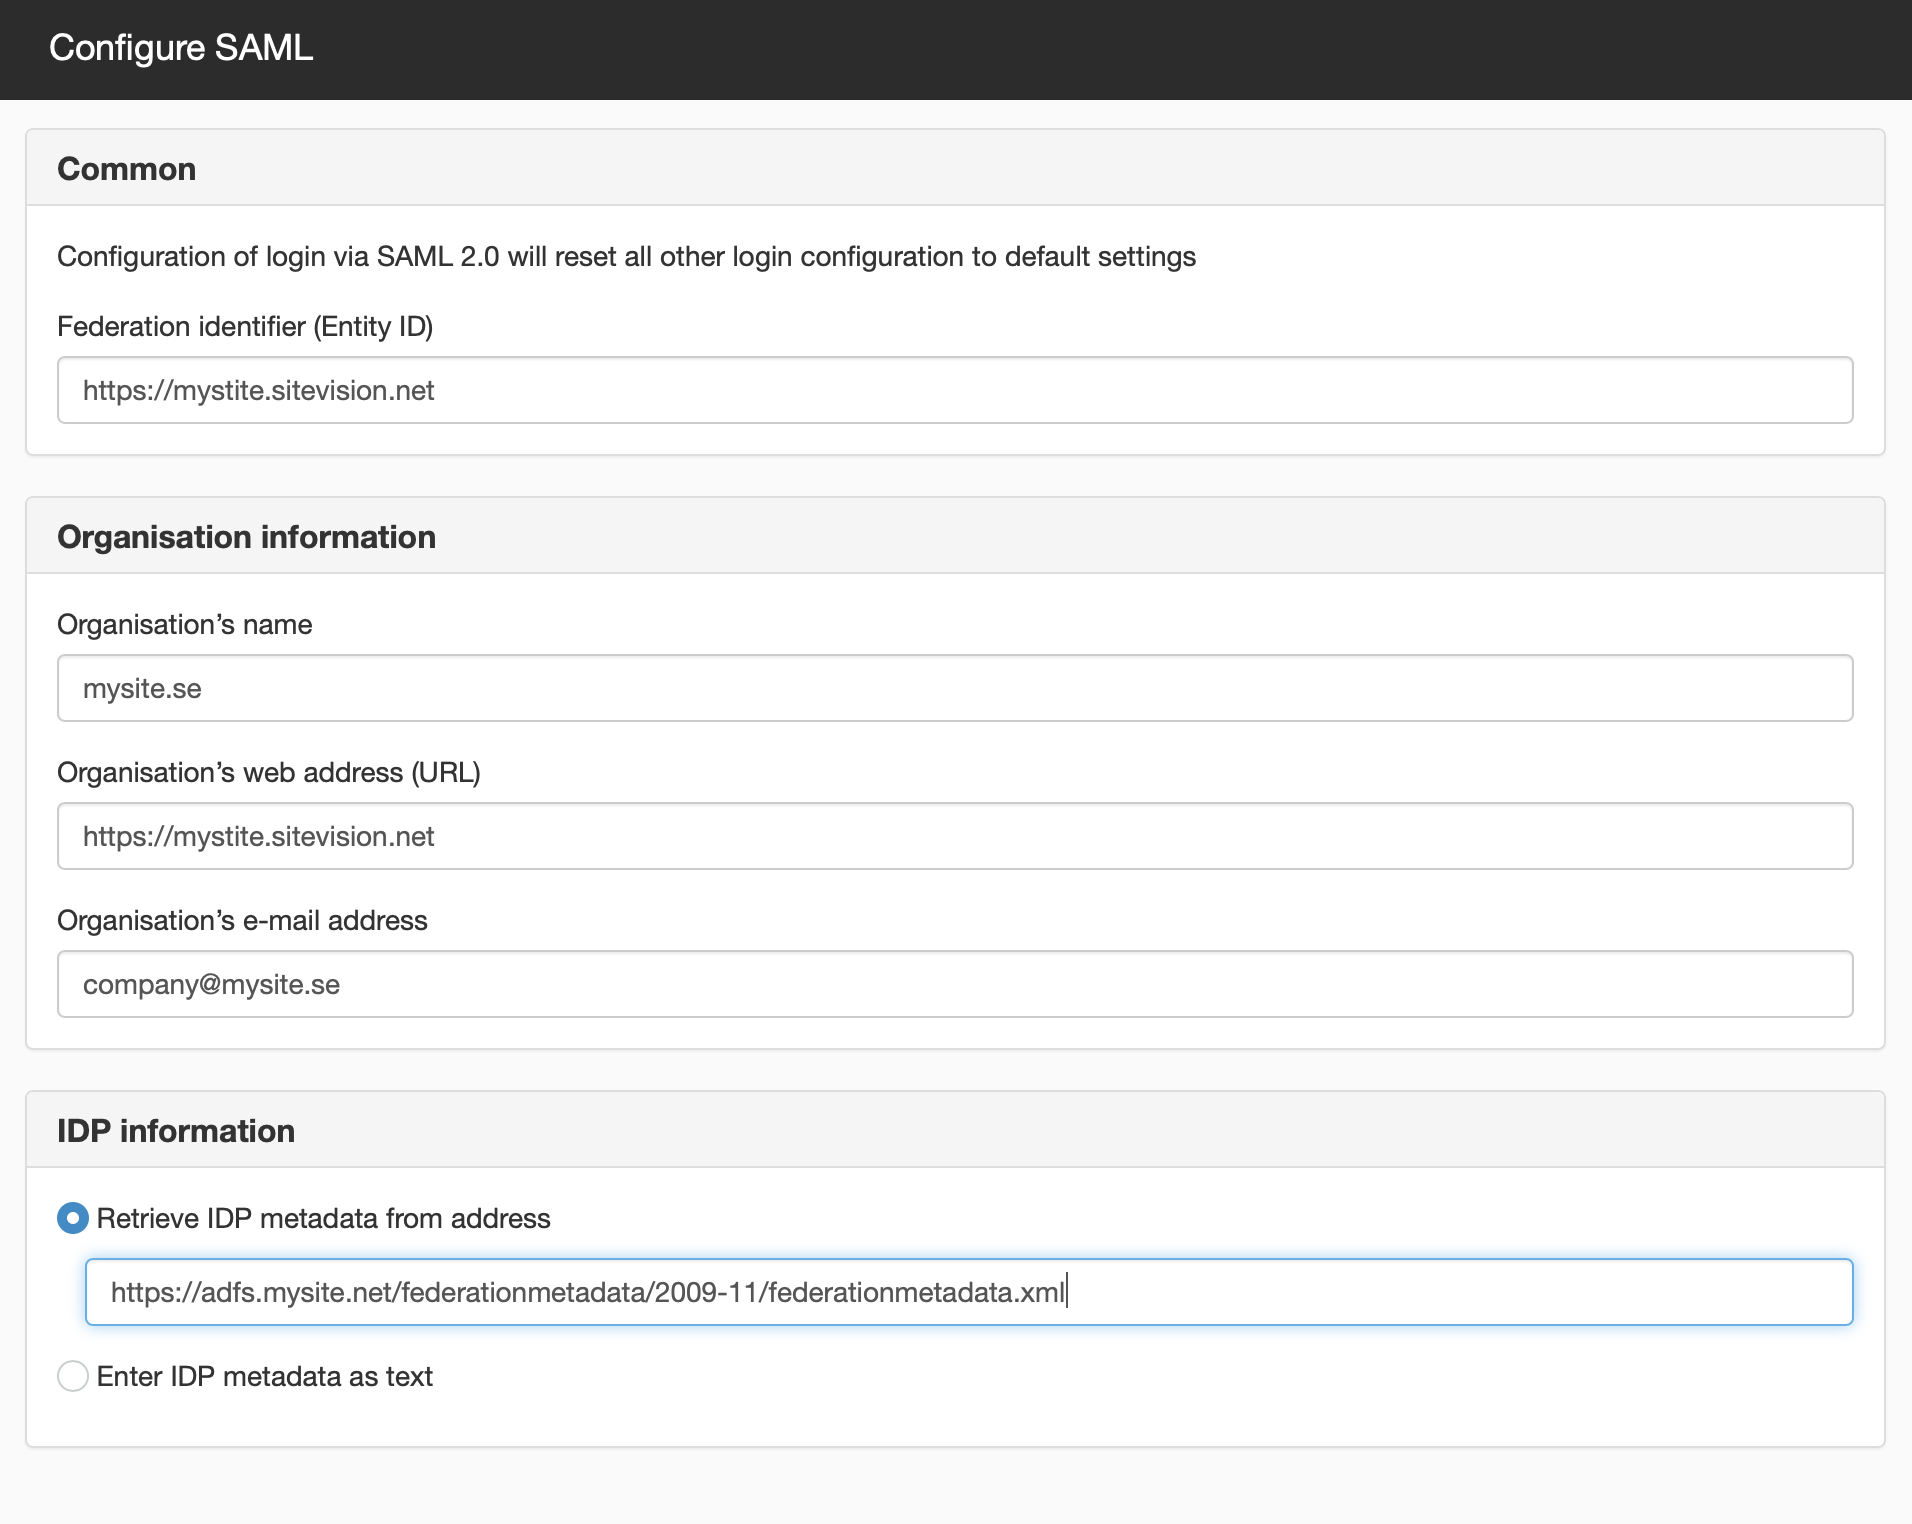
1. Add a Federation identifier (Entity ID)
Enter the domain that is used for login, a so-called Entity ID.
2. Add Organisation information
Enter the following information about the organisation:
- Organisation name - the name of the organisation
- Organisation’s web address - URL of the organisation's website
- Organisation’s e-mail address - the general e-mail address of the organisation
3. Add IdP-information
Choose to retrieve IdP metadata via a URL or to enter the IdP metadata as text. A major benefit of retrieving IdP metadata via a URL is that the information will be updated automatically once every 24 hours. Information that can change in IdP metadata is, for example, a certificate with a scheduled life span. However, IdP metadata that is entered directly is static and will not be updated automatically.
Retrieve IdP metadata from address
Enter the address from which the IdP metadata is retrieved. IdP metadata is automatically updated in SiteVision at 05.00 every day. If the automatic update is not possible for any reason, then the IdP metadata from the day before will be used.
Enter IDP metadata as text
Select this option to paste the IdP metadata directly into SiteVision. The information is static and will not be updated automatically in the event of changes. Instead, you need to go in and manually change the IdP metadata for changes, if the certificate needs updating for example.
4. Exit the configuration
Click OK to exit the configuration.
After the configuration
When the SAML configuration is complete, SiteVision will automatically create a configured SAML filter and a SAML module. All other login configuration remains unchanged.
This means that you need to change the order of the login modules so that the filter and module are in the order shown below.

The reason it does not happen directly is that you must choose when you want to enable SAML, even though the configuration is on the website.
If SAML is enabled too early in the process, it may mean that users can no longer log in using the LDAP login for example.
The metadata from SiteVision that needs to be imported into the IdP is available under the SAML module in text form. But also under <websiteaddress>/saml/metadata
Login
The SAML login is triggered by a non-public login page. Depending on whether it is a non-public intranet or an external website, open to the public, you set up the login in different ways.
External website
1. Create a non-public login page.
2. Appoint the login page as the landing page for login under Website Settings -> Landing pages.
3. If the SAML configuration for some reason does not work, create another login page that is used for form login. Set the second login page as public and create an alias for it, for example /systemlogin
Non-public website (ex intranet)
Since all pages are often non-public on an intranet, that is, the user must log in to access the pages, no specific login page is required that is non-public. All non-public pages will serve as a trigger for SAML.
However, you need to have a login page with form login, which you appoint via Website settings -> Landing page. That page needs to be public, but you can hide it from the public via an external solution (such as VPN, internal DNS etc).
The page published:
 Print page