
help.sitevision.se always refers to the latest version of Sitevision
Logos and footers
Here we will go through step by step how to add your own logo to the intranet, both in the header, footer and print template. We also describe how to customize text and social media links in the footer.
How to do this
1 Start by switching to Templates mode.
2 Go to the Components folder and the Header and Footer Components template. There you can upload variants of your logo for header, print and footer.
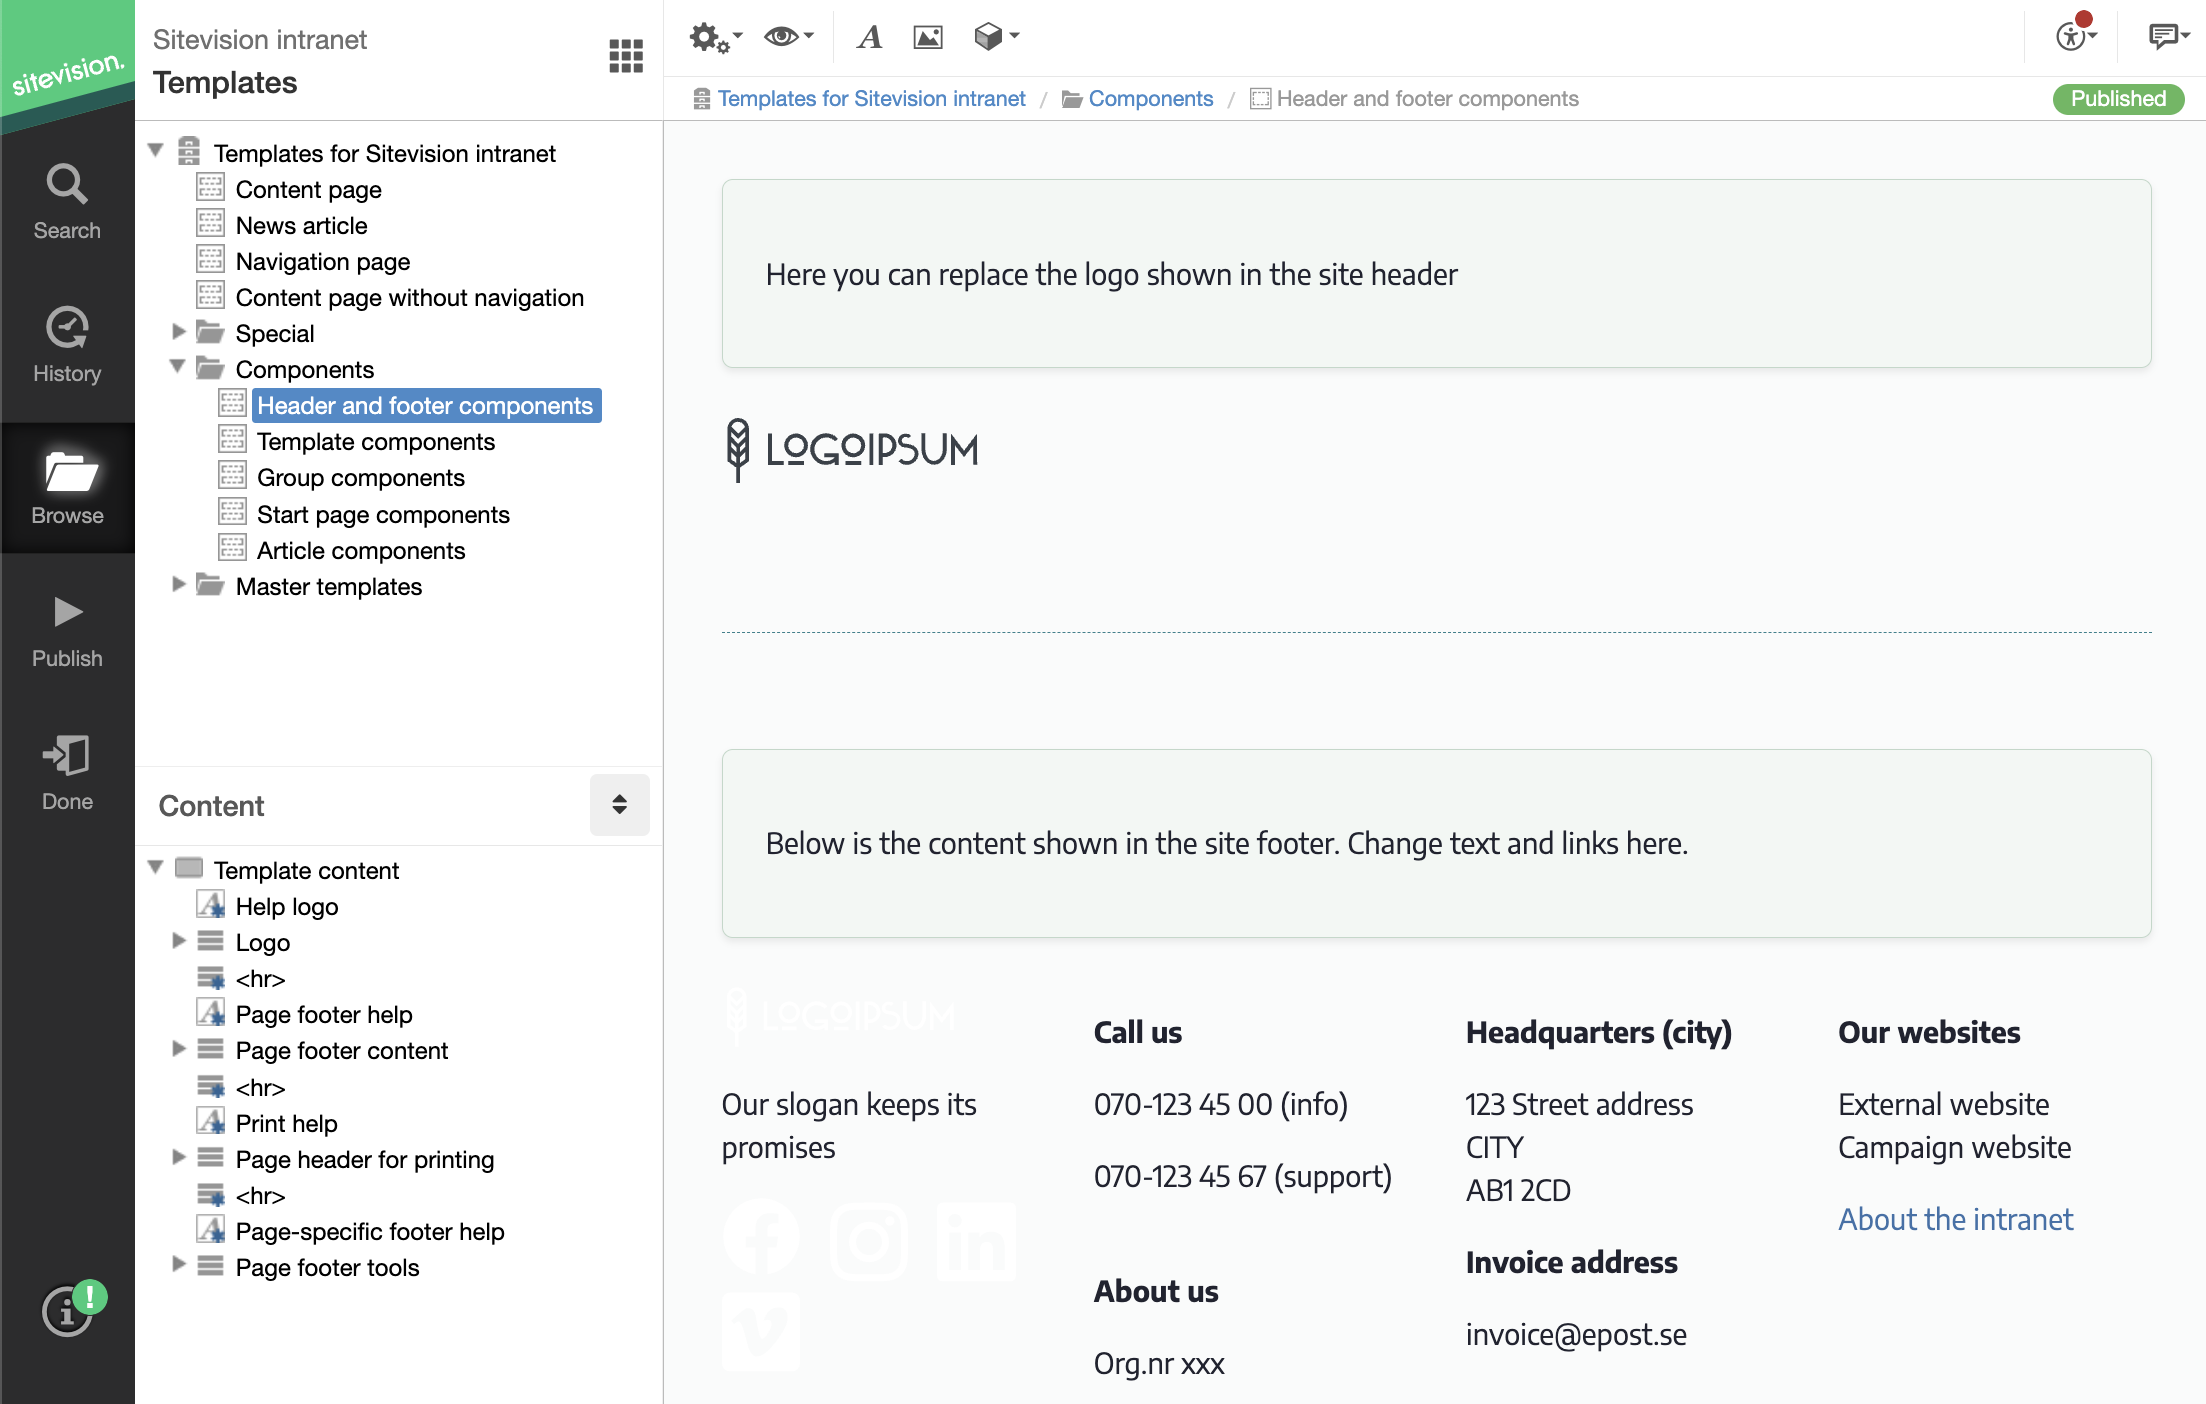
3. Click on the logo image to open the content menu. Double-click on the image module to upload a new image (svg or png format). You can set the size of your logo here

4. Similarly, replace the white version of the logo in the footer and the black and white one in the Print Header by double-clicking on each logo and uploading and pointing to a new one.
5. Update the texts in the printable header and footer with your information.
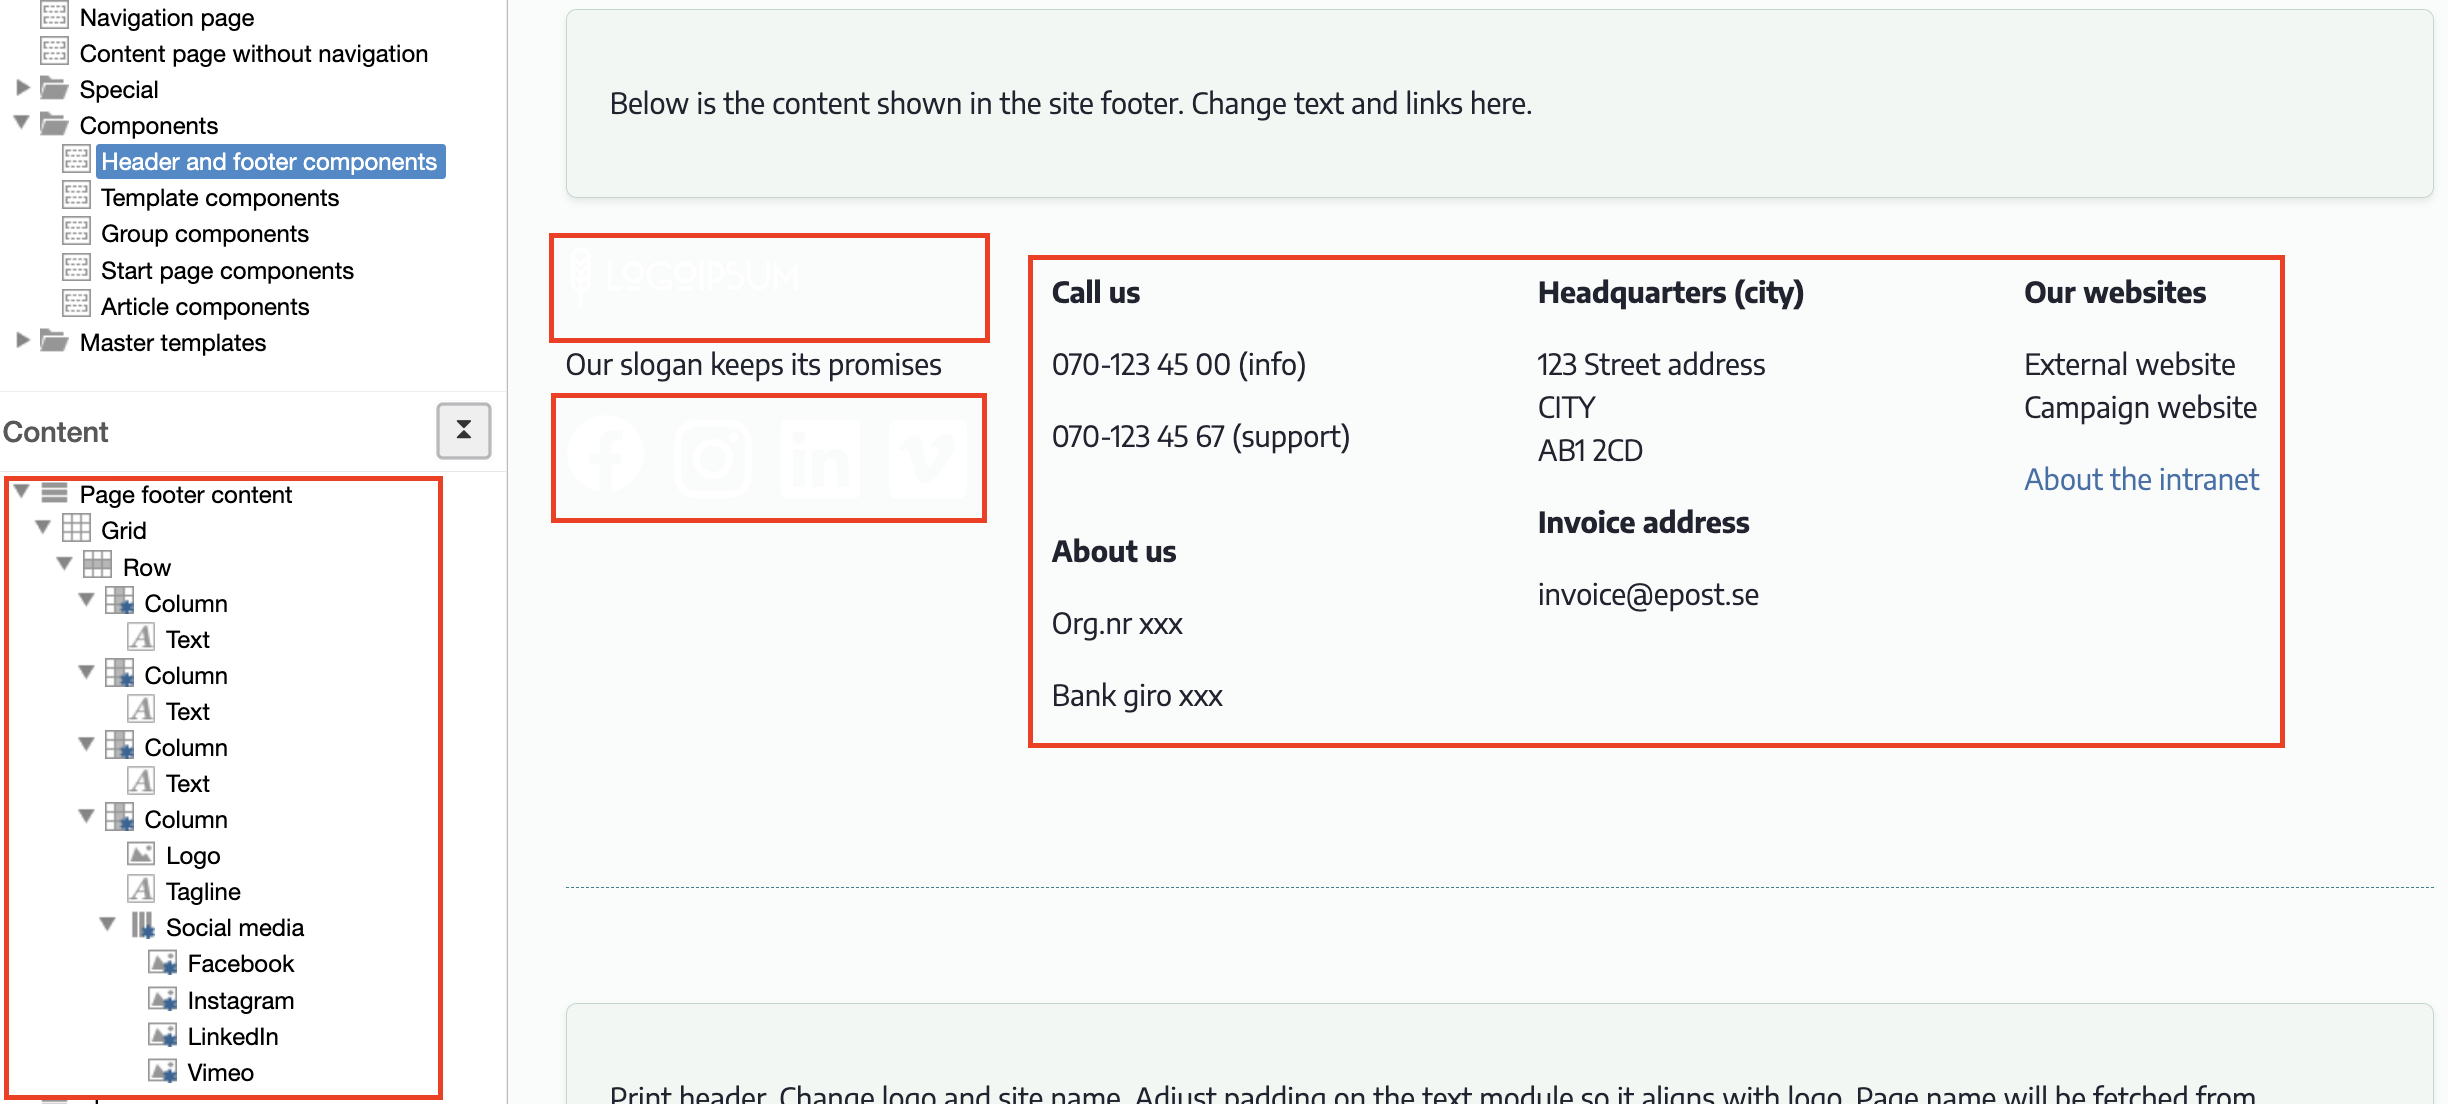
6. Customize social media icons and links so that they lead to your social media accounts and remove those that are not relevant to you. You change the link in each icon's module settings. Double-click on each icon and change the link under the Other tab.
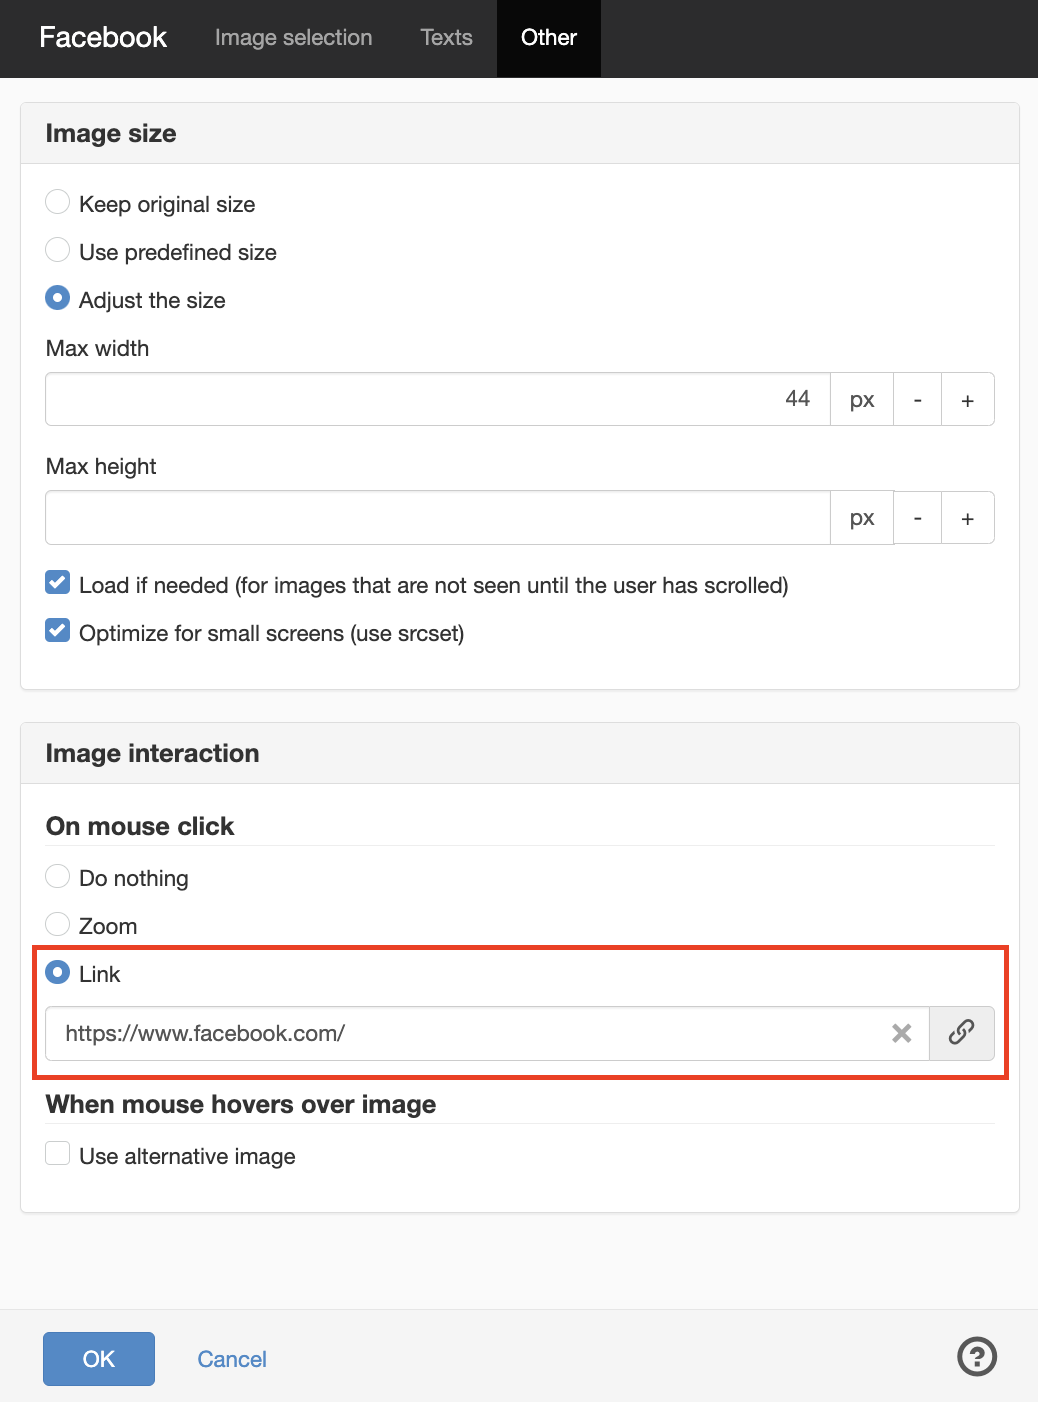
To delete an icon, select it, right-click and select delete.
7. When you are done with your changes. Publish the template.
The page published:
 Print page