
help.sitevision.se always refers to the latest version of Sitevision
Template parts Start template
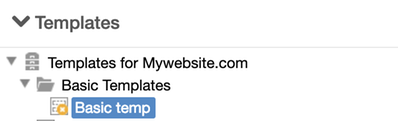
1. Select Templates for... (states the name of the website) and select Create New (in the sidebar). Select the folder and fill in the name of the folder, for example Template parts.
2. Select the folder Template parts and then select Create New (the first icon in the toolbar). A new window opens where you can enter the name of the template. Click OK.

4. Click OK. A template page has now created that is not published.
5. Under Content, only one layout named Template appears. The edit area is empty.

Now you can start to build up the template using grids, grid rows and columns.
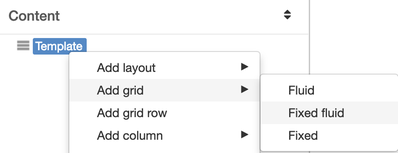
6. Start by adding a grid. It is the default grid that is added with a page width (940px) and the number of columns you set up (12 columns). Here, select whether it should be:
- Grid - Pixel based, the columns are fixed, regardless of the size of the browser window
- Fluid grid Percent based, adjusts to the size of the browser window
- Fixed flexible grid -Percent bases, adjusts to the size of the browser window, but if you nest, the columns are fixed for them to align.
We select Fluid grid. To build responsive templates you need to build Percent based.
7. Under Content you can now see that you have added a grid. Select Grid, right-click, and add a grid row.
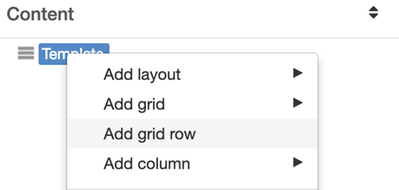
You always start by adding a grid row when you have added a grid. A grid row finishes all flows and ensures that you do not get a left margin that you would get if you start with a grid column.
8. To rename the row, right-click on it and select the option Rename. Fill in the new name ("Top header") and press Enter for the new name to apply.
Now you can also take the opportunity to set the "Top header" as a header according to HTML5 in order for the templates to become semantic as well. To do this, select Layout properties -> Settings -> Element type (HTML5) -> Header
9. If you follow the sketches from the plan, create a template with a top header (with top menu and search), a header with a logo, a template area, a footer with three puffs, and a bottom footer with contact information,
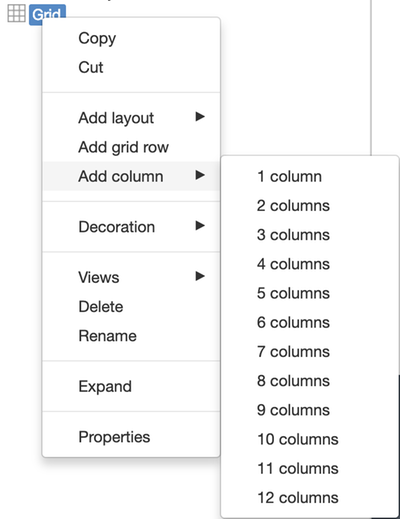
You start by adding a column that corresponds to as many columns as the top menu should use. Select Row, right-click and select Add column -> of 8 columns.
To rename the column - right-click on the column and select the option Rename. Fill in the new name ("Top menu") and press Enter for the new name to apply.
10. Select "Top menu" and add a menu module.
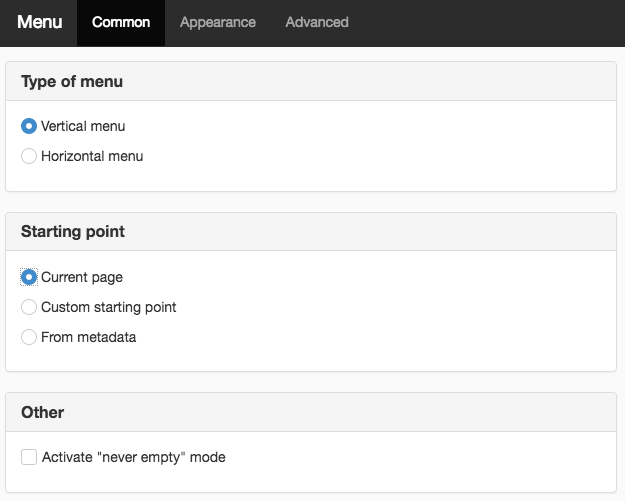
To move the menu slightly to the left, select Menu properties -> Padding left. It is advisable to use em when it comes to padding so that it aligns whatever the width of different areas.
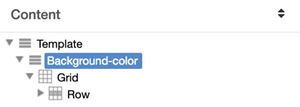
You now have the following structure under Content:

Now you can also take the opportunity to set the "Top menu" as a hub according to HTML5 in order for the templates to become semantic as well. To do this, select Layout properties -> Settings -> Element type (HTML5) -> Hub.
11. Select the row Top header, right-click and select Add column -> 4 columns.
To rename the column - right-click on the column and select the option Rename. Fill in the new name ("Search") and press Enter for the new name to apply. Add a search window.
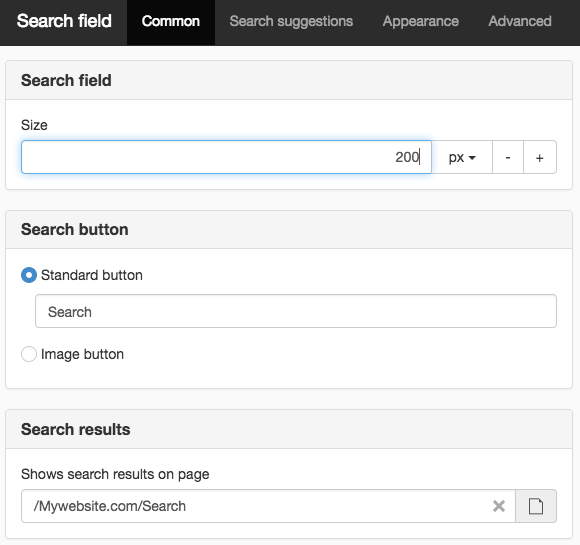
Here you set the width of the search field in percent.
You have not yet created a search results page because you do not have any templates yet. To draw the search box, you must designate a page, any, and then designate the correct page when you have finished the templates.
12. To set background color behind the Top header select Properties on the grid row. Select Appearance -> Background color -> and the color you want.
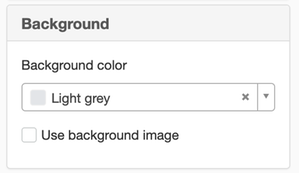
If you want the background to cover the screen, add the entire grid to a layout ("Background color"), where you set the background color. If you do this, you will have to place a new grid in the next step because otherwise, all the content will have that background color.
13. Add Page header with a logo. Select Grid, right-click, and add a grid row.
To rename the grid row, right-click on it and select the option Rename. Fill in the new name ("Page header") and press Enter for the new name to apply.
Because the logo is alone on the entire row, you do not need to add a column if you do not want to, but neither is it wrong to add a column. Select Page header and add the logo (or text). We do not have a logo but add text with company name instead. Right-click the text and select the Rename option. Fill in the new name ("Company new") and press Enter for the new name to apply.

Now you can also take the opportunity to set the "page header" as a header according to HTML5 in order for the templates to become semantic as well. To do this, select Properties -> Settings -> Element type (HTML5) -> Header
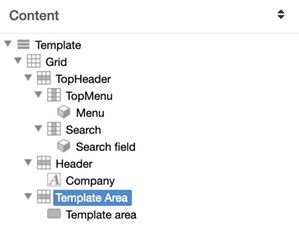
14. Now select the area that we have the right to change in the next template, Template area. Select Grid, right-click, and add a grid row.
To rename the grid row, right-click on it and select the option Rename. Fill in the new name ("Template area") and press Enter for the new name to apply.
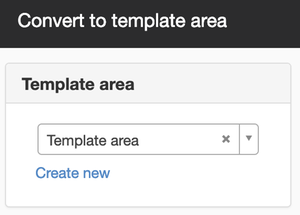
15. Right-click on "Template area" and selectthe option "Convert to template area". A new view is displayed, where you can select a template area or create a new one. Select a template area and click OK.
If you want some spacing between the header and the contents and the footer of future templates, right-click on the grid row "Template area" and specify the padding at the bottom and top.
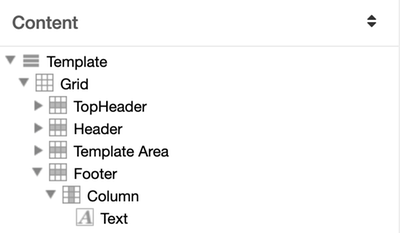
16. You now have the following structure under Content:
17. Now only the footer with the three puffs remains. Select Grid, right-click, and add a grid row. Right-click on the grid row and select the option Rename to “Footer”.
If you want a background color for the footer, go to Properties on the grid row and select option Appearance -> Background color -> Select any color.
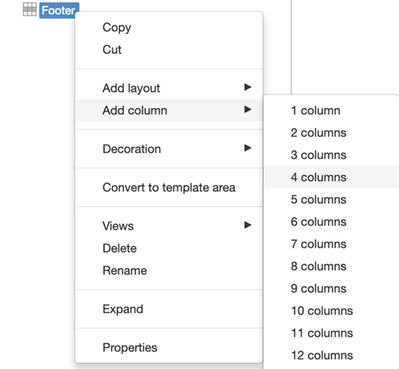
18. Select “Footer”, right-click and select Add column -> of 4 columns.
19. Select column and add text modules in the first puff. Right-click on the column and select the option Rename to “Box1”.
20. Repeat steps 18-19 with any content.
Now you can also take the opportunity to set the "Footer" as a footer according to HTML5 in order for the templates to become semantic as well. To do this, select Properties -> Settings -> Element type (HTML5) -> Footer
21. Now let's add the Bottom footer. Select Grid, right-click, and add a grid row. Right-click on the grid row and select the option Rename to “Bottom footer”.
If you want a background color for the footer, go to Properties on the grid row and select option Appearance -> Background color -> Select any color.
Add a text module with contact information.
To have the contact information centred in the bottom footer, add a column of 12 columns in the grid row. Move the text in the column. Right-click on the column and select Properties -> Settings -> Horizontal alignment -> Centre.
Now you can also take the opportunity to set the "Bottom footer" as a footer according to HTML5 in order for the templates to become semantic as well. To do this, select Properties -> Settings -> Element type (HTML5) -> Footer
22. Publish the template. Done!
This means that you can now build a new template and create new content in the area marked as template area, that is, the entire area between the top menu and the footer. This template is now ready for use by other templates. However, an editor cannot create webpages from this template.
23. The template has the following appearance:
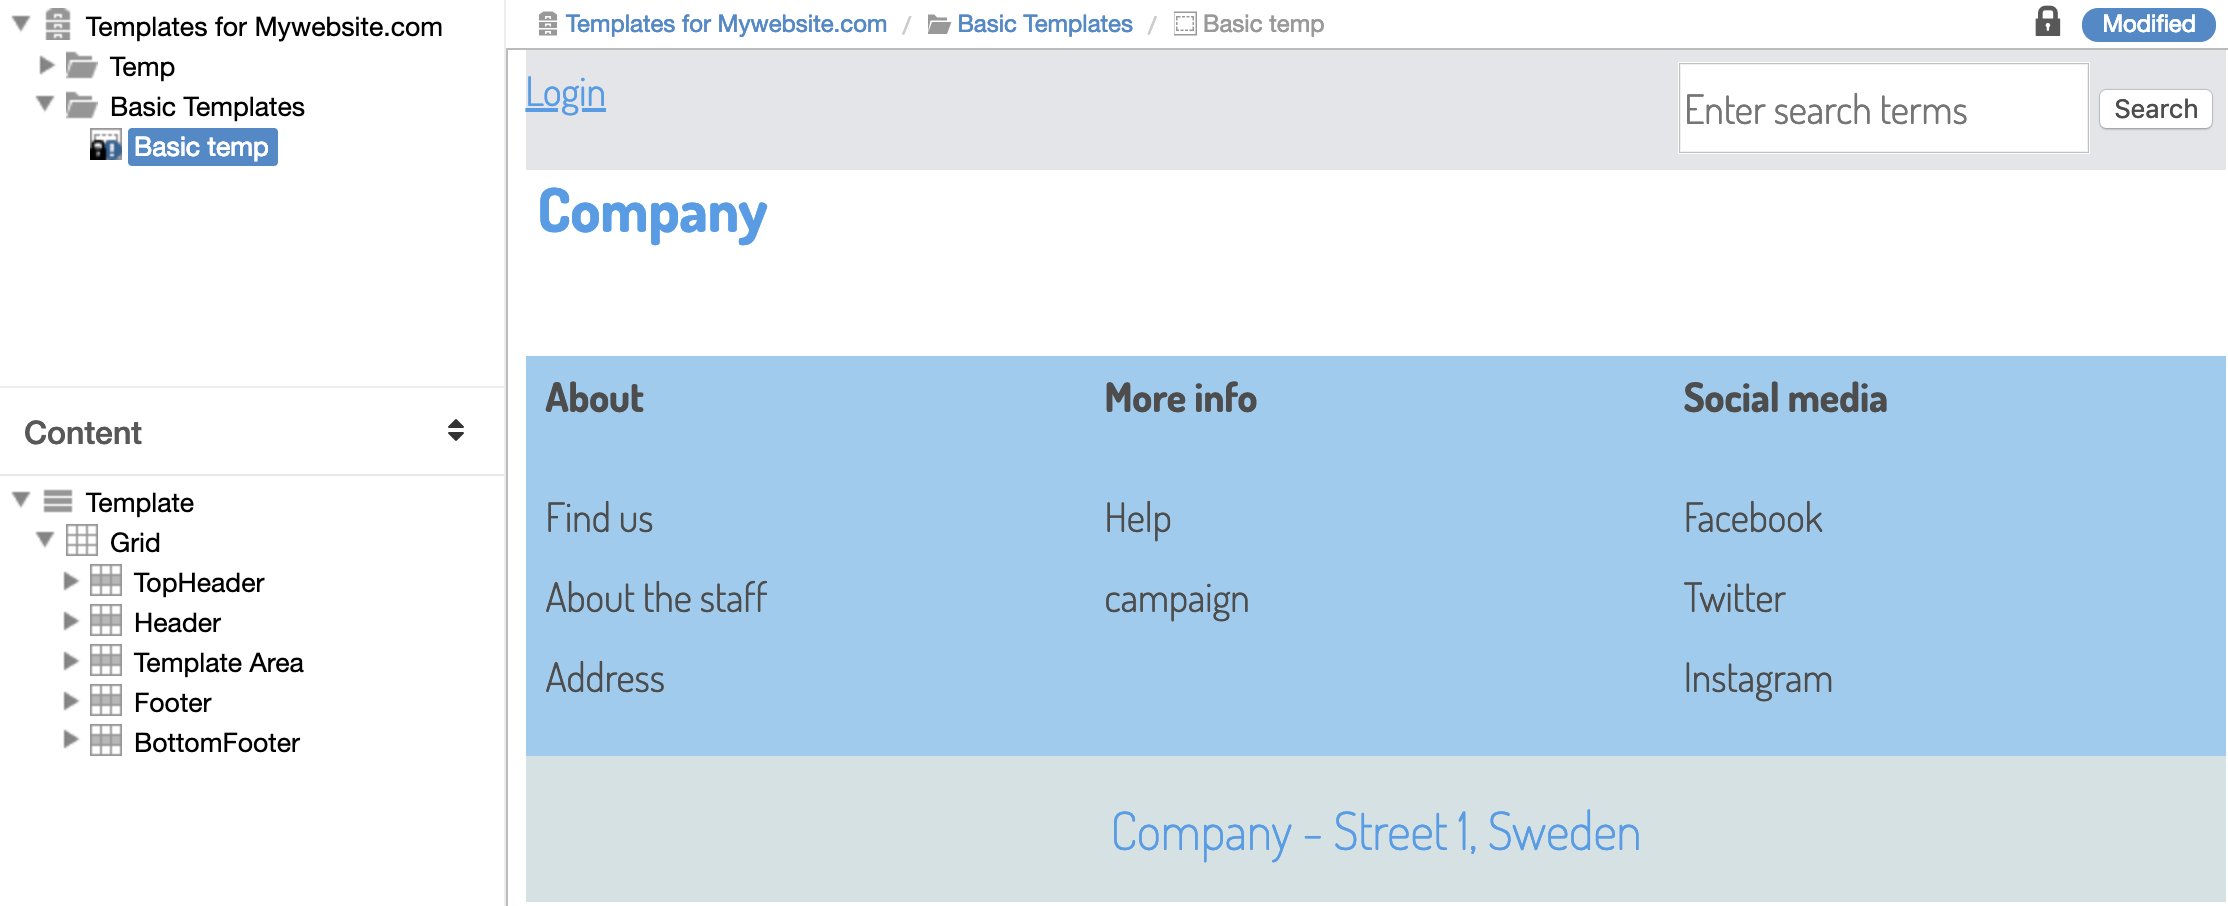
The page published:
 Print page