
help.sitevision.se always refers to the latest version of Sitevision
Add Alias
After you click the Add alias link, this view appears:
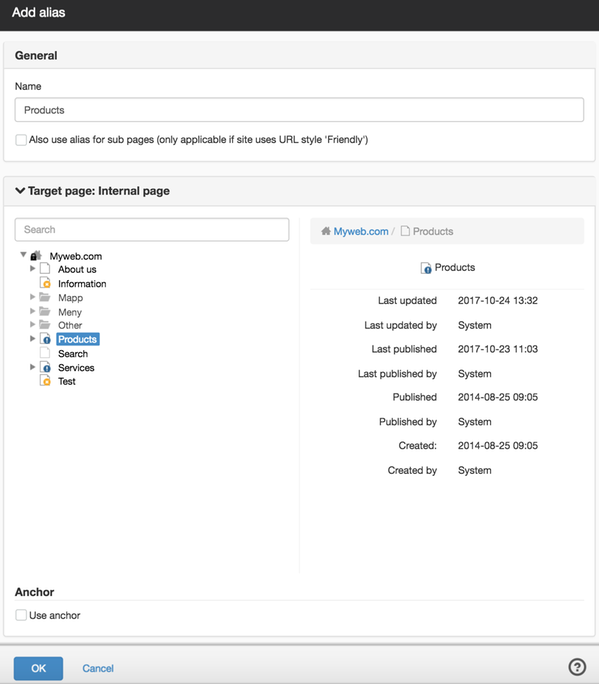
General
Name
Here you enter the new name, for example if you want the page to be named "Contact".
Also use alias for sub-pages (only applicable if URL style 'Friendly' is used)
If you tick this box, the alias will continue to display the underlying pages as well. Otherwise, alias only applies to one page.
Landing page:internal page
If you select Landing page: Internal page the structure appears on the website. Locate the contact page and select it. Click OK. Done!
Instead of entering the full path or looking in menus, the visitor can now enter minwebb.se/contact to easily get to the contact page.
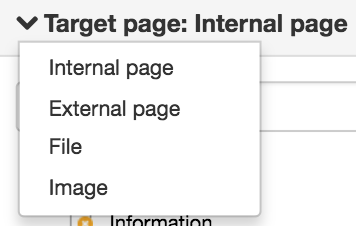
You can also create aliases for external pages, images and files. Select a different type by clicking on Landing page:Internal page:
To delete an alias, select it from the list and click the cross on the right. To change an alias, double-click on the alias in the list, or click the Change alias icon on the right.
This function requires you to have "Manage website settings" permission
The page published:
 Print page