help.sitevision.se always refers to the latest version of Sitevision
Toolbar
The text module's toolbar appears at the top of the page, next to the module selector, when you select a text:

1. Copy
If you click this icon, an information box appears with the keyboard shortcuts that apply to your computer. In my case, I am using a Mac and get the keyboard shortcuts for a Mac. If you use a PC, you'll see CTRL+C, CTRL+V and CTRL+X.
If you work in IE11, the Copy and Paste buttons work, and will not display an information box.
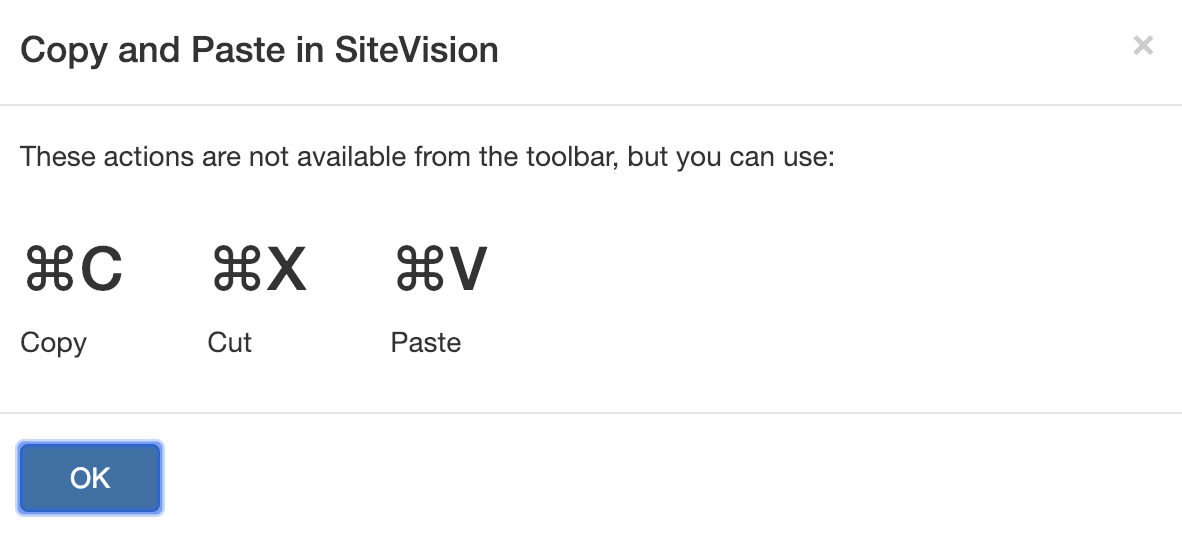
Information mac
2. Paste
If you click this icon, an information box appears with the keyboard shortcuts that apply to your computer. In my case, I am using a Mac and get the keyboard shortcuts for a Mac. If you use a PC, you'll see CTRL+C, CTRL+V and CTRL+X.
If you work in IE11, the Copy and Paste buttons work, and will not display an information box.
3. Undo
Undo the last change.
4. Restore
Restores the last Undo.
5. Font selector
Here you can change the font of text. Select a paragraph or word and choose a font from the font selector. The font selector is a list of all the font that are created on your site (but you see only the font that you have permission to see).
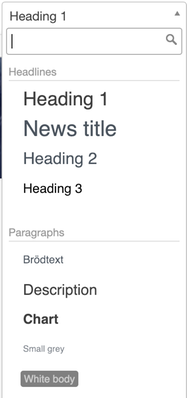
At the top, you see a search box where you can find a font, if you know its name.
There are three subheadings in the list
- Headings - Headings is a paragraph font that is marked as <h>. The headings appear at the top of the list, in the order in which they are sorted in the site.
- Paragraphs - If you change a word in a paragraph marked as a paragraph, the entire paragraph will use this font. Most fonts are paragraph font. Marked with <p>.
- Characters - If you only want to change a single word in a paragraph, the fonts must be marked as a character font. The most common is that the font is labelled as <span>.
6. Bold
Makes the selected text bold. If you want to remove bold, click on the same icon again.
CTRL + B is the keyboard shortcut for bold.
7. Italics
Makes the selected text italic. To remove italics, click the same icon again.
CTRL + I is the keyboard shortcut for italics.
8. Create link
To create a link, highlight the text to be linked and click on the "Create link" icon. You will see a list of the different link types you can create:
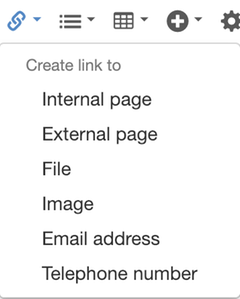
To remove a link or change a link, right-click on the link or click the link icon. A menu will appear where the top options are Edit link and Remove link.

9. Bullet list
To create a bullet list, select a line of text and click the "Bullet list" icon. A list of available bullet lists will be shown:
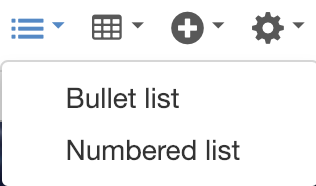
First, the default bullet lists are displayed, then the property bullet lists that the administrator created on the site (in this case Letters).
Each new row will automatically get a bullet point when you click Enter on the keyboard. The bullet list ends with two Enter strokes (one paragraph break).
10. Table
To create a table, click the table icon and choose how large the table should be. Select as many rows and columns as you want, however, there is a maximum of 10 rows and 10 columns. For example, select 6 rows and 6 columns. Then click to create the table. This creates a table with the default table type in the location that was selected.
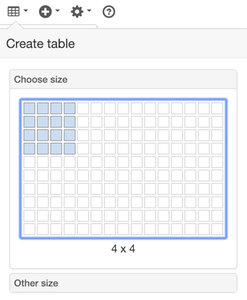
If you want more rows or columns than 10, click Other size. A different view appears:
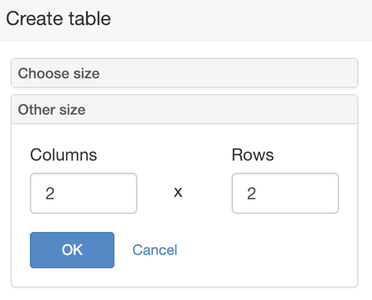
Here you can fill in as many rows and columns as you want.
12. Tools
The Tools menu contains the following submenus:
13. Help for the text module
The Help for the text module opens.
The page published:

 Print page