
help.sitevision.se always refers to the latest version of Sitevision
Toolbar - Link types
To create a link in SiteVision, select what you want to link, and then click the link icon. A list then drops down where you can choose between different link types.
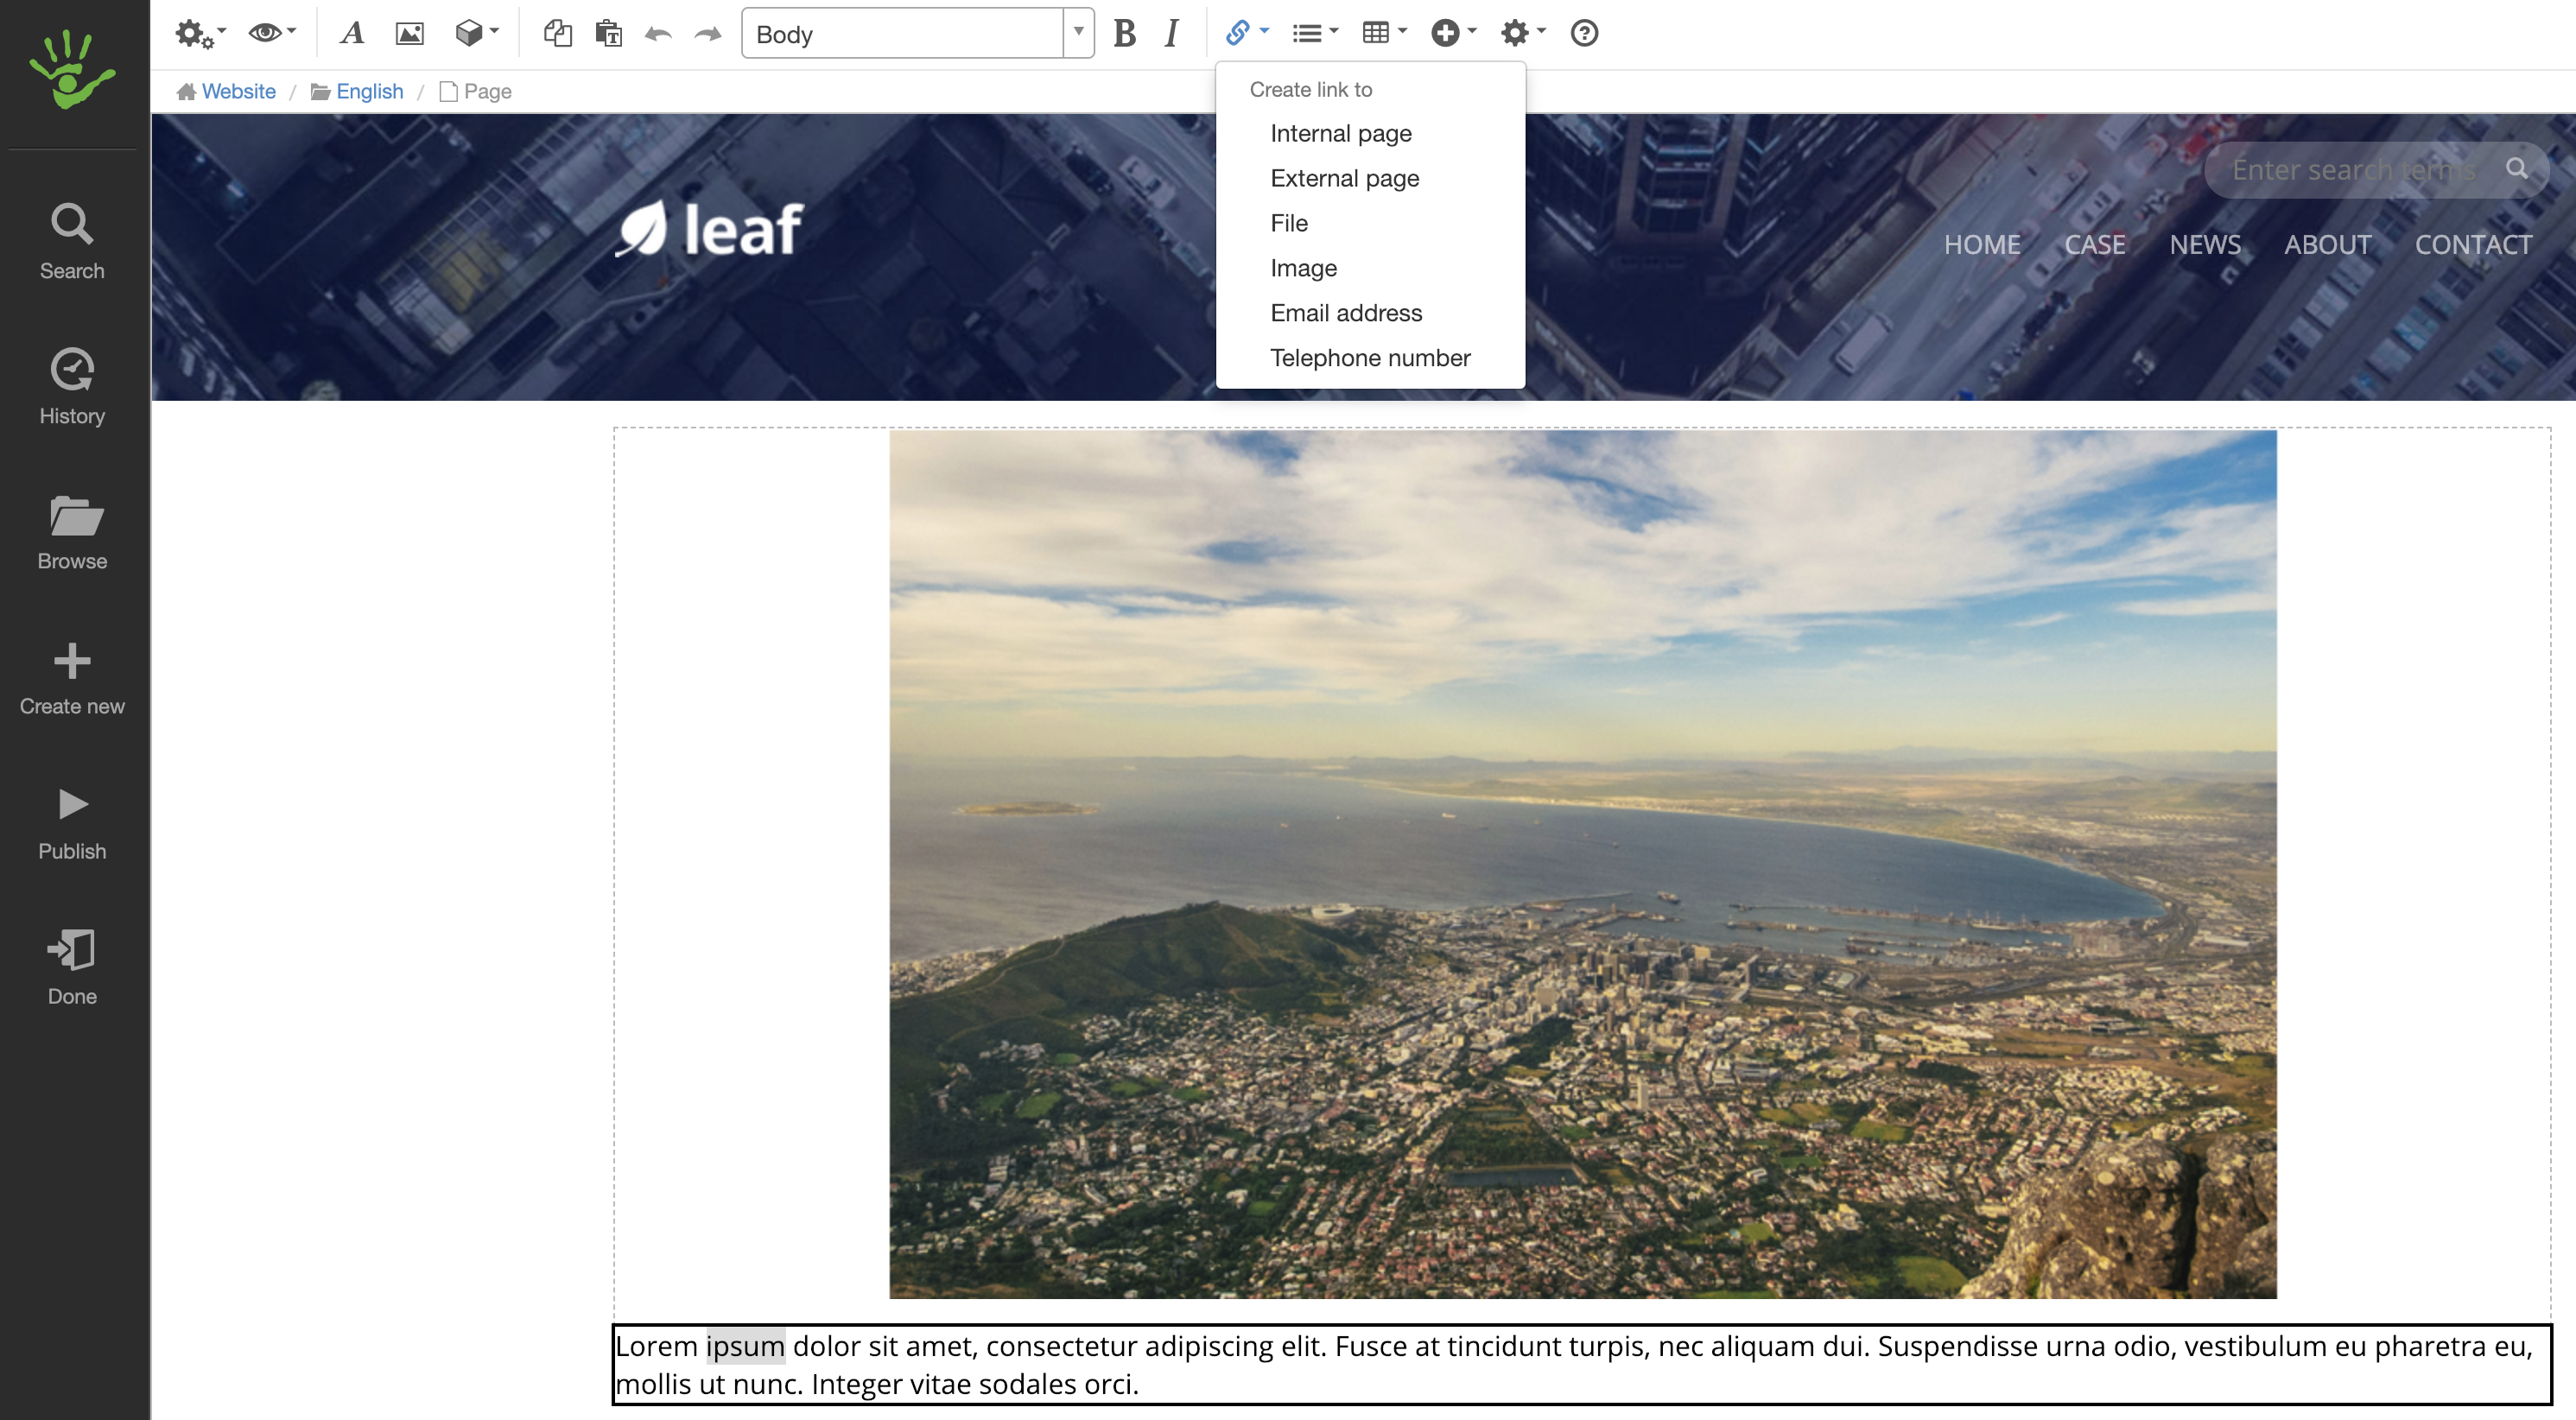
- Internal page
- Internal page - anchor link
- External page
- File
- Group file
- Image
- E-mail address
- Telephone number
- SharePoint link (only shown if you have enabled this link type on the website)
- VFS Link (only shown if you have enabled this link type on the website)
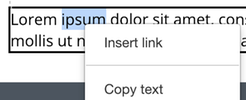
You can also right-click on a text and select the “Insert link" option.
Create a link to an internal page
An internal page is a link to a page on your own website.
Follow these steps to create a link to an internal page
- Select the text to link.
- Click the Links icon and select Internal page from the list.
- A new view opens with the link type Internal page. If you selected the wrong type of link, you can change the link in this list.
- The entire structure of the website is shown for internal pages. You can then select the page you want to link to, or search for the page
- Click OK. The view disappears.
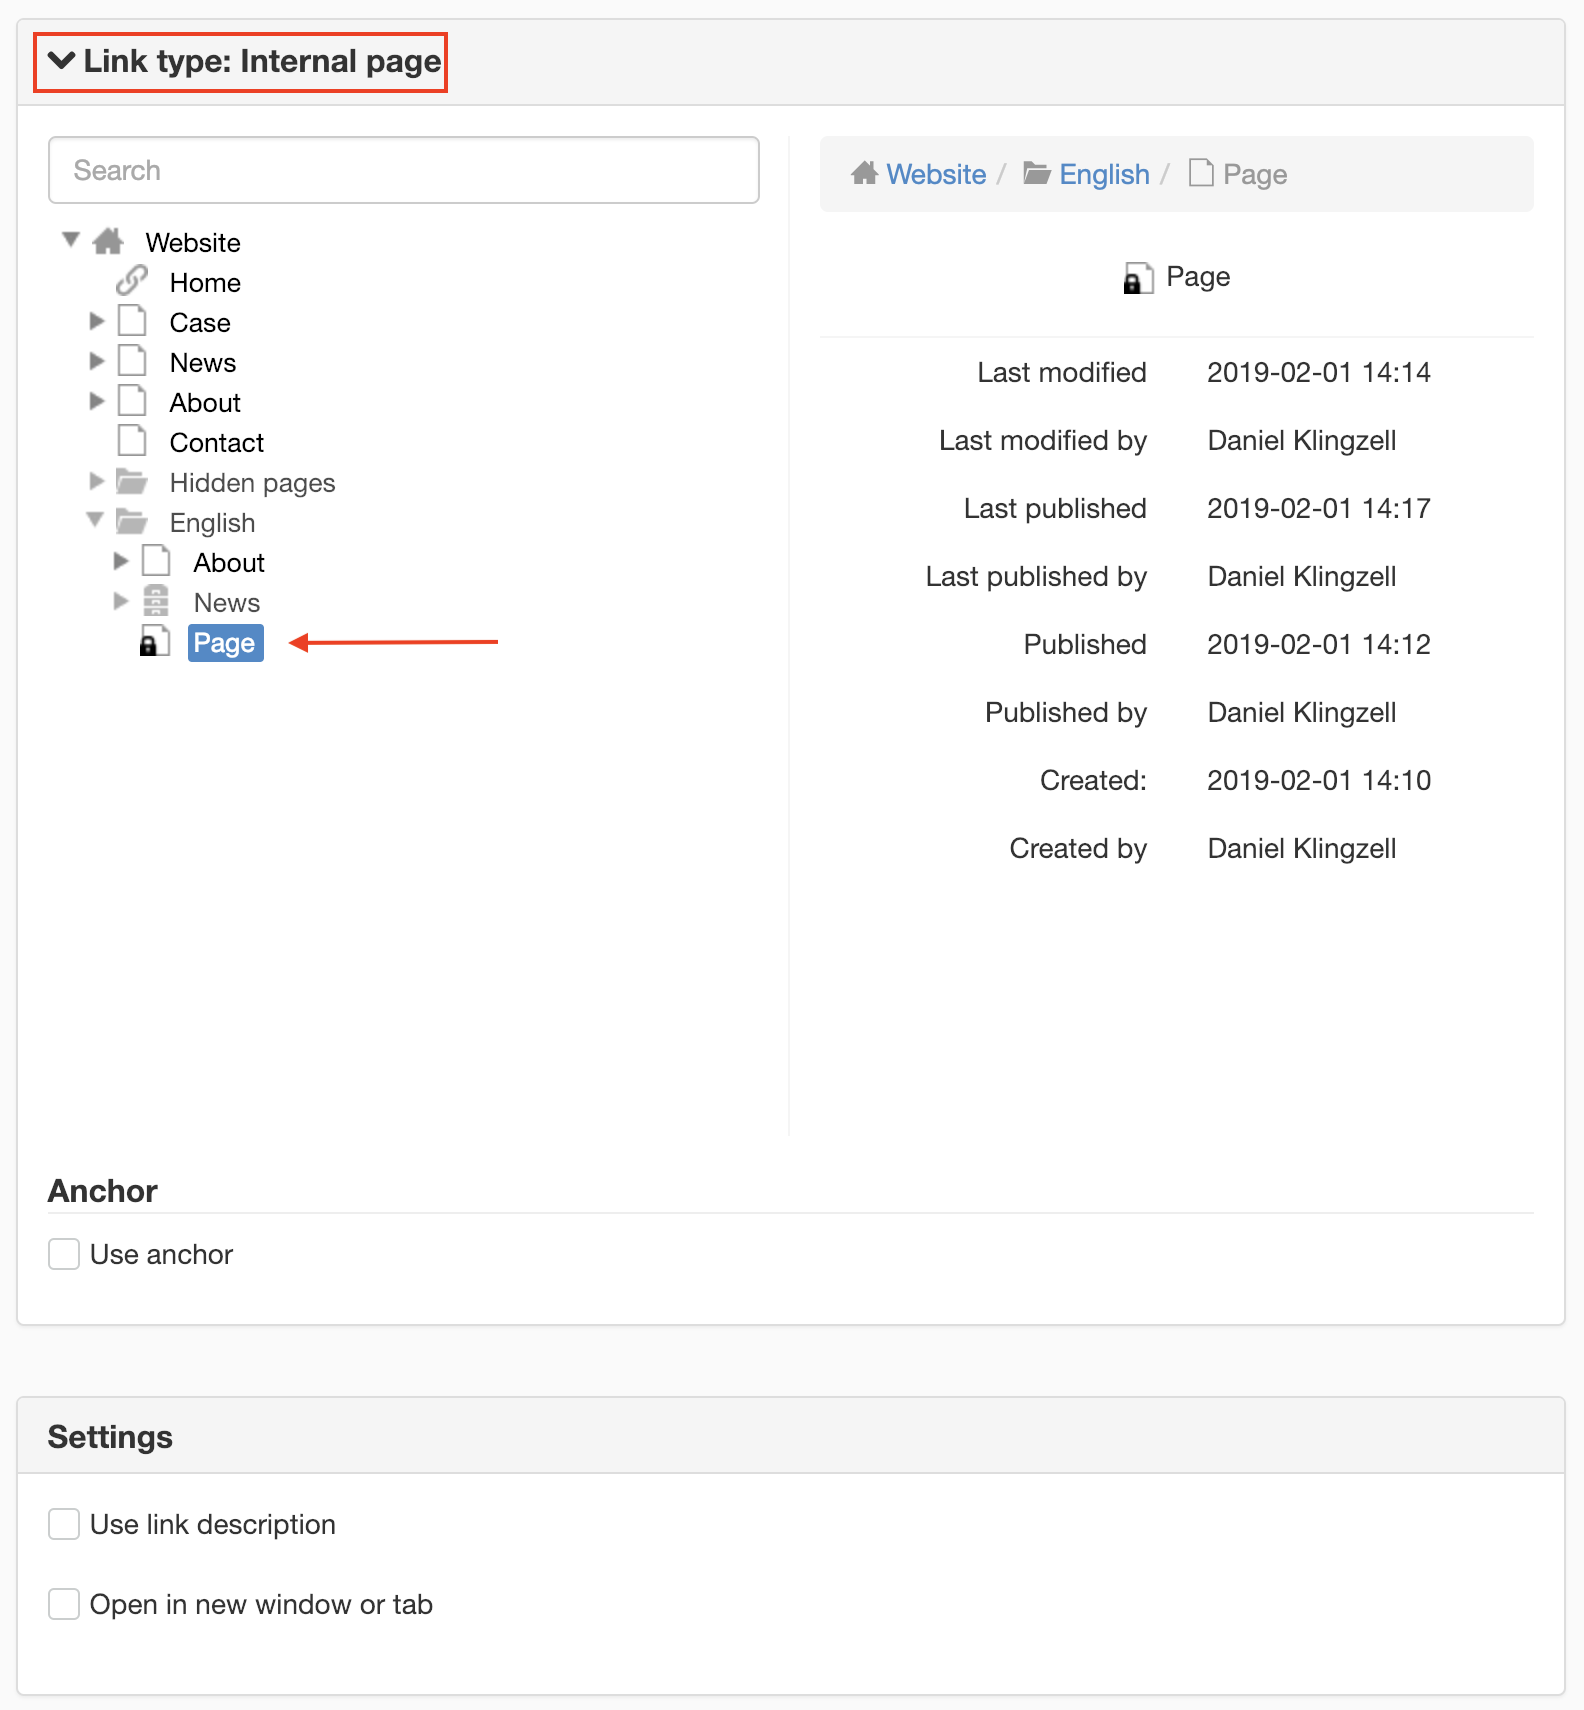
Use anchor
Use anchor is an option that only appears under internal link.
Create a link to an external page
An external page is a link to another website.
Follow these steps to create a link to an external page
- Select the text to link.
- Click the Links icon and select External page from the list.
- A new view opens with the External page link type. If you selected the wrong type of link, you can change the link in this list.
- Fill in the address. For example, www.google.se. If "http://" is not specified, the system will handle this and add it. You can also paste a copied link with CTRL+C.
- Under Settings, you can choose to tick Open in new window if you want.
- Click OK. The view disappears.

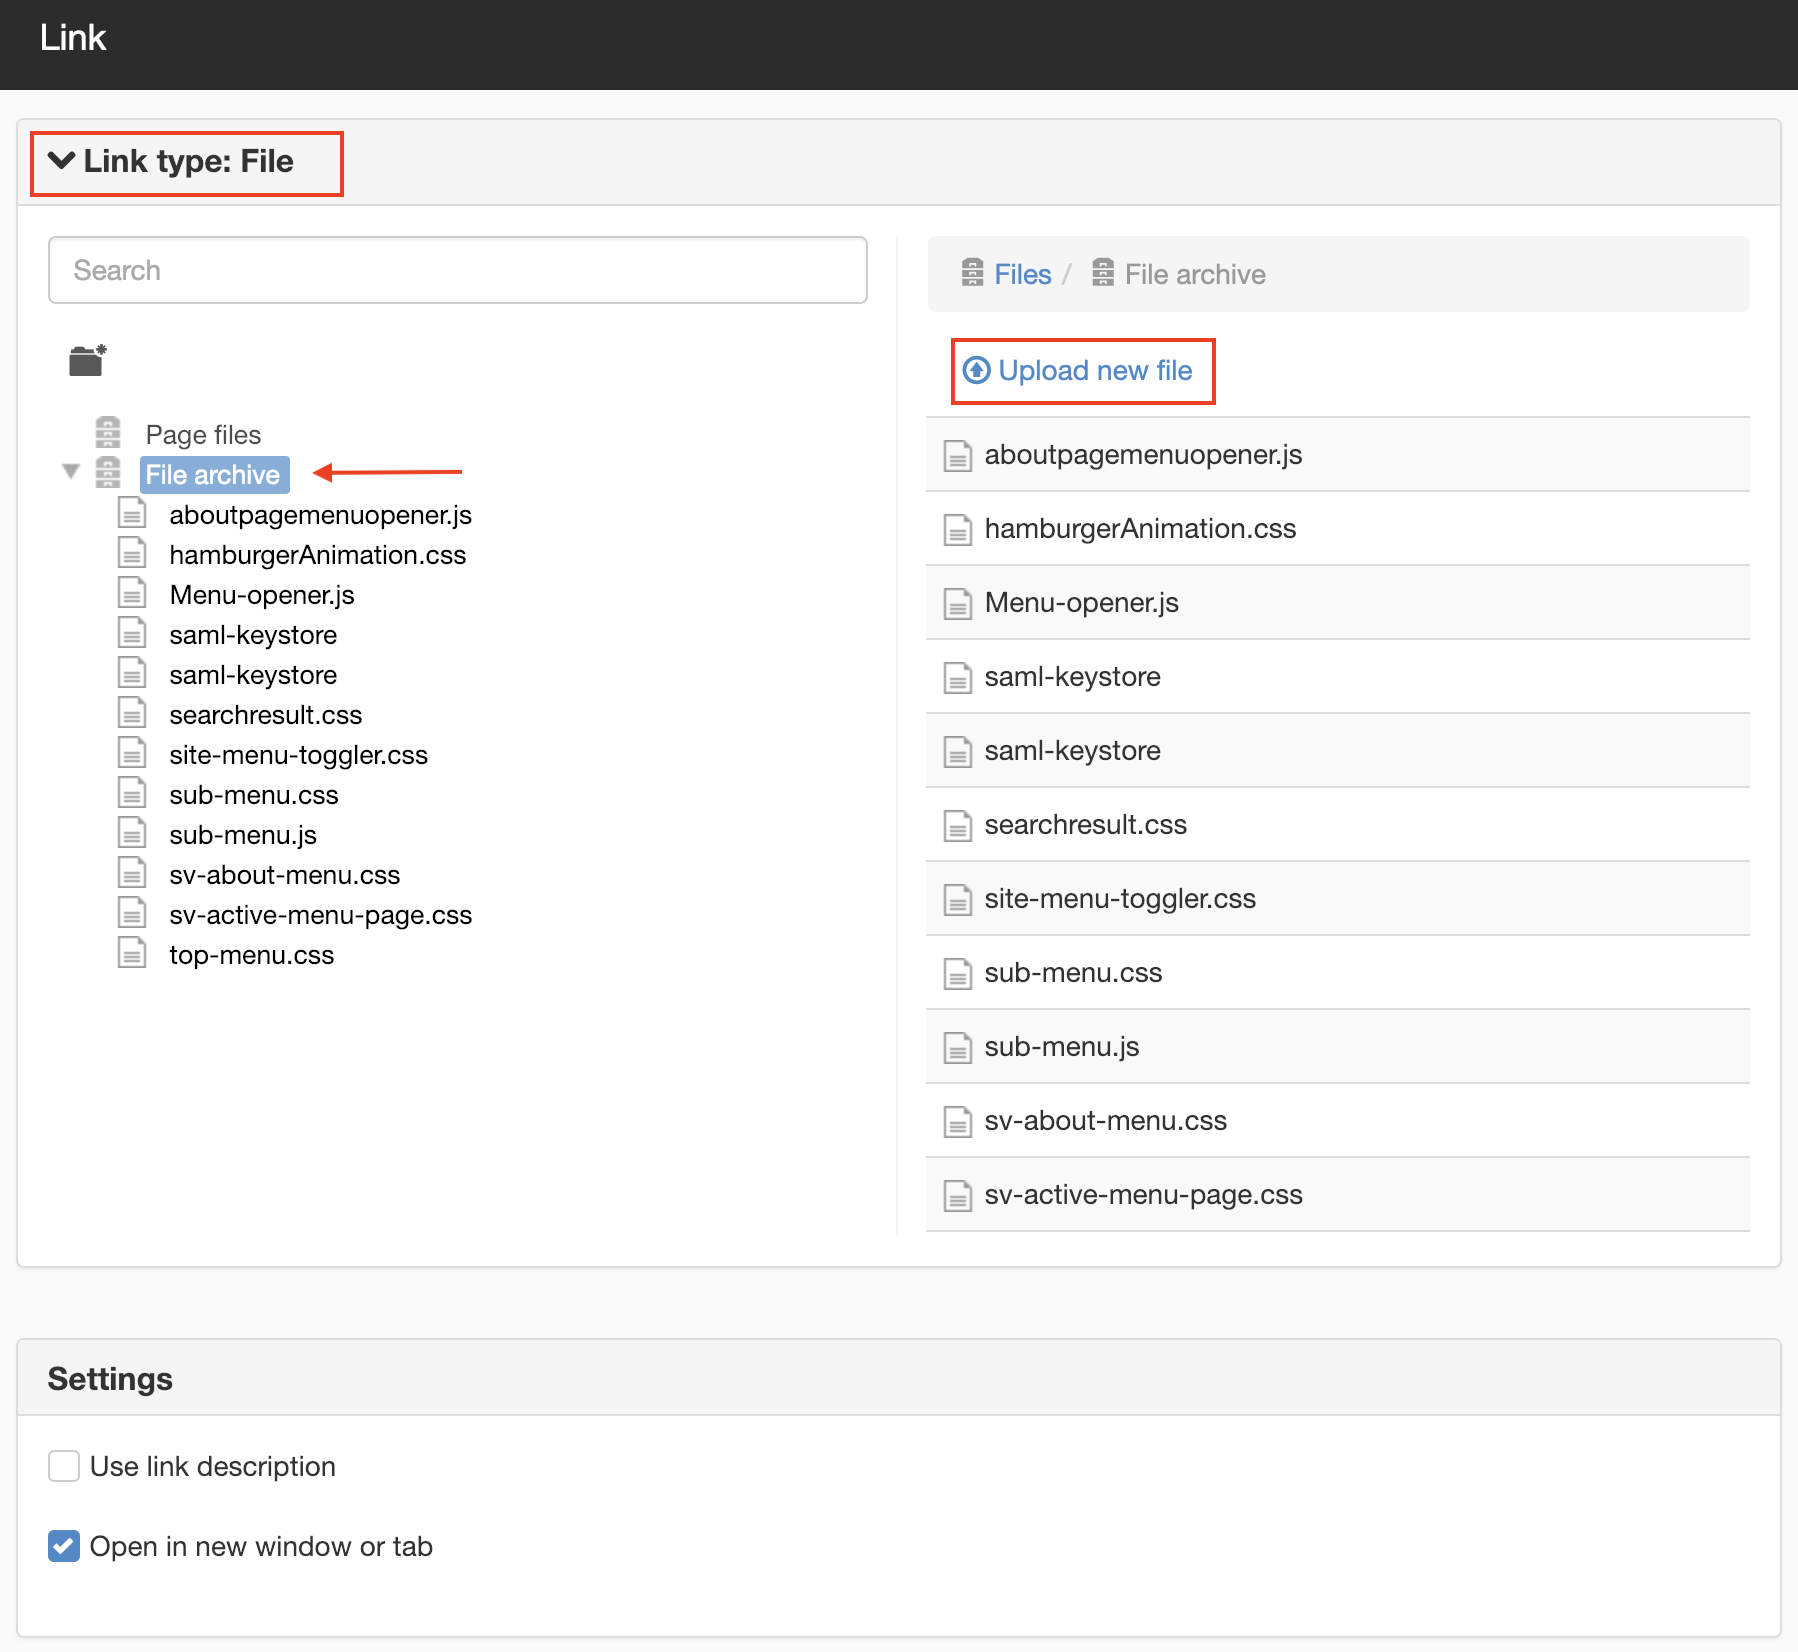
Create a link to a file
Used to link to a file. The file can be browsed from the file archive in SiteVision or retrieved from your computer and added to the desired location in the file archive.
Follow these steps to create a link to a file
- Select the text to link.
- Click the Links icon and select File from the list.
- A new view opens with the File link type. If you selected the wrong type of link, you can change the link in this list.
- If you are going to link to a file, it must be uploaded in SiteVision. Search for the file, or select the page you want to link to in the file archive.
- If the file is NOT in the file archive, select the folder you want to upload the file to and click the Upload link. A new window will open where you can select a file from your computer and upload.
- Under Settings, you can choose to tick Open in new window if you want.
- Click OK. The view disappears.
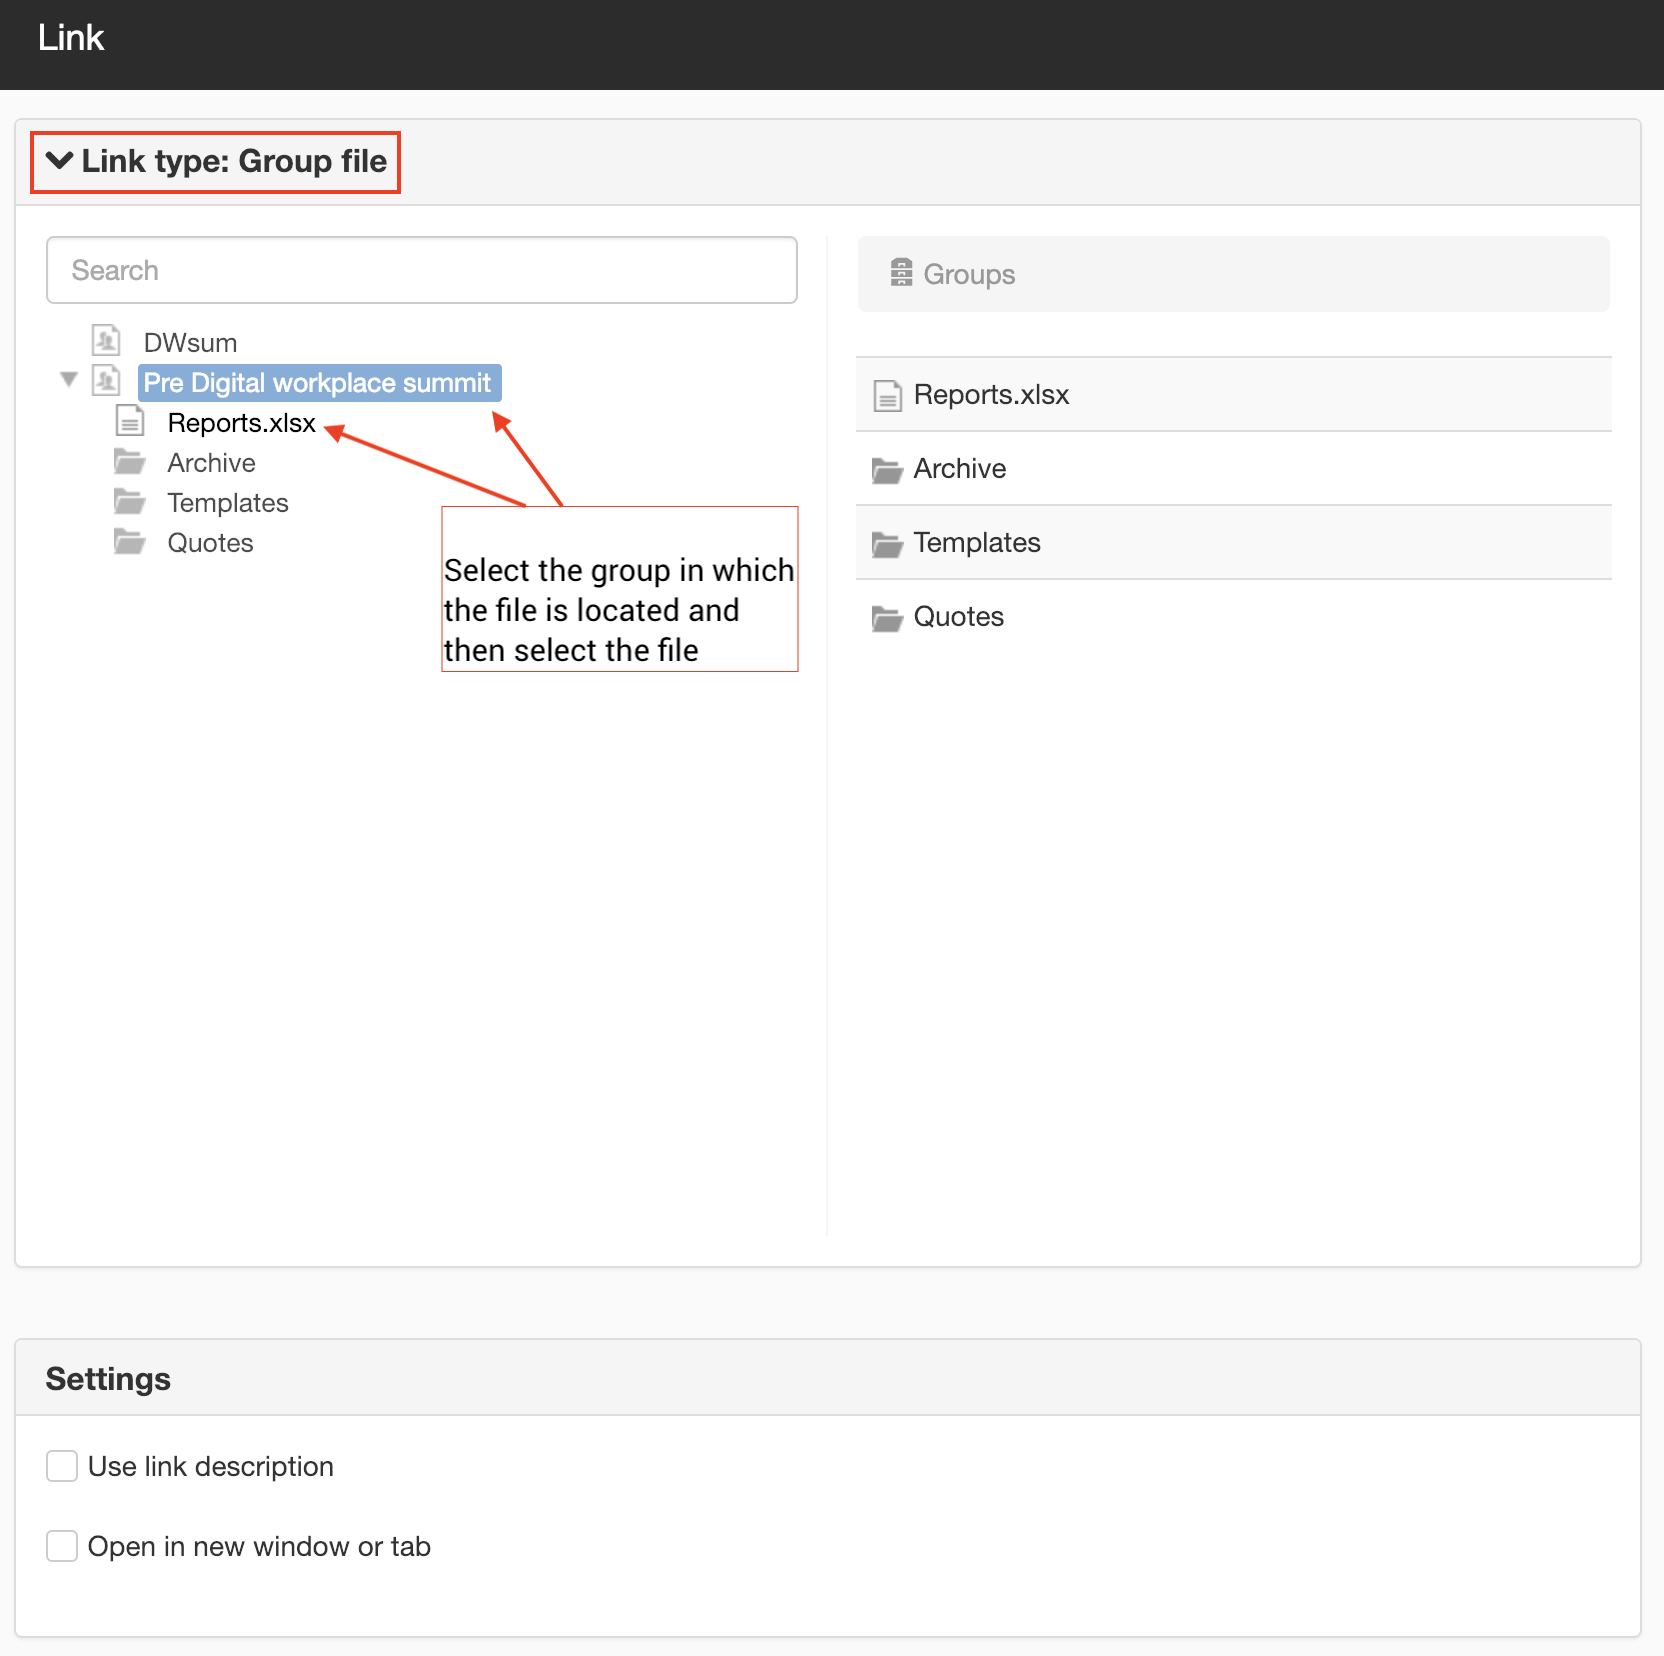
Create a link to a group file
Used to link to a group file. A group file is a link that is on a group page, when you have enabled Social Collaboration. The file can be browsed to a view that shows the groups that you are a member of.
Follow these steps to create a link to a group file
- Select the text to link.
- Click the Links icon and select Group file from the list.
- A new view opens with a Group file link type. If you selected the wrong type of link, you can change the link in this list.
- To link to a group file, it must be uploaded to a group that you are a member of. Search for the file or select the group file you want to link to in the file archive.
- Click OK. The view disappears.
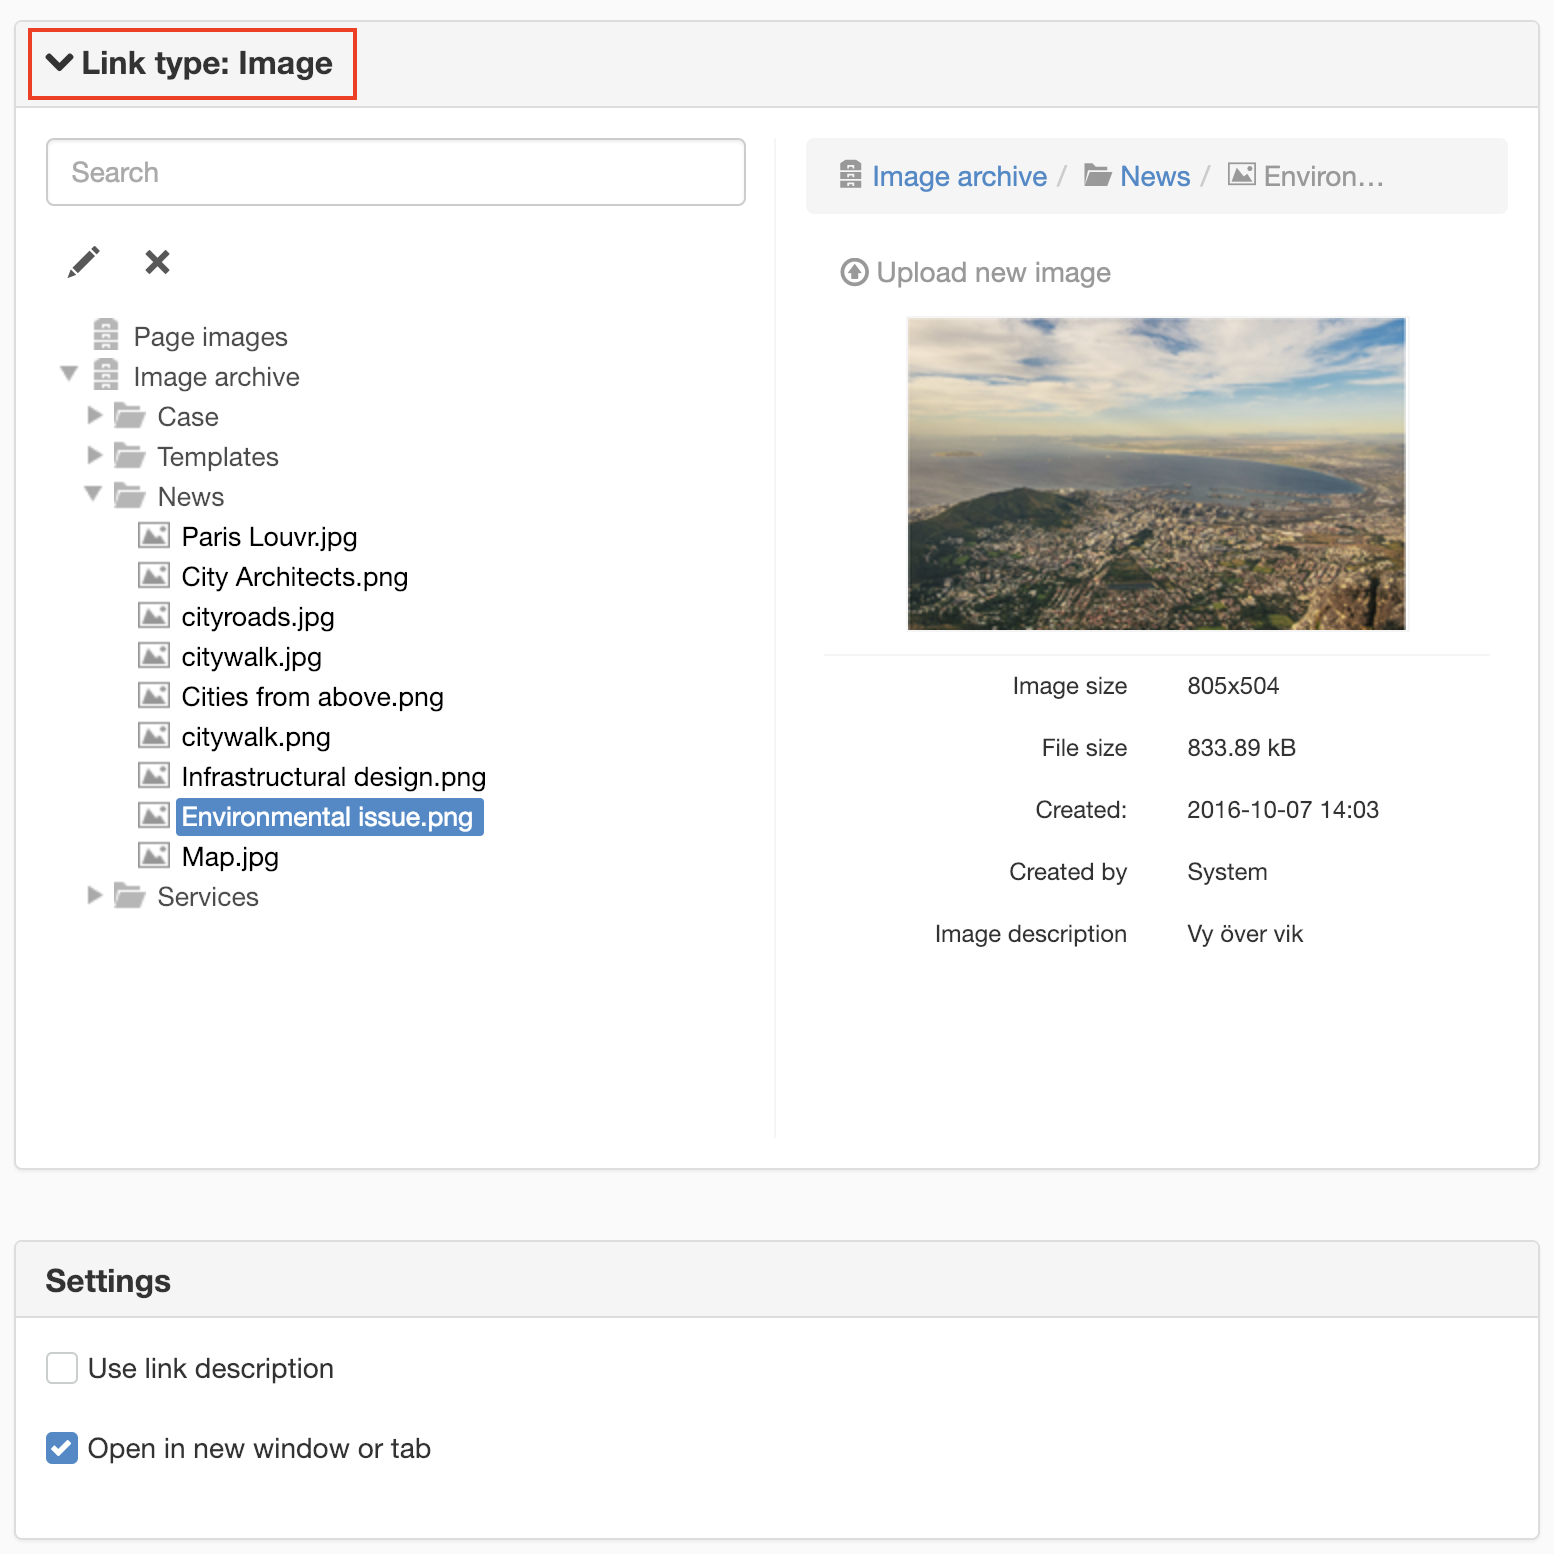
Create a link to an image
Used to link to an image. The image can be browsed from the image archive in SiteVision or retrieved from your computer and added to the desired location in the image archive.
Follow these steps to create a link to an image
- Select the text to link.
- Click the Links icon and select Image from the list.
- A new view opens with an Image link type. If you selected the wrong type of link, you can change the link in this list.
- To link to an image, it must be uploaded to SiteVision. Search for the image or select the image you want to link to in the image archive.
- If the image is NOT in the image archive, select the folder you want to upload the image to and click the Upload link. A new window will open where you can select an image from your computer and upload.
- Under Settings, you can choose to tick Open in new window if you want.
- Click OK. The view disappears.
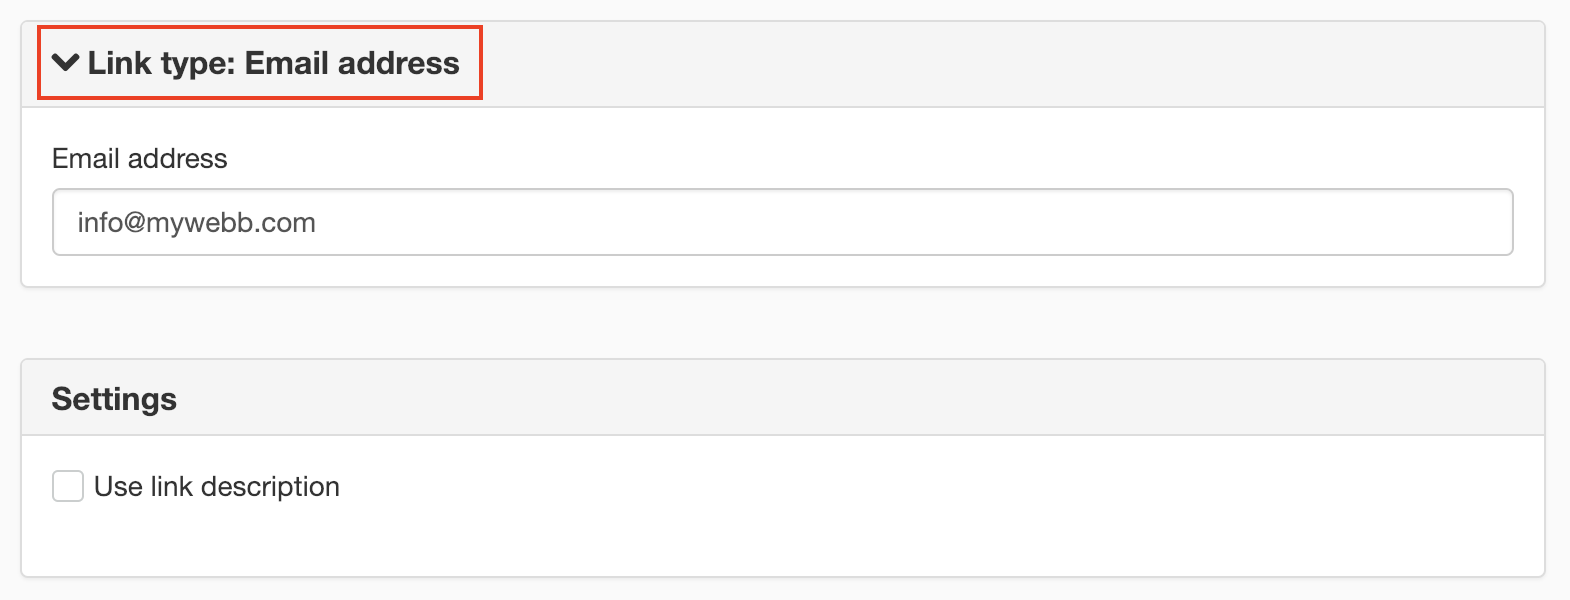
Create a link to an e-mail address
Use to create a link to an e-mail address (a mailto:). The address is entered manually. When the visitor clicks the link, the user's e-mail program opens and the address is automatically filled in.
Follow these steps to create a link to an e-mail address
- Select the text to link.
- Click the Links icon and select E-mail address from the list.
- A new view opens with an E-mail address link type. If you selected the wrong type of link, you can change the link in this list.
- Fill in the e-mail address in the field.
- Click OK. The view disappears.
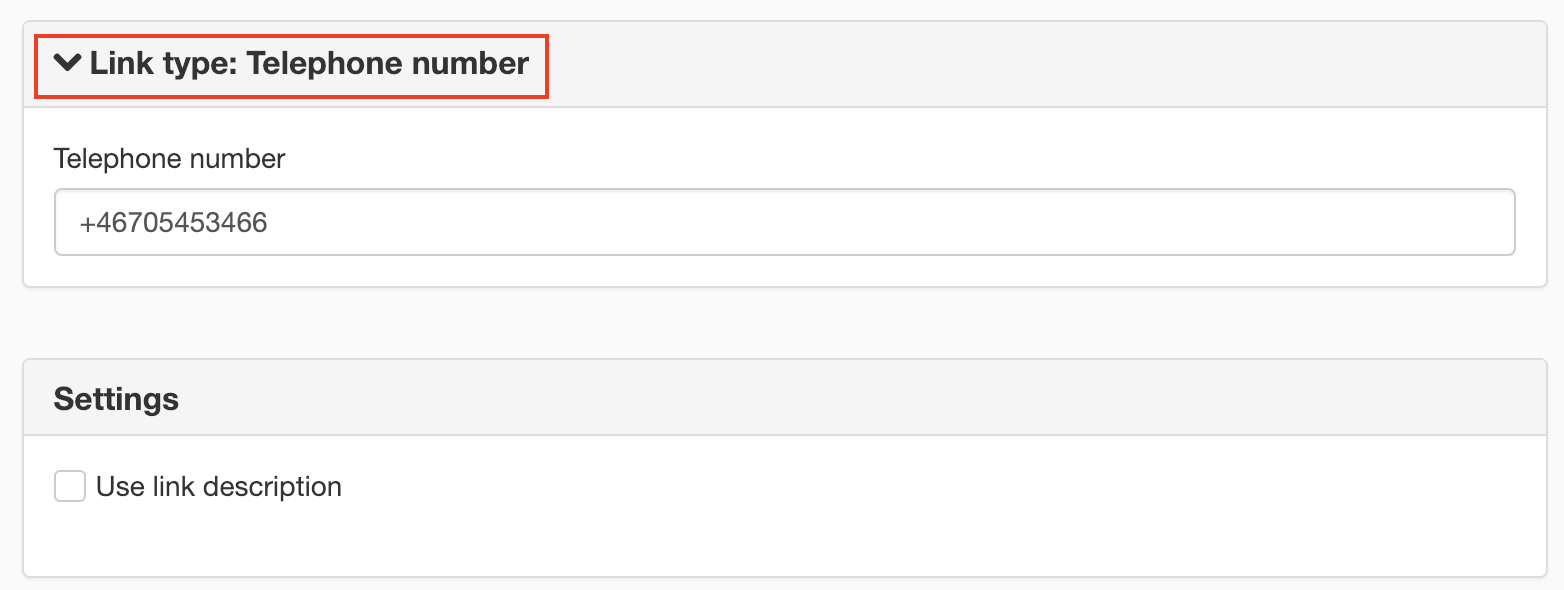
Create a link to a phone number
Used to highlight phone numbers in the code as phone links (tel:). It provides the option to directly dial the number, in the same way that e-mail links (mailto:) provides the option to send e-mail.
Follow these steps to create a link to a phone number
- Select the text to link.
- Click the Links icon and select Phone number from the list.
- A new view opens with a Phone number link type. You can change the link type in this list if you selected the wrong type.
- Enter the full phone number, including the international prefix, in the link — even if the number displayed on the page contains only the local part. The link will then work no matter where the user calls from.
- Click OK. The view disappears. 019-101010
The phone number can contain only numbers and spaces. It may also start with a + sign (for the international prefix).
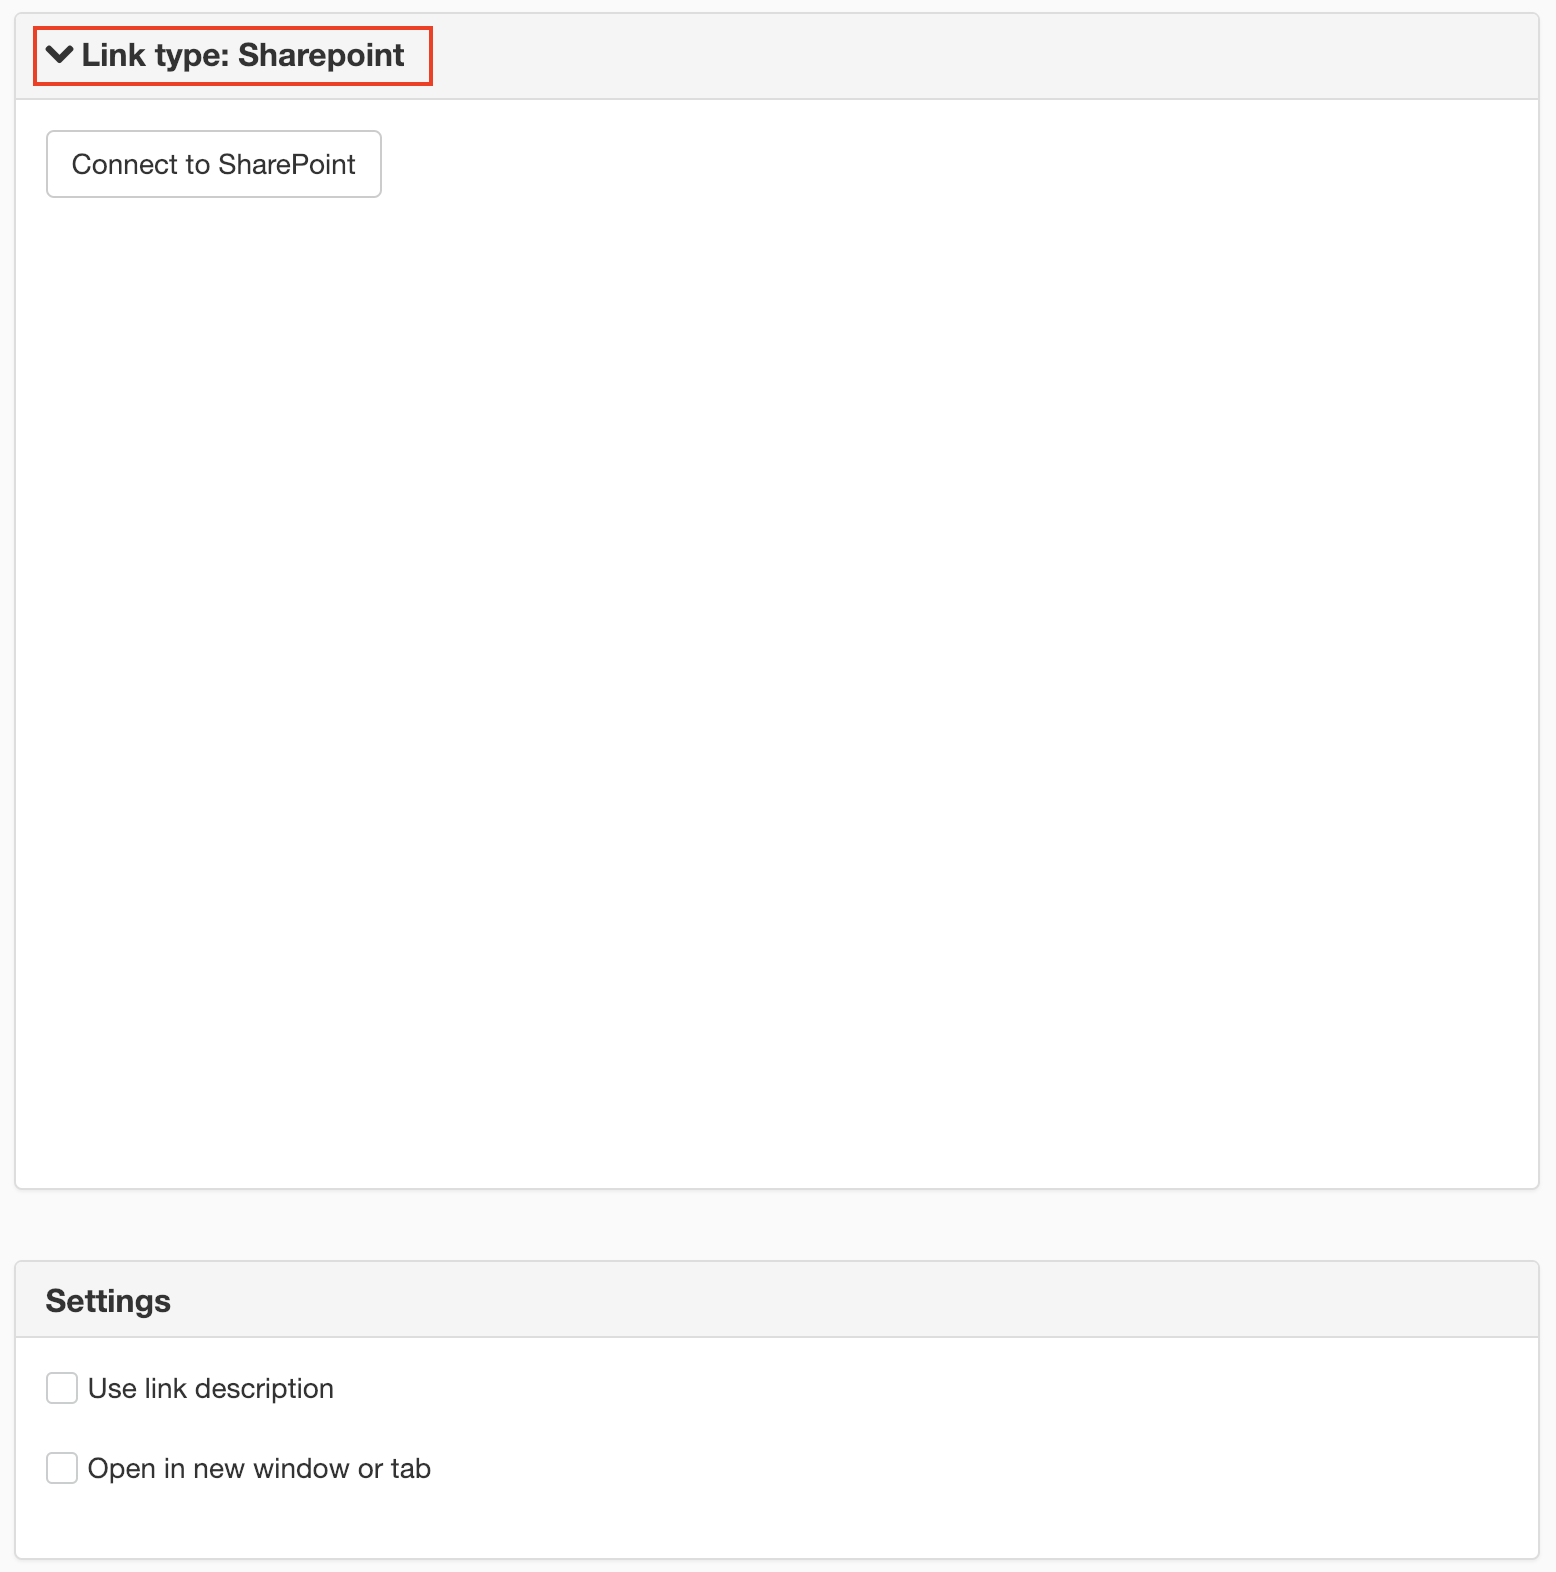
Create a SharePoint link
Used to create a link to a document in SharePoint. This requires that you have a license for SharePoint and have enabled link types on website settings.
Follow these steps to create a link to a document in SharePoint
- Select the text to link.
- Click the Links icon and select the SharePoint link in the list.
- A new view opens with a SharePoint link type. You can change the link type in this list if you selected the wrong type.
- Click the Connect to SharePoint button to open SharePoint and designate the document you want to link to.
- Click OK. The view disappears.
Create a SharePoint link
Used to create a link to a file system outside of SiteVision. This requires that you have a VFS license and have enabled link types on website settings.
Follow these steps to create a link to a VFS document
- Select the text to link.
- Click the Links icon and select VFS link from the list.
- A new view opens with a VFS link type. You can change the link type in this list if you selected the wrong type.
- Designate the file you want to link to.
- Click OK. The view disappears.
%20vfs-lank.png)
Settings
Use link description
Here you can clarify your link text with a link description. The link description and the link text should never be the same, the link description should have more descriptive information.
Ideally, you should write such good link text that you do not need to use the link description.
In a good link text, it should be possible to understand where a link leads, even if it is lifted out of context. From the availability perspective where any assistance is used, it is especially important that the links are comprehensible even when they are taken out of context.
If the link text is not clear enough (for example, as Read more links), you will need to complete the link with a link description text (title-text).
- Enter what is most important in a link first.
- Avoid initiating links with "Read more about...", "Go to...". This eliminates unnecessary information for the reader. All links "go" somewhere and usually contain more in-depth information.
- Avoid links of type "Read more".
- Do not allow multiple links on the same page with the same formulation to lead to different pages. A common example of this is "Read more" links that are repeatedly used in lists of News puffs on a single page. If you do, you will need to clarify each link with a title text.
- If the page the link goes to has a clear heading that fits in the context, the heading text can be used as link text. This will make it easier for the user to decide that it has gone to the right place.
- Avoid having multiple links with different formulations that lead to the same target.
- To further clarify the link, select the Link description text option and fill in a description.
Open in new window or new tab
Here you can choose to open the link in a new window or a new tab.
The page published:
 Print page